Home > How to Integrate SnapEngage with UserVoice
Categories: Integrations & Plugins
(Last Updated On: August 4, 2021)
About This Article
The purpose of this article is to provide a comprehensive overview of how to integrate SnapEngage Live Chat with UserVoice.
SnapEngage will automatically notify you when your website visitors contact you. You can either receive offline requests and chat transcripts by email or directly in your preferred Help Desk, CRM or Bug Tracker.
If you would like to receive transcripts and messages in UserVoice then follow the steps below.
If you don’t already have a UserVoice account, Create a new one for free now.
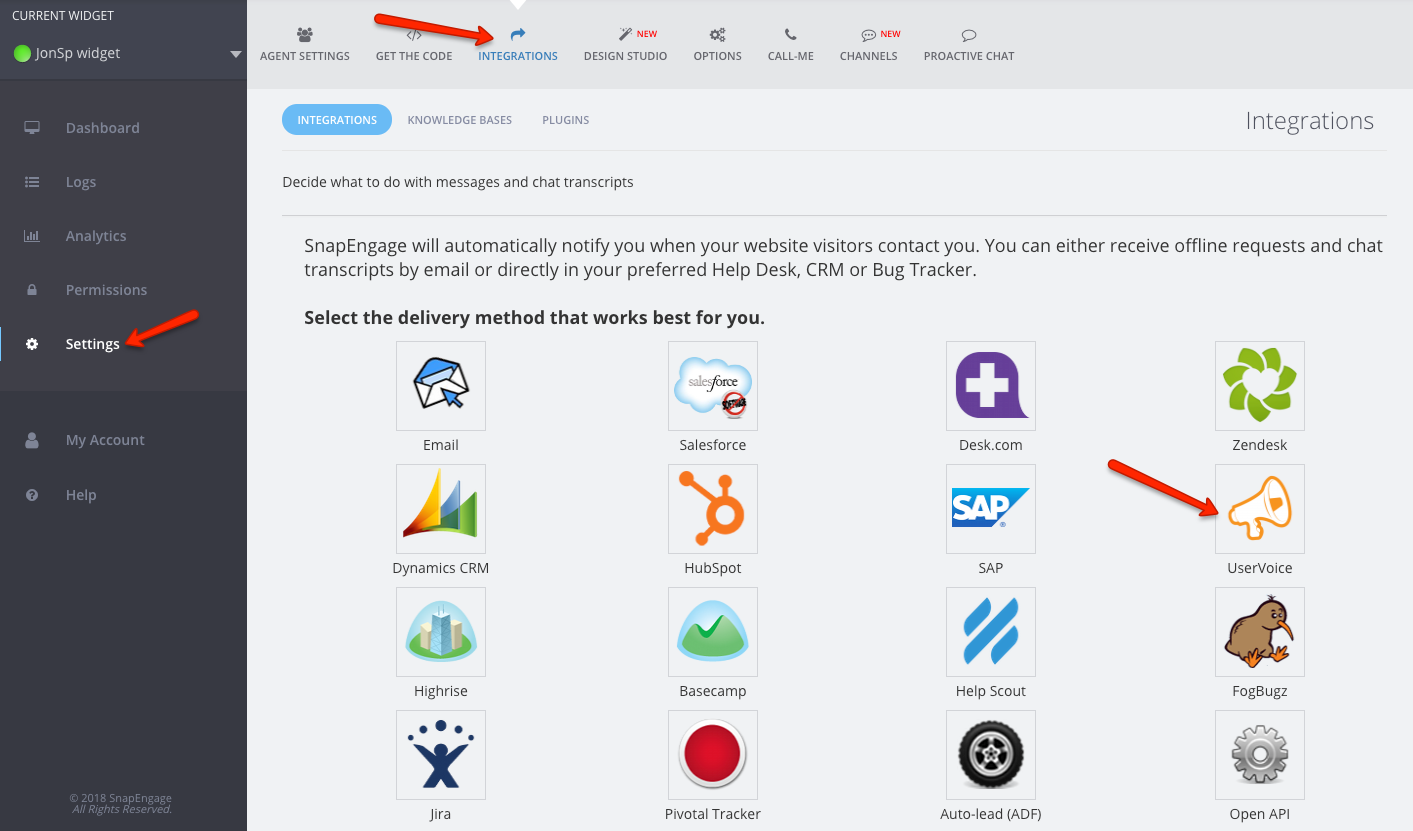
1. Log into your Admin Dashboard then select the Integrations tab and click on the UserVoice Icon.
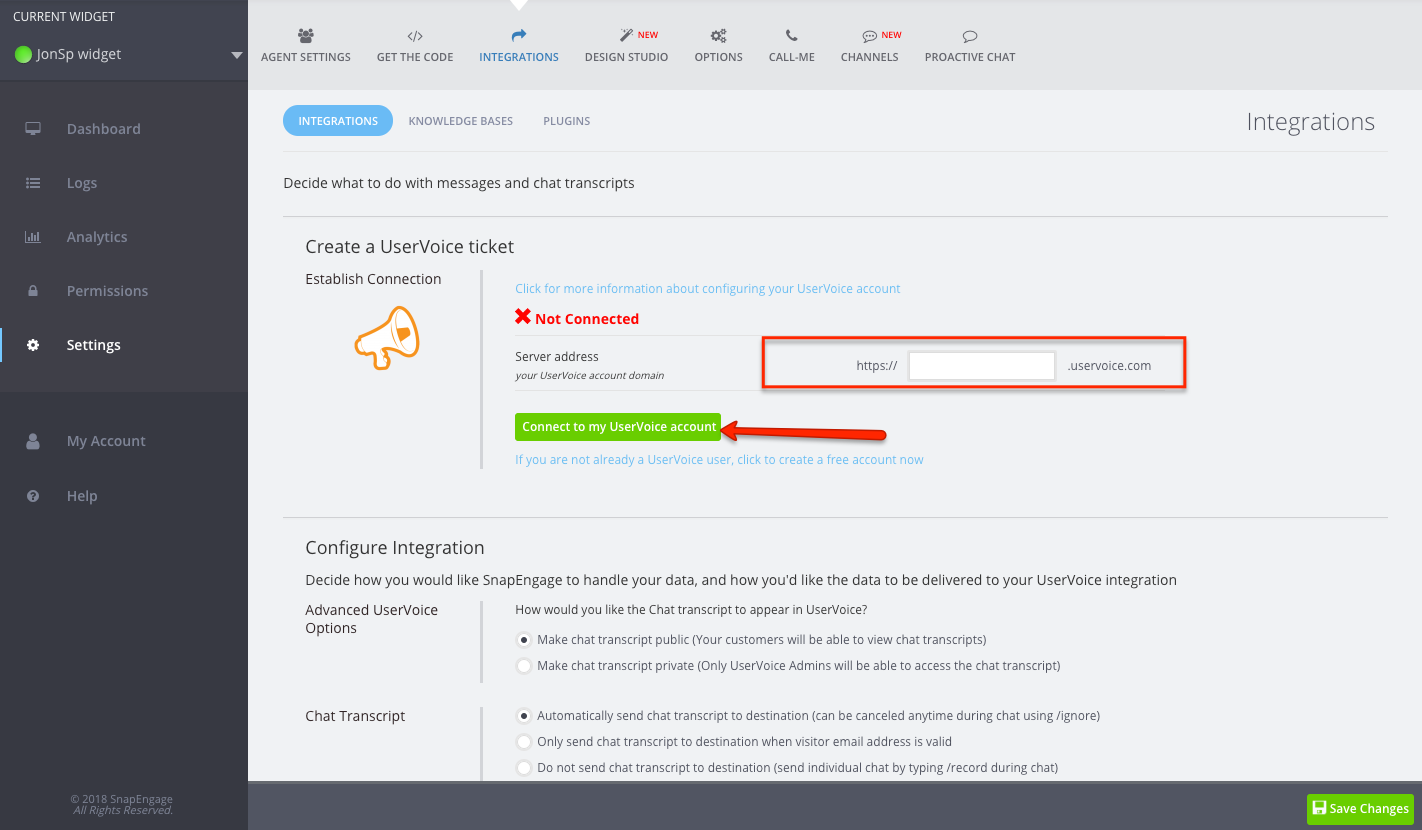
2. Enter the server address and then click connect to my UserVoice account.
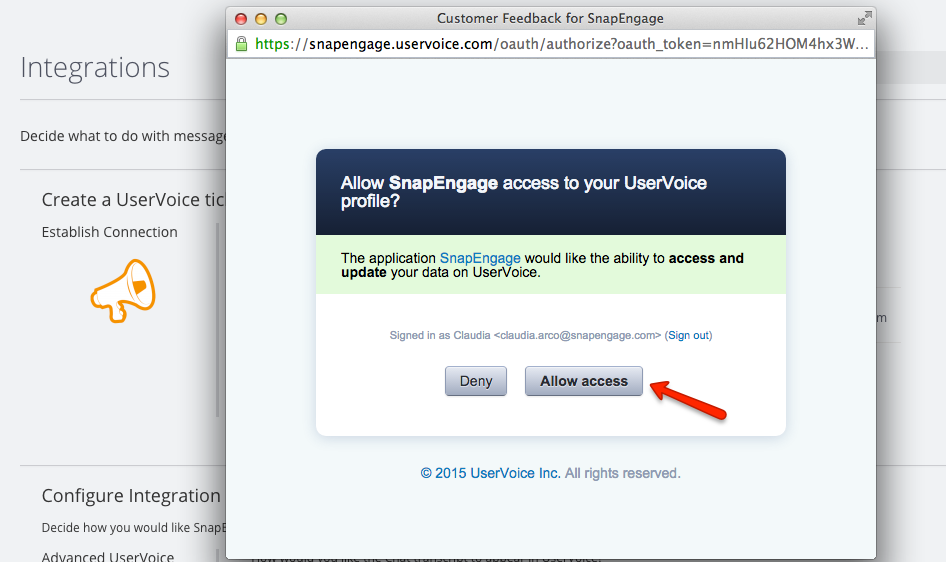
3. Once you click Connect to my UserVoice account you will see the UserVoice Authentication. Then click allow access.
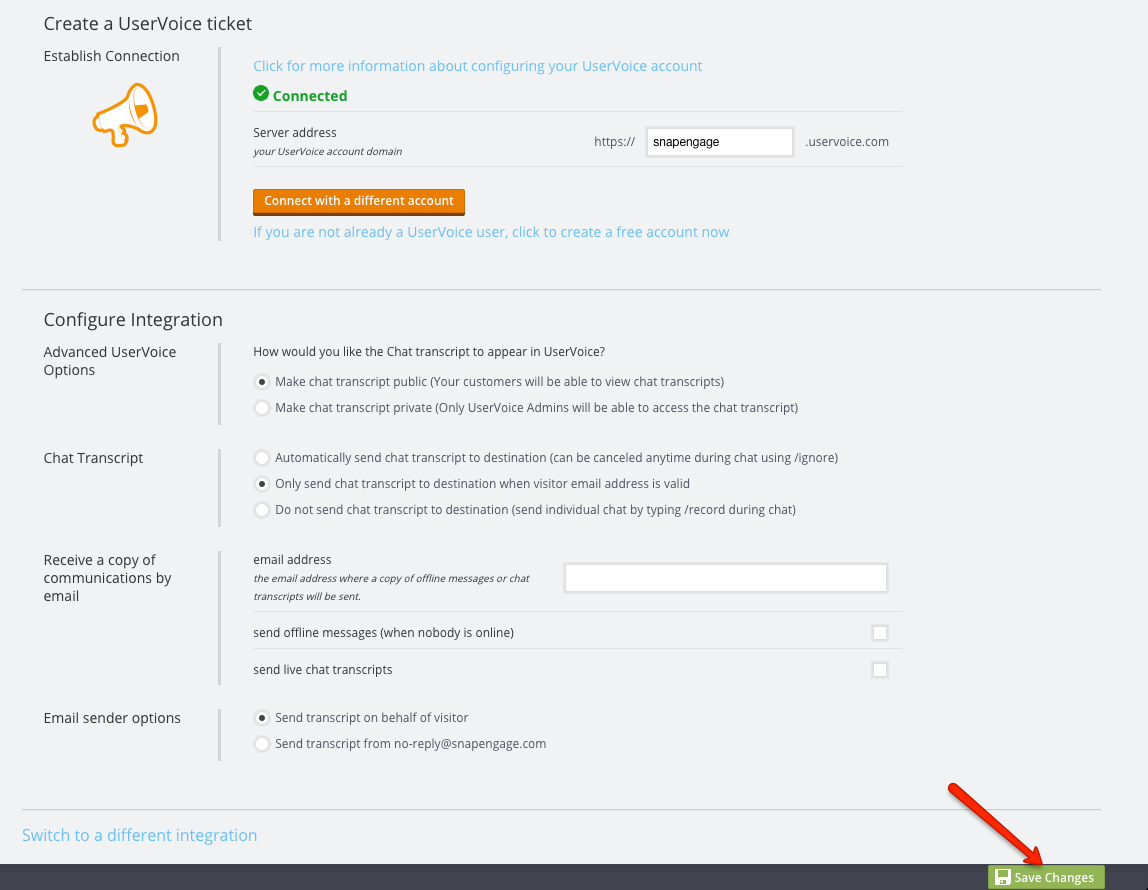
4. Once access is allowed, if the connection is good you will see the word Connected.
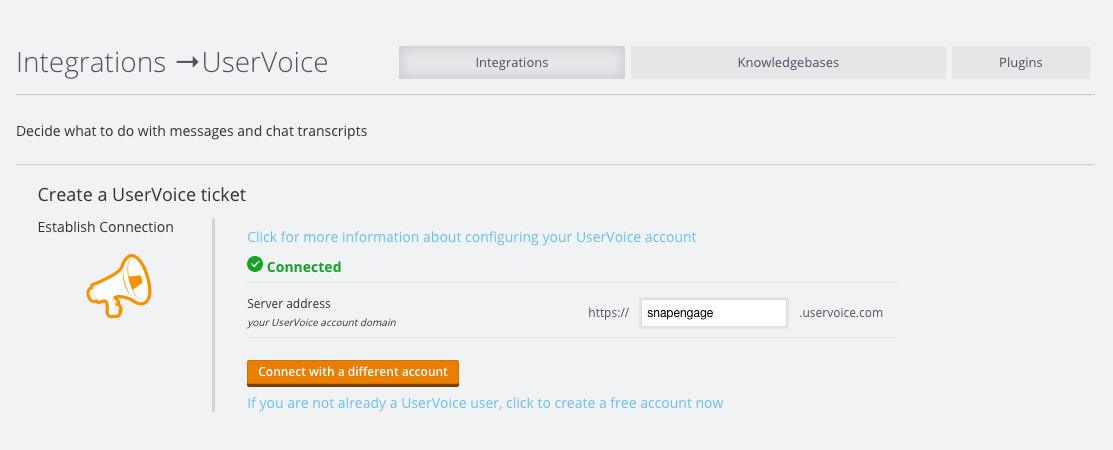
5. Once you see it is Connected under that information you can configure the integration.
- Select whether to make chat transcripts public or private. (Note: private chats can still be forwarded later to the website visitor.)

- Select when you would like chat transcripts sent to your destination.

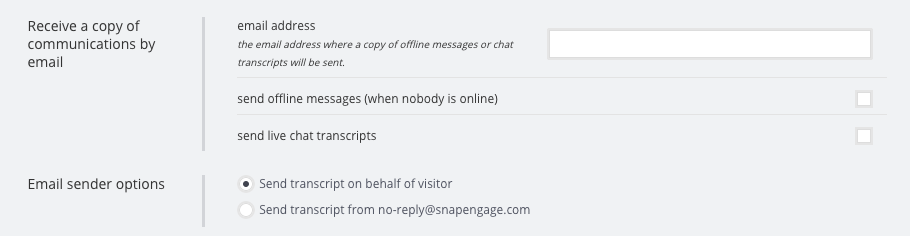
- Enter an email address and select whether you would like to receive off line request, live chat transcripts, or both. You can have these sent to you by the visitor, or from SnapEngage.
6. Once you have set all the configuration make sure you click on the “Save Changes” button:
Did you find this article helpful?
 (1 votes, average: 5.00 out of 5)
Published October 3, 2012
Reader Feedback
No comments yet