Home > How to: Check your billing history & set up to receive automated receipts
Categories: Billing | Security
(Last Updated On: July 27, 2021)
About this Article –
This article will cover the process of accessing your billing history to reference invoices.
Whenever you need to access your SnapEngage billing history, you can do so from the “My account” tab. Please note that even for accounts that allow “Permissions”, the only one with access to the “My account” tab is the account holder.
To access your billing history:
- Log in as an Admin
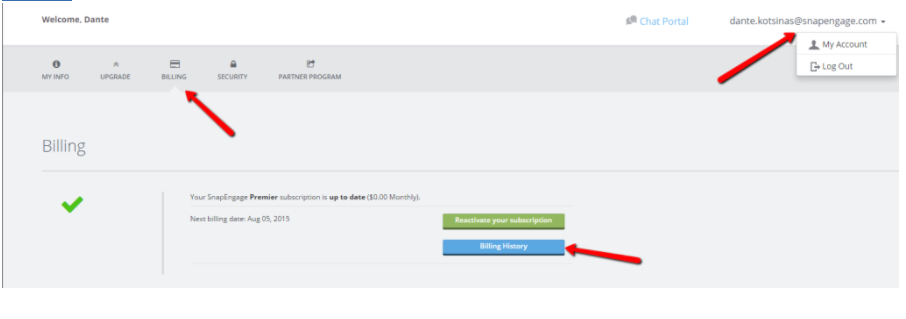
- On the admin dashboard, click on “My account”
- Click on Billing
- Click on billing history
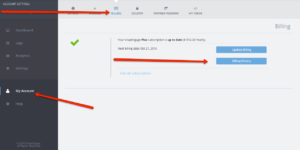
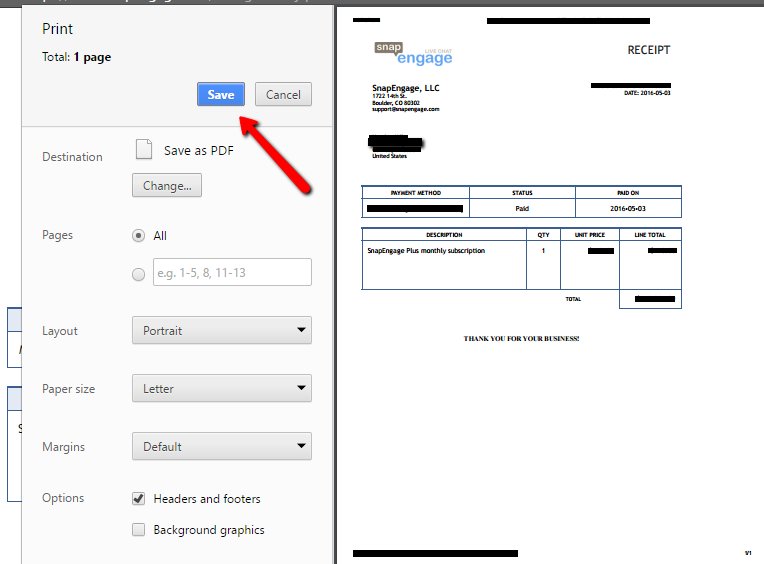
You will see there all the payments. If you click on the invoice number, you will get a detailed invoice which you will also be able to save as PDF if you “right-click” on it, click on “Print…” and the hit “Save”. If the default “Destination” is on of your printers, you could change it to “Save as PDF” by clicking on the “Change…” button.
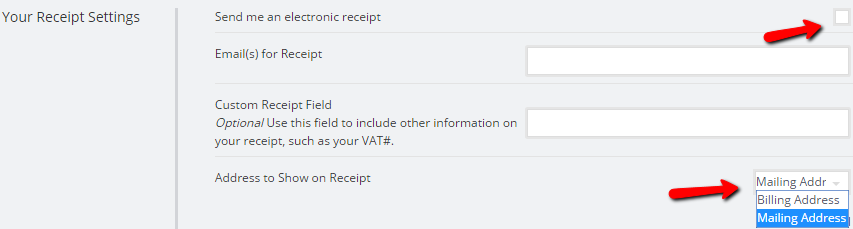
Right below your past invoices, you will be able to change your “Receipt Settings”. It is here where you can set one or more email addresses (separated with commas) to which SnapEngage will be sending a copy of your invoices, add more information on the invoice such as your VAT# using the “Custom Receipt Field” and choose between your mailing and billing address to be shown on the receipt:
Please note that it is under “My Account” > “My Info” where you set up your mailing address and under “My Account” > “Billing” > “Update Billing” the billing address.
If you have any questions about billing, do not hesitate to contact us via chat on snapengage.com
Automated Billing Receipts
You may choose to receive your payment receipts in your inbox. This guide will walk you through setting up this feature.
Receipt Settings
You can locate the Receipt Settings section in My Account > Billing > Billing History, underneath the list of receipts.
Receipt Settings Options
Let’s take a look at each of the options…
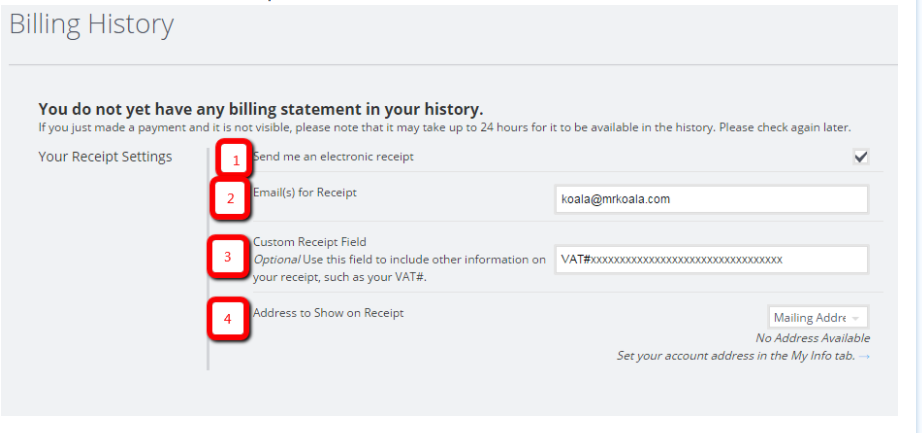
- Send Receipt Checkbox – Optional – If you would like to receive your receipt via email, simply check this box! Choosing to receive emailed receipts will not impact the Billing History page; Billing History will always show all of your payment history.
- Email List – Required – If you have selected the checkbox to receive email copies of your receipt, you must provide at least one email here. You can send the receipt to multiple emails if you wish; type each email into the box, separated with a comma.

- Custom Receipt Field – Optional – This is a free-form field you may use to include additional information on your receipt. You may use this to include your VAT#, for example. This is a static field and will only display exactly what you type into the box. You can update this field at any time.
Changes to this field will affect the items in Billing History as well as future receipts.
- Address To Show on Receipt – Required – If you want to show the billing address on your receipt, you may select that here. By default, this will be Mailing Address.
Changes to this field will affect the items in Billing History as well as future receipts.
Don’t forget to Save!
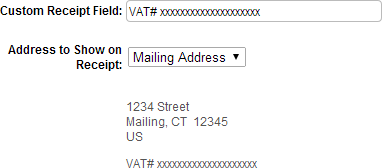
Preview
Underneath the Address box is a section that will allow you to preview the address and Custom Field information that will show on your receipt. Use this to double check that the information will be what you expect. Please be aware that not all Billing Addresses are available to preview.
Did you find this article helpful?
 (No Ratings Yet)
Published October 19, 2016