Home > SnapEngage Hub App within your Zendesk account
Categories: Integrations & Plugins
(Last Updated On: )
About This Article
The purpose of this article is to provide a comprehensive overview of how to add SnapEngage Hub App within your Zendesk account.
Ever wanted to have the SnapEngage Agent Hub in your ZenDesk Portal? Well now you can. Follow the steps below to set it up.
- Click on the gear wheel in the left side bar
- Click on the Marketplace and search for SnapEngage
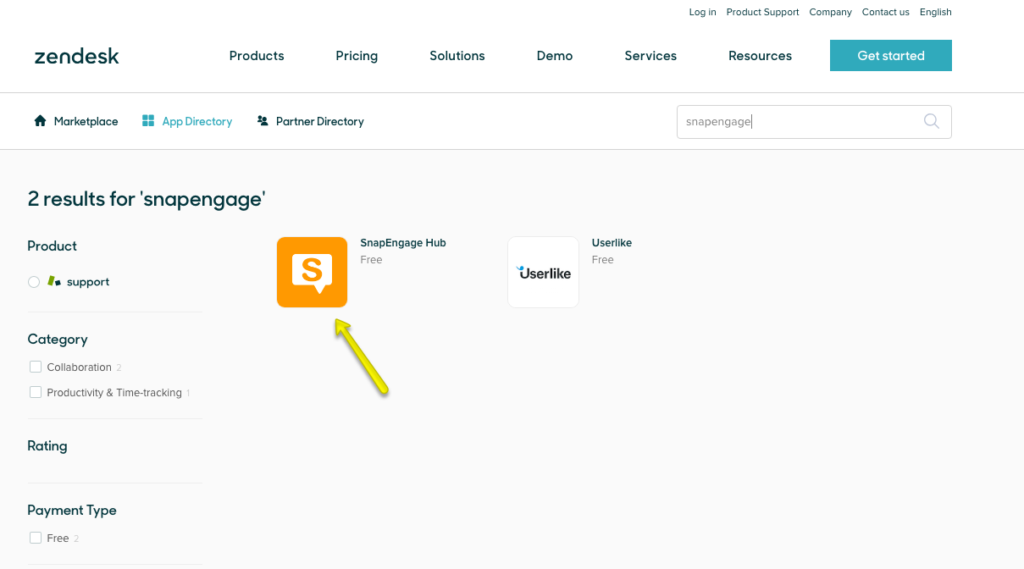
- Click on SnapEngage Hub and install the app.
- Once installed you will see some options here where you can name the app and set restrictions.
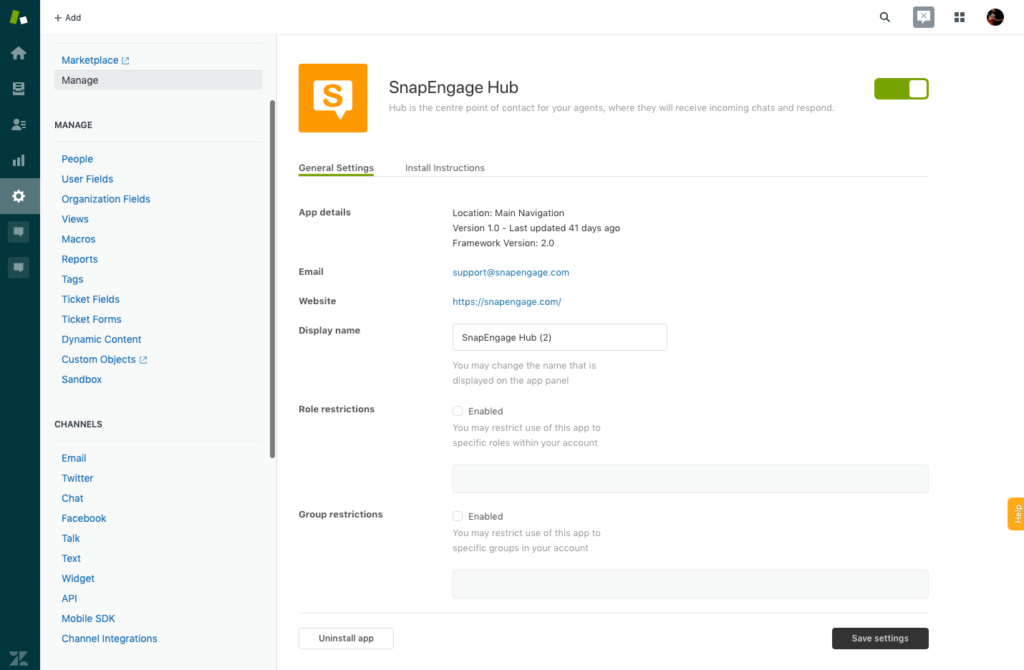
- Click “Save Settings.”
- Under My Account > Security > Access Rules enable “Allow loading of SnapEngage within an iframe” and click save. When this option is saved the permissions should propagate to all the agents within the org.
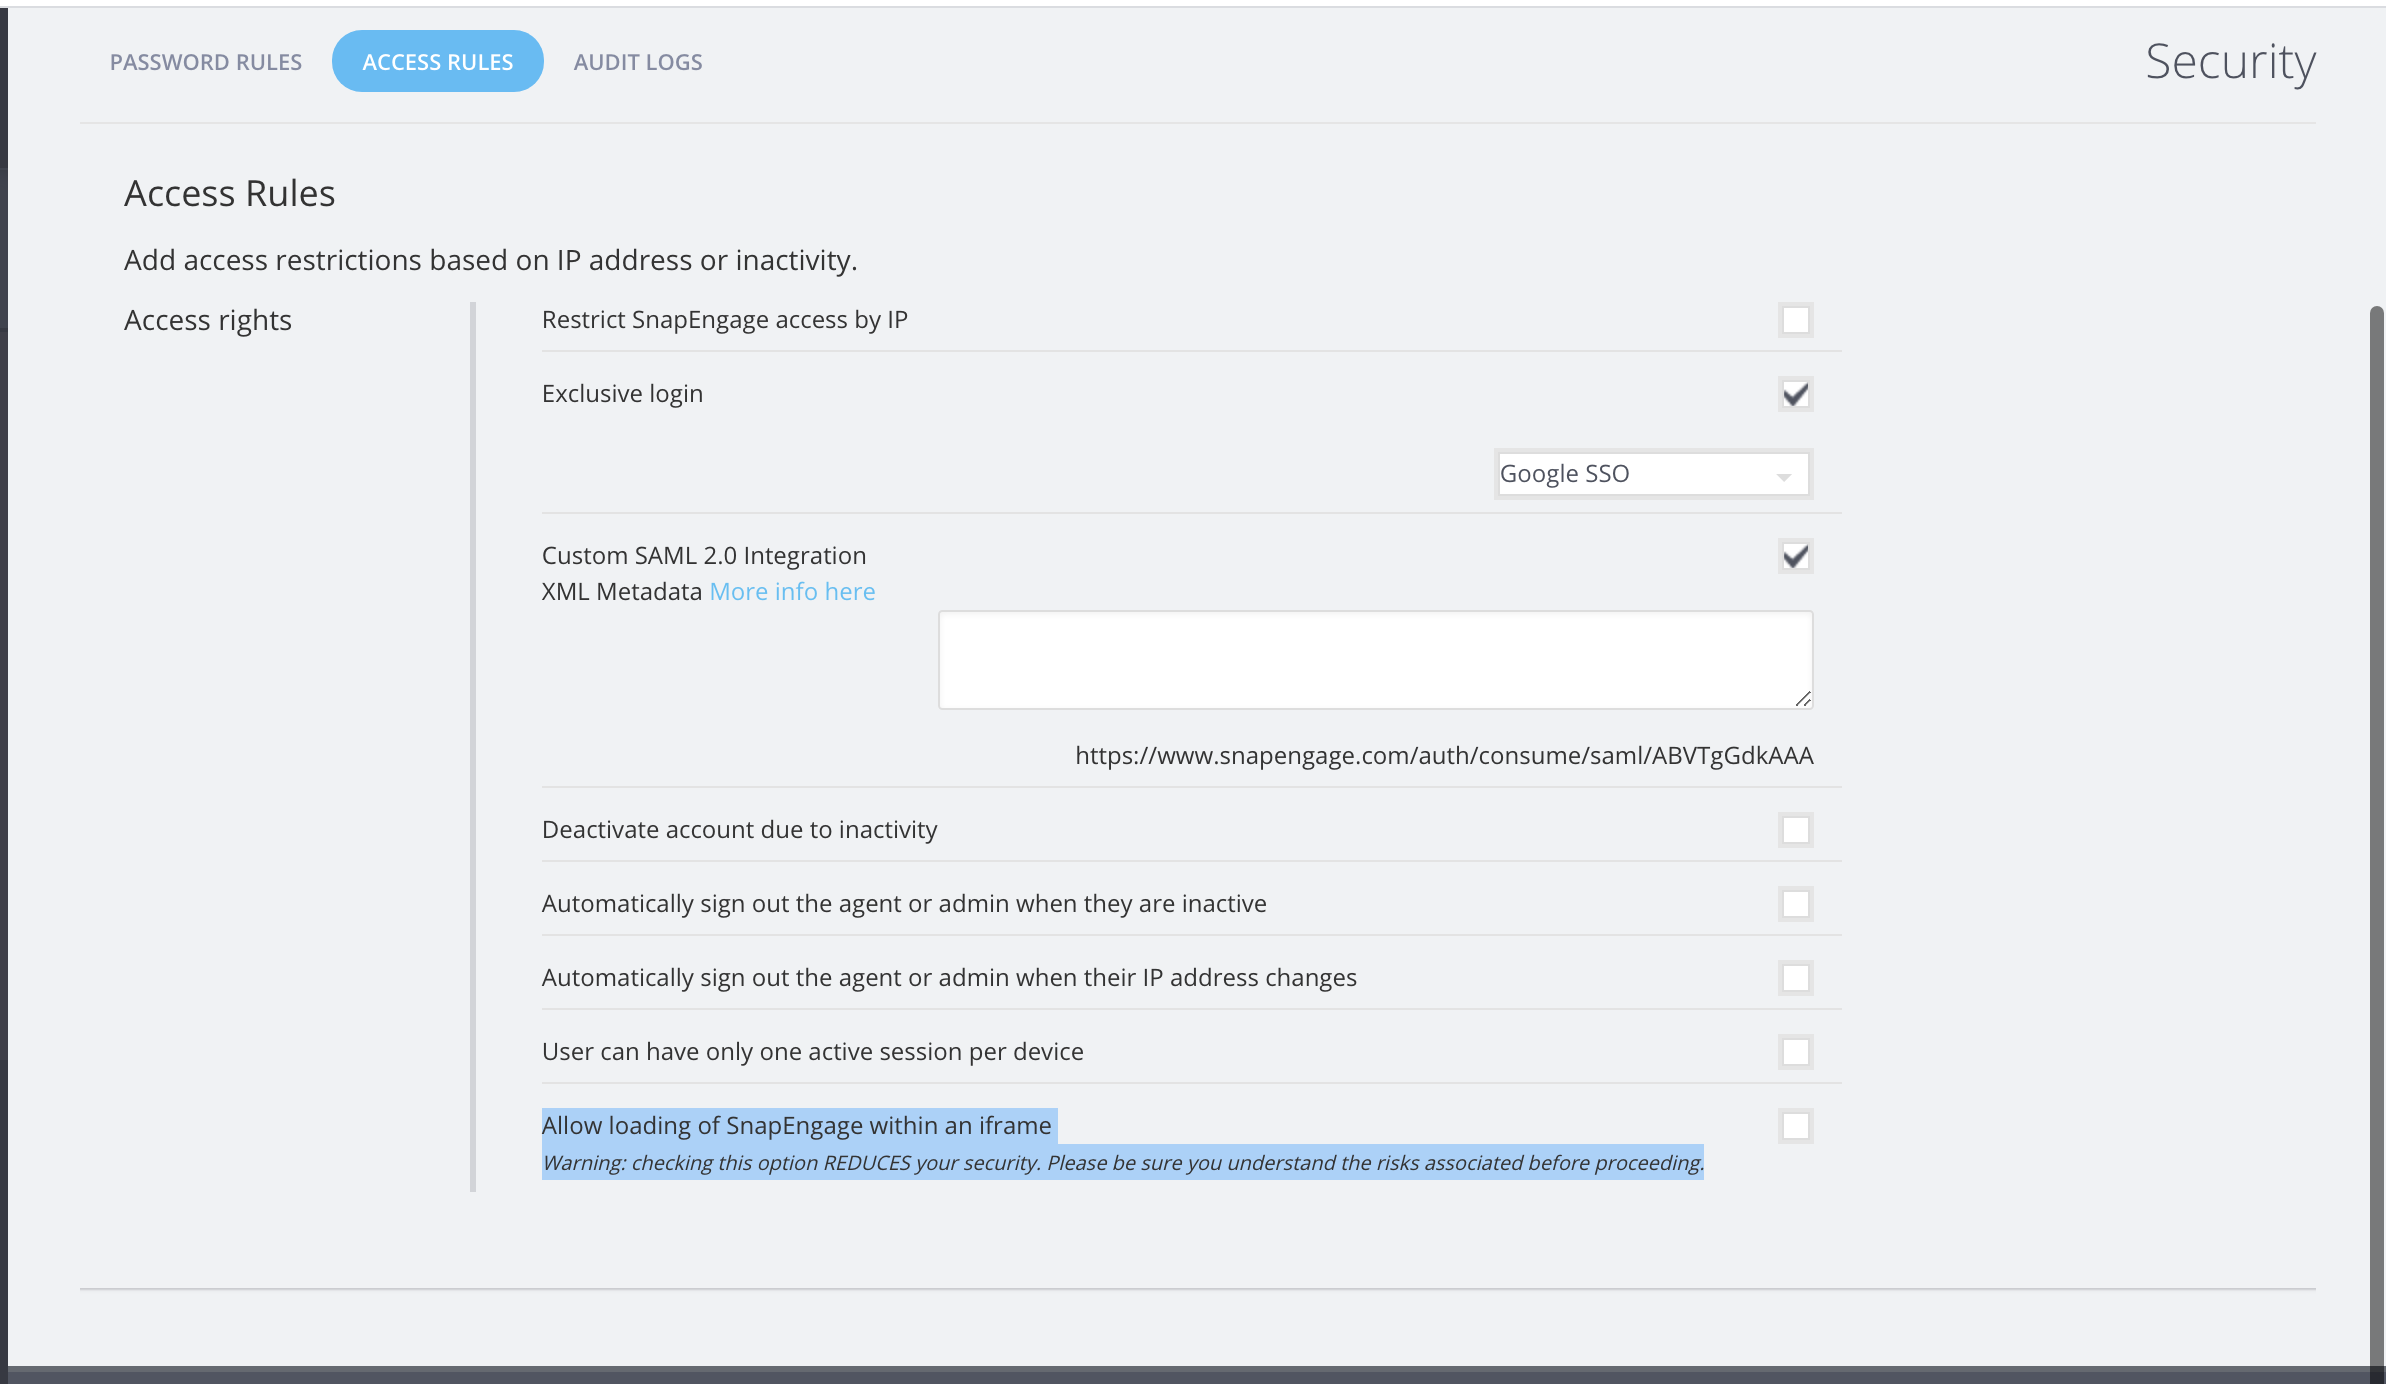
Note: checking this option REDUCES your security. Please be sure you understand the risks associated before proceeding. This option is Enterprise only and used for Chrome.
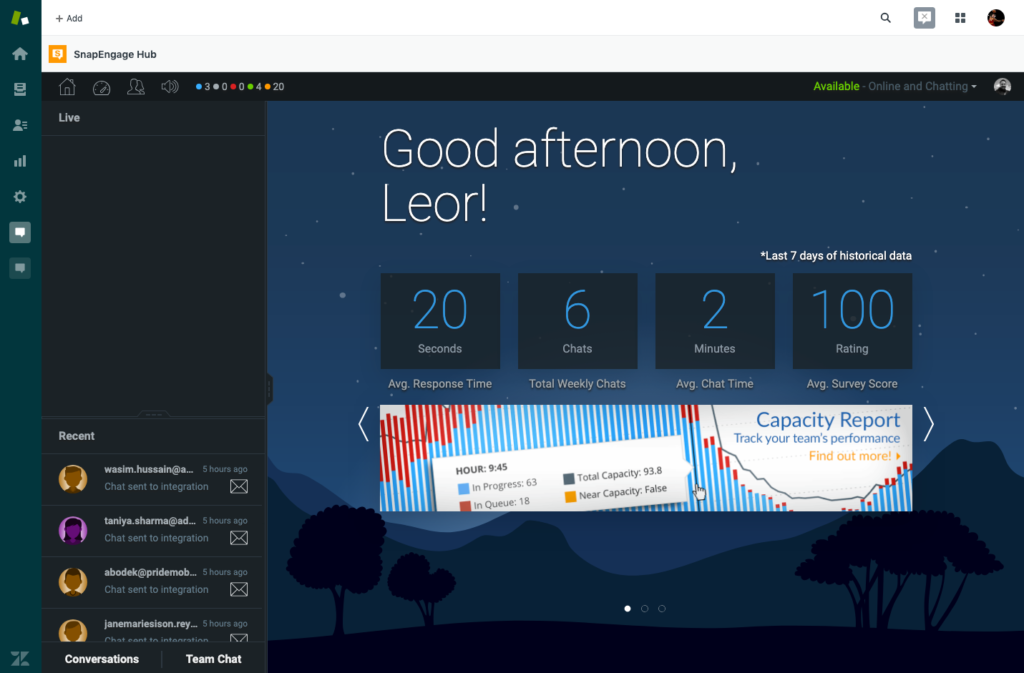
- The SnapEngage Hub app will now show in the left sidebar.
Did you find this article helpful?

 (3 votes, average: 4.67 out of 5)
Published August 18, 2014