Home > How to Use the SnapEngage App for Hootsuite
Categories: Integrations & Plugins
(Last Updated On: )
About This Article
The purpose of this article is to provide a comprehensive overview of how to use the SnapEngage App for Hootsuite.
The SnapEngage App for Hootsuite allows joint SnapEngage/Hootsuite users to send out private chat invitations to customers and prospects that use Twitter, all from the Hootsuite dashboard. Read this guide to find out how to get started!
How to send chat invitations on Twitter:
Before you get started, please make sure you have already signed up for both SnapEngage and Hootsuite.
1. Log into your Hootsuite dashboard and install the SnapEngage App
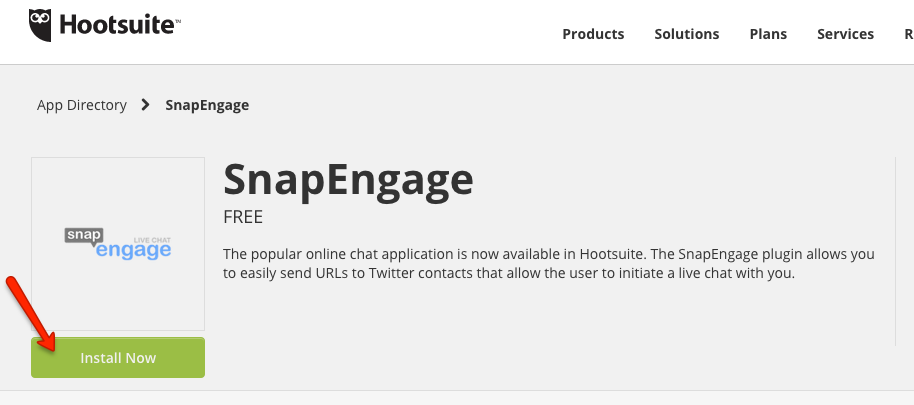
Please click this link to install the application. The application can also be found in the Hootsuite App Directory. Click the “Install Now” button.
2. Make sure that your agents are online in SnapEngage
This step is crucial! Without online agents, your Twitter users will not be able to chat with you.
3. Initiate a chat with a specific Twitter user
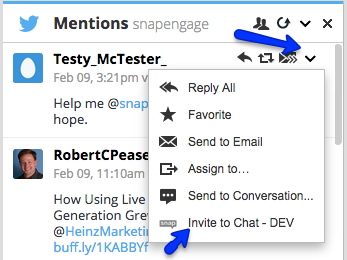
Okay, it’s time to reach out! Select the user you’d like to send a custom chat URL to, and choose the “Invite to Chat” option from the drop-down selection. A custom chat URL will then be created for this user (and only this user). Edit the message as needed, then click “Send.”
4. Select the widget the chat will be on
Once you choose to ‘Invite to Chat’, you will be asked to select the widget the chat will occur on. You can either keep the chat on the widget that is pre-selected, or you can change the widget at this point.
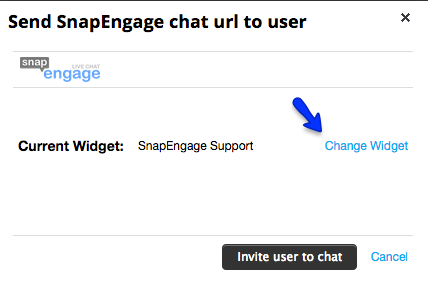
Note: The first time you go through this, you will have to authenticate with your SnapEngage credentials. Make sure you have the admin of your account do this as admin rights will be needed to move forward correctly.
5. Begin chatting with the visitor
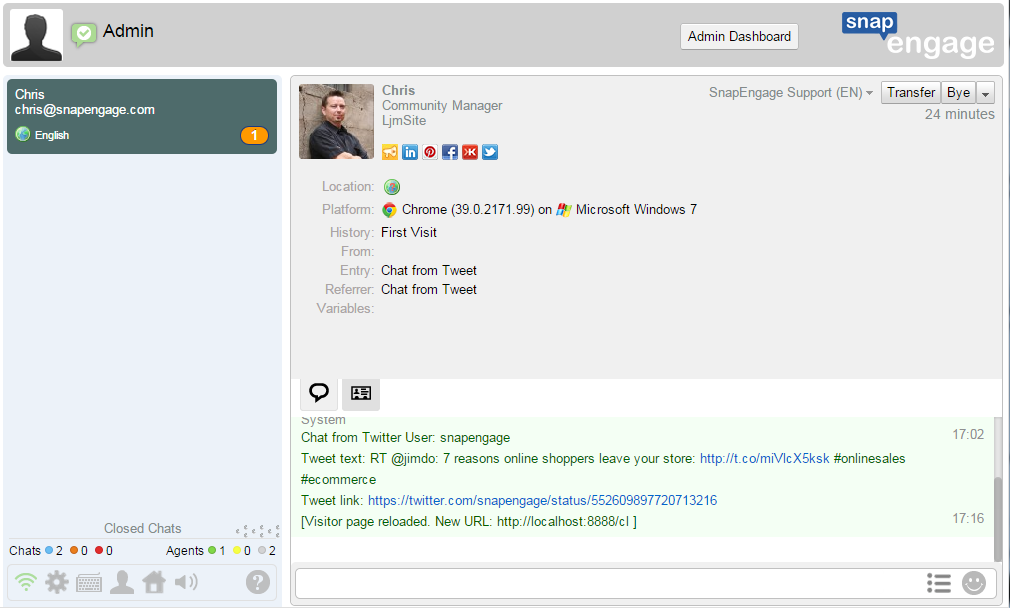
Once the user clicks the custom chat URL, agents will be notified of the incoming chat as usual inside their Conversations Hub. The agent will be able to see information about the visitor, letting them know this chat is coming from Twitter. The chat transcript will show in the SnapEngage Logs and the widget’s destination (CRM, email, etc) as normal.
End-User Experience:
Now, let’s put ourselves in the shoes of your customer or prospect. Here is how the interaction will look for your visitors:
1. First, the user will receive a custom chat link in Twitter:
Please keep in mind that the custom chat link will only work for the specific Twitter user it’s created for. Any other Twitter user trying to access the link will see a message stating that the chat is not available to them. This keeps things secure! The custom URL will look something like this:

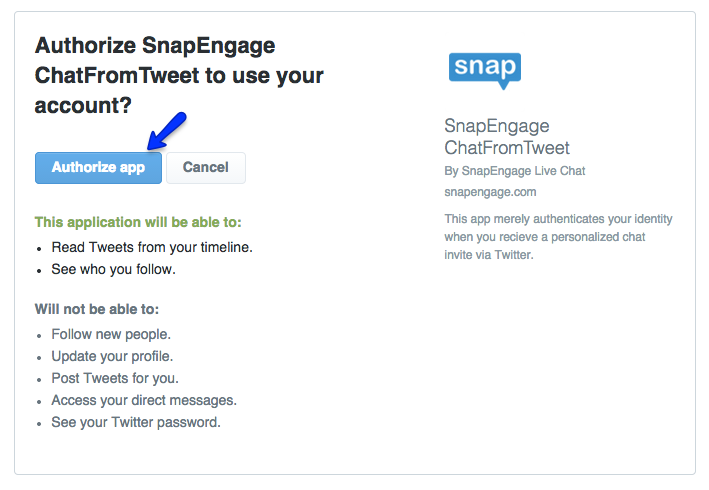
2. Click the custom ow.ly link, and then authorize the SnapEngage app:
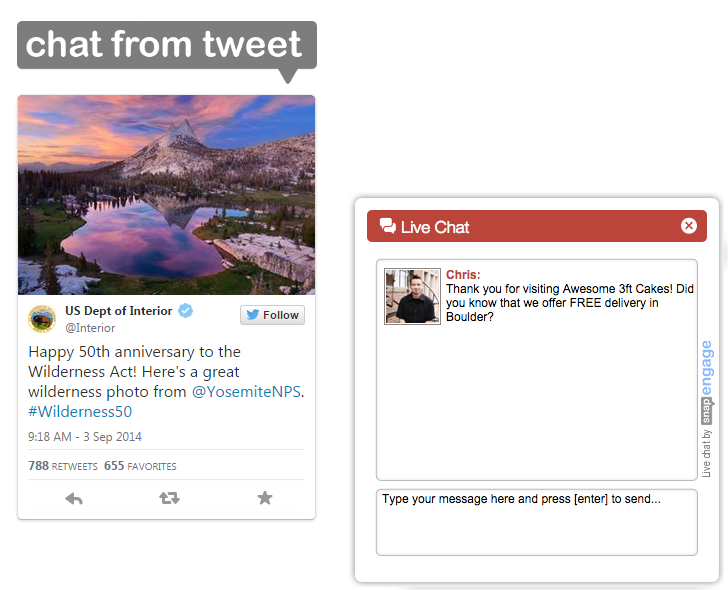
3. Begin your private chat conversation!
The user will be taken to a new page that displays the SnapEngage chat box alongside the original tweet. Type into the chat box, and a friendly agent will be there to help you.
That’s all there is to it! Be sure to read this blog post to learn more about our new Chat From Tweet feature. Have questions? Come chat with us!
Published February 11, 2015
