Home > How do I assign an agent to new lead in HubSpot?
Categories: Integrations & Plugins
(Last Updated On: )
About This Article
The purpose of this article is to provide a comprehensive overview of how to assign an agent to new lead in HubSpot.
To assign an agent to the new lead in HubSpot after the first chat, follow the steps below:
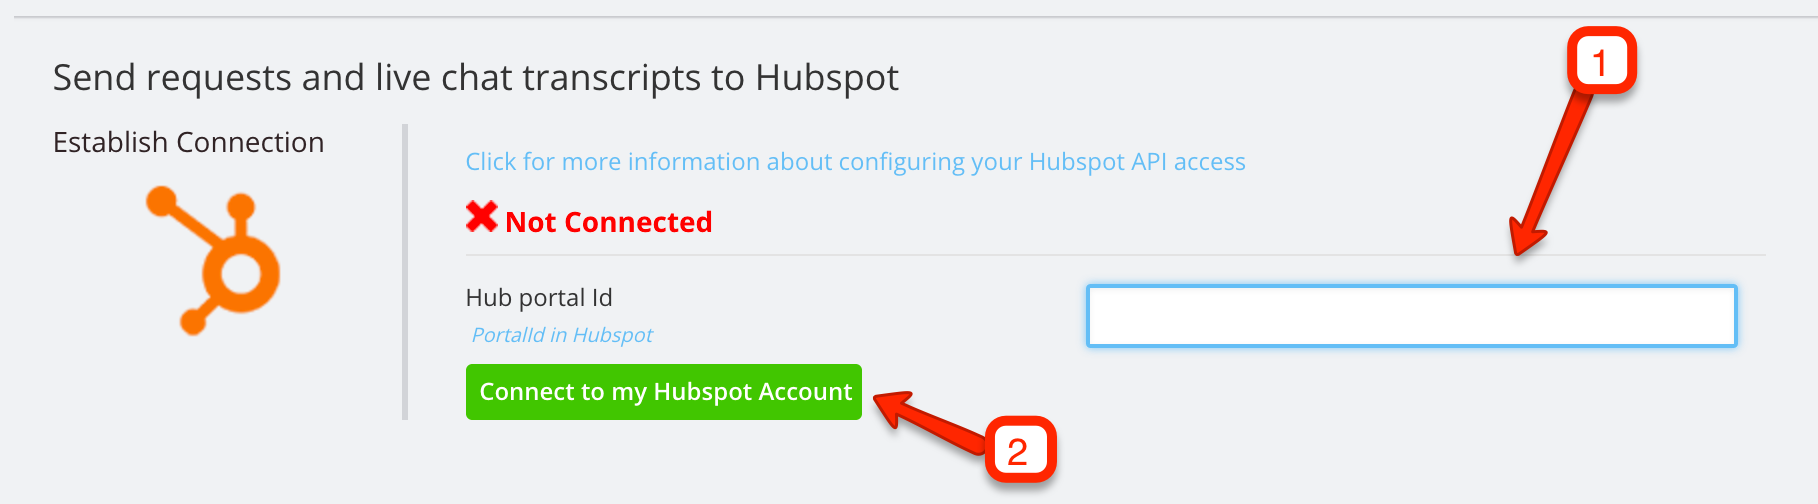
- Make sure you have the HubSpot integration configured within your Admin Dashboard “Integrations” tab (under Settings):
- Go to your “Agent Settings” tab and click on “Edit” next to the agent. You will see modal window with the agent’s details:
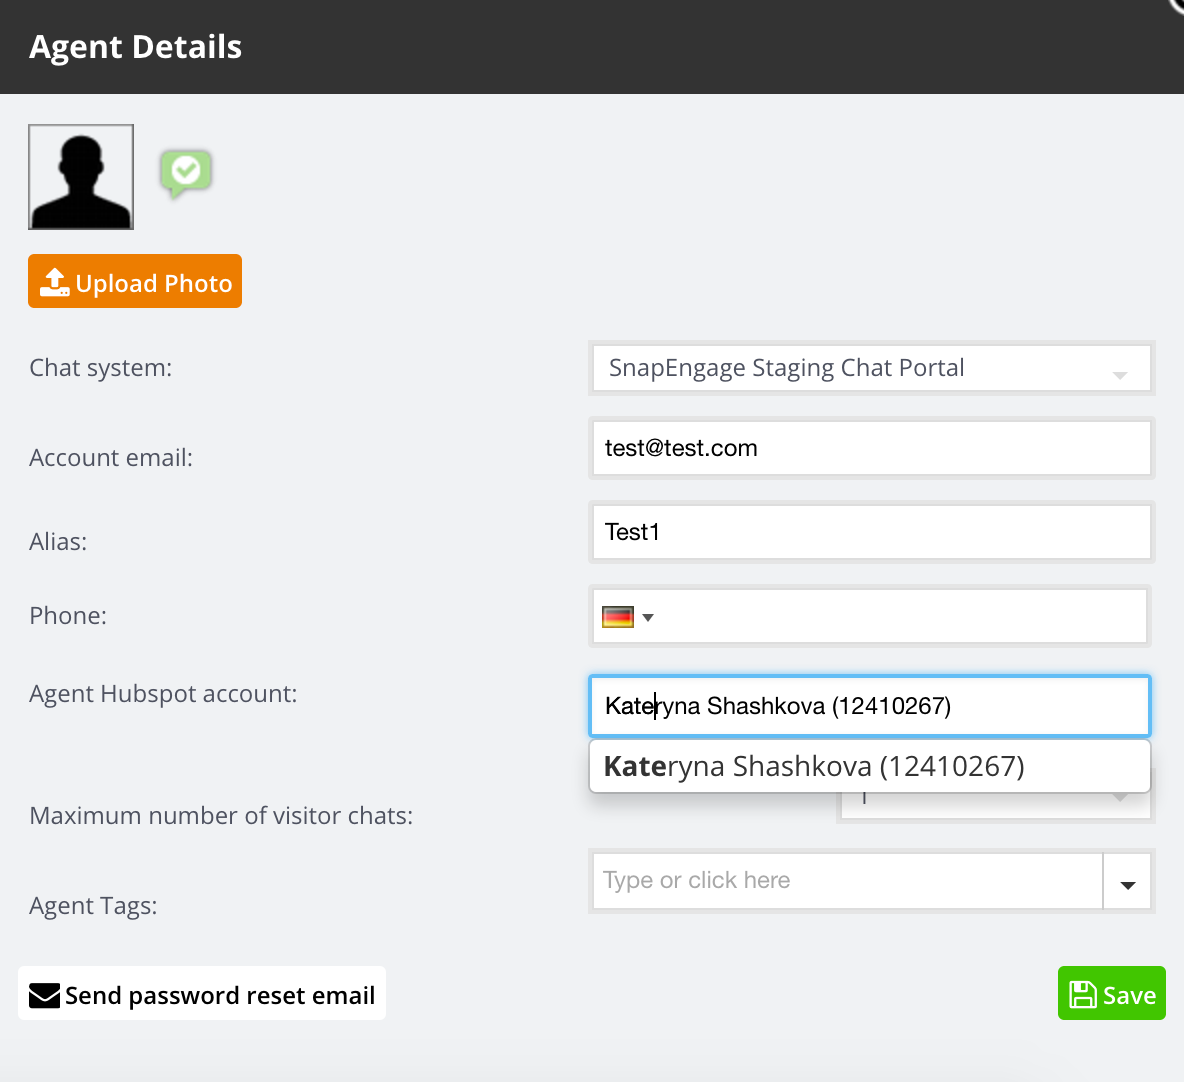
3. In the “Agent HubSpot account” field, you can enter the agent’s name (from your HubSpot account owner’s list). As you begin typing, a dropdown menu will appear, so you can easily select the agent’s corresponding HubSpot account.
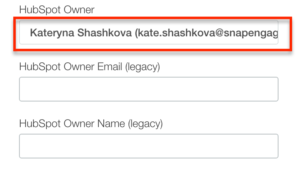
After a chat, a new lead’s contact will contain the assigned agent’s name in the “HubSpot Owner” field of the lead’s contact properties:
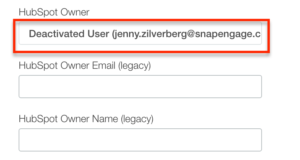
If the assigned agent’s account is inactive but exists on the agent mappings, the “HubSpot Owner” field will contain a reference on the deactivated agent:
Important: An agent will only be assigned to a lead in HubSpot after the first chat, if no previous HubSpot owner exists. For all future chat activity with a particular contact, the “HubSpot Owner” field will not be overwritten.
Did you find this article helpful?

 (3 votes, average: 4.00 out of 5)
Published August 17, 2016