Home > How to set up SnapEngage with TOPdesk
Categories: Integrations & Plugins | Tips & Tricks | Technical Options
(Last Updated On: )
Chatting with SnapEngage in

About This Article
The purpose of this article is to provide a comprehensive overview of how to set up SnapEngage with TOPdesk.
Setting up the Integration in TOPdesk
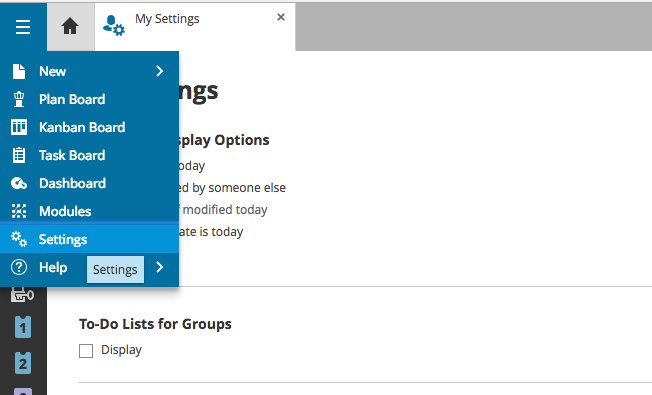
To set up the integration, you need to enable SnapEngage integration in TOPdesk: Settings -> Module Settings -> Self-Service Portal -> General.
Firstly, you will need to be signed in as a TOPdesk Super User to have access to the Settings Tab as shown here:
From the System Settings tab, click on “Chat”:
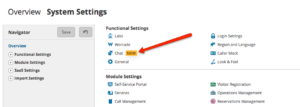
You will see the option to select a Third party-chat provider:
Select SnapEngage from the list of available options, and you will be prompted to enter your widget ID. This will be the ID of the widget that will be connecting with TOPdesk.
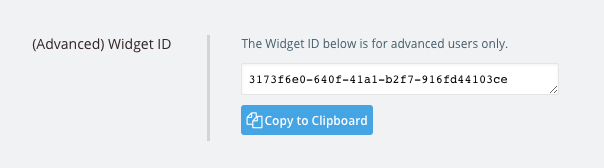
Locating your Widget ID
In the Admin Dashboard, navigate to Settings -> Get the Code. You will see the widget ID is displayed at the bottom of this tab, after you click “Ok”:
Enabling Chat in TOPdesk
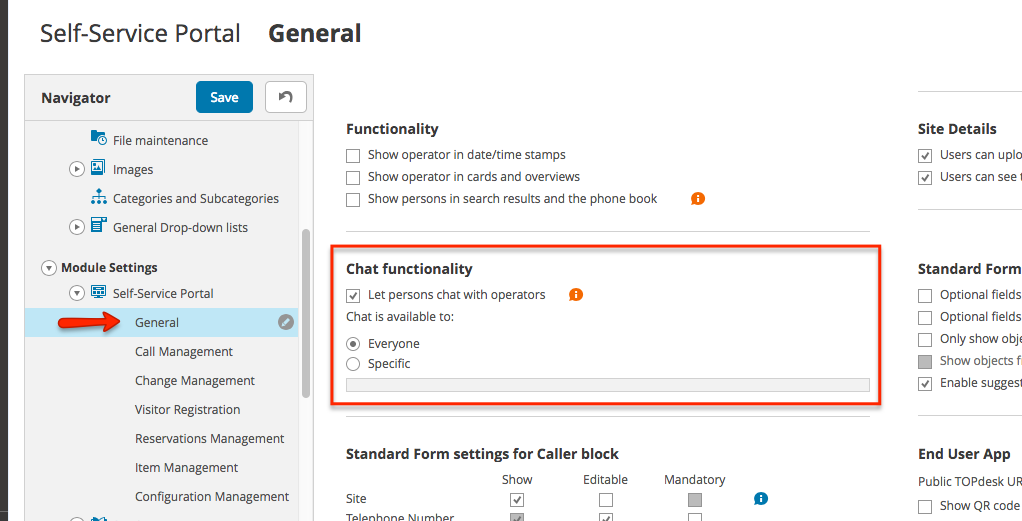
To enable the chat functionality, go to Module Settings -> Self-Service Portal -> General, as shown in the above screenshot. Agents using TOPdesk can now start chats on the TOPdesk portal!
Did you find this article helpful?

 (3 votes, average: 4.67 out of 5)
Published August 2, 2018