Home > How to Add SnapEngage to Zendesk Helpdesk
Categories: Integrations & Plugins
(Last Updated On: )
About This Article
The purpose of this article is to provide a comprehensive overview of how to add to Zendesk Helpdesk.
Let’s walk through the process of adding a live chat button to your Zendesk Helpdesk page. This way, visitors can start a chat session right from Zendesk.
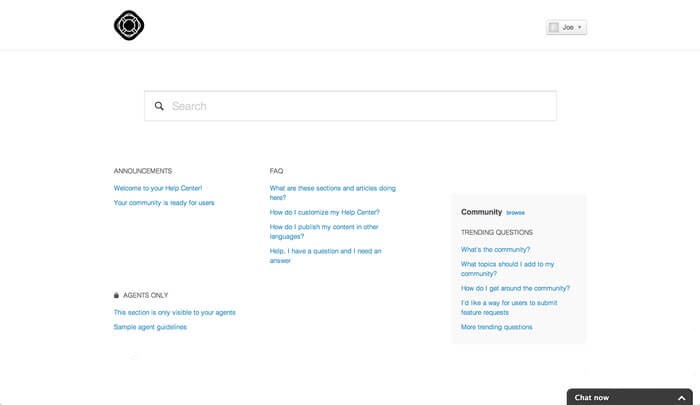
To place SnapEngage on your Helpcenter page, simply follow the steps bellow.
- Log in to your Helpcenter and click on the Customize design button in the bottom right portion of the screen.
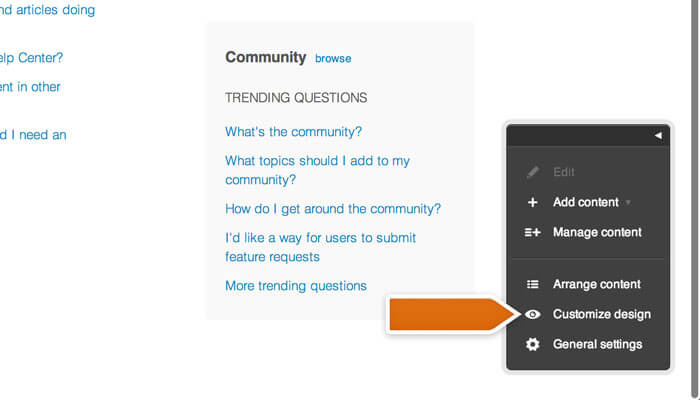
- Next, click on the Edit theme link.
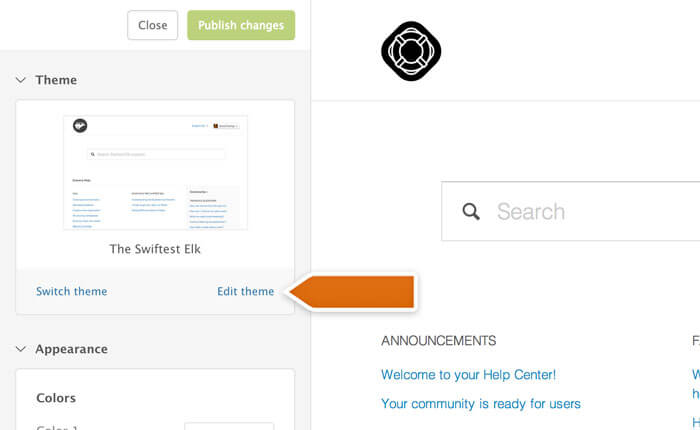
- Open the JS tab. Note: You will need to copy the SnapEngage code here.
- To get that code, log into SnapEngage and go to the Get the Code tab menu. Copy the code found there without the <script type=“text/javascript”> and </script> lines.
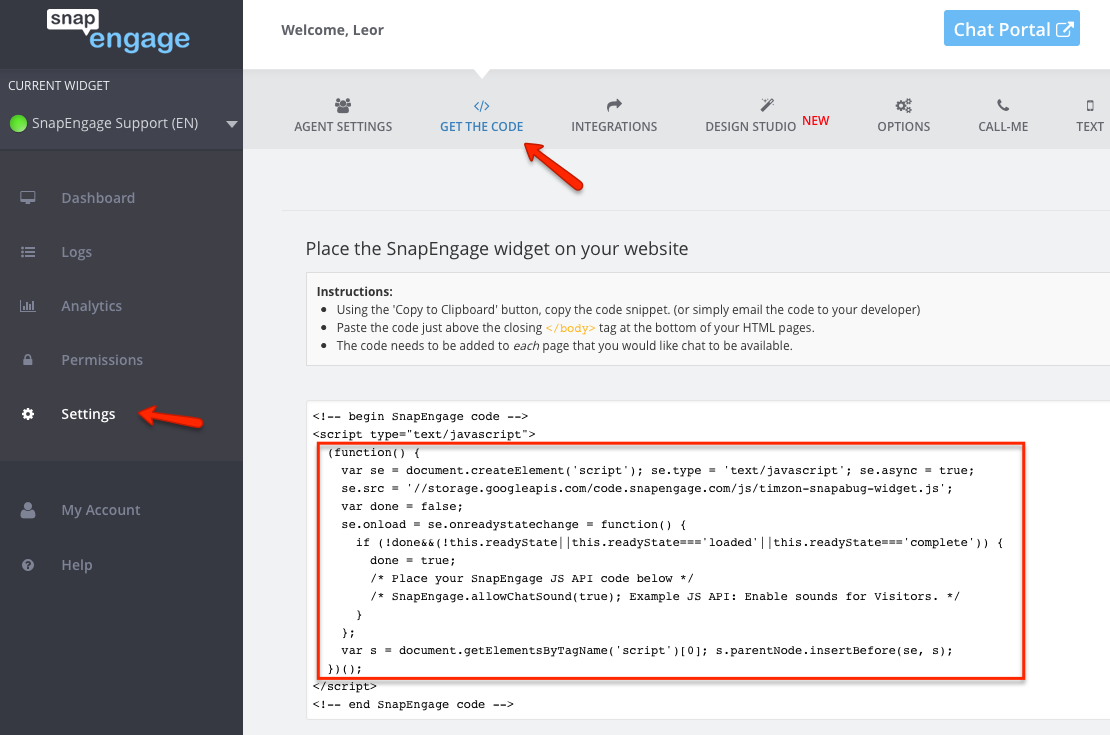
- Paste the code at the end of the JS section, click on the Save button and then select publish changes to finalize.
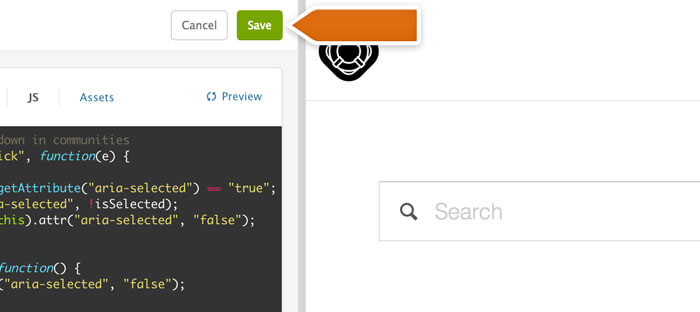
You will be able to chat with visitors and track them on your Helpcenter page. To add a chat button to your Helpcenter page, follow these steps:
- Log in to you Helpcenter and select Customize Design.
- Click on the Edit theme button.
- Next, you need to get the chat button code. Log into SnapEngage dashboard and go to the style section to get it.
- Your SnapEngage Configuration you may now see our “Floating Button” on the side of your Zendesk page when you view it.If you don’t want to use this “Floating Button,” or if you would like to have an “Inline Button” in addition, please follow the steps here.
- Hit Save and then Publish changes to finalize.
The button will now appear on your Helpcenter page.
We hope you found this document clear, thorough, and helpful. Please get in touch with us if you need further assistance.
Published January 18, 2012


