Home > My Salesforce agent mapping does not seem to be working!
Categories: Integrations & Plugins
(Last Updated On: August 4, 2021)
About This Article
The purpose of this article is to provide a comprehensive overview of why your Salesforce agent mapping does not seem to be working.
If you use an Assignment Rule for Cases or Leads, you may need to configure these rules so the SnapEngage agent mapping feature works correctly.
To check your Assignment Rules in Salesforce, follow these steps:
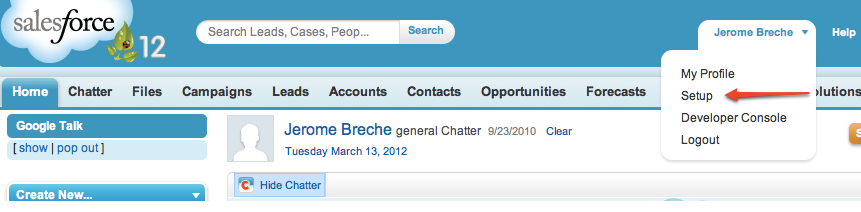
1. From your Salesforce account, select Settings
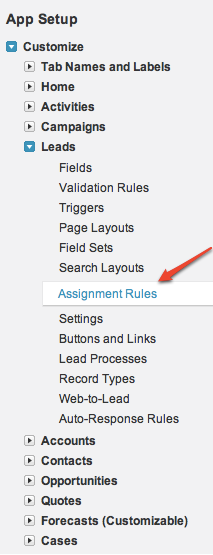
2. On the left side menu navigate to Assignment Rules, under App Setup –> Customize –> Leads (or Cases)
3. Determine if you have an active Assignment Rule. If you do, then complete step 4 for each Assignment Rule
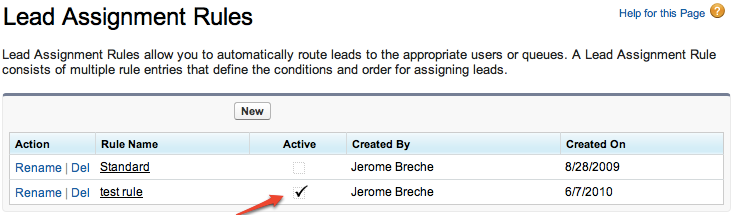
4. Click the Rule to open details, below you will see a listing of Rule Entries – Add a new Entry.
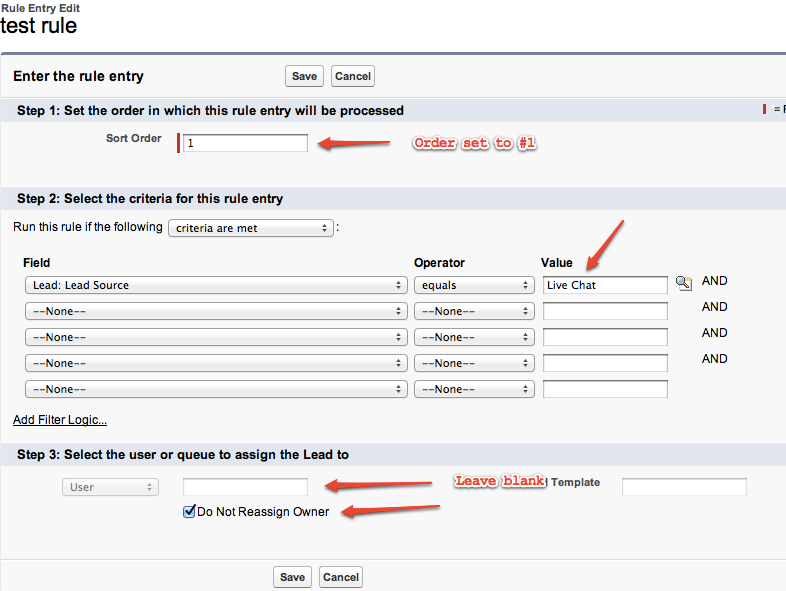
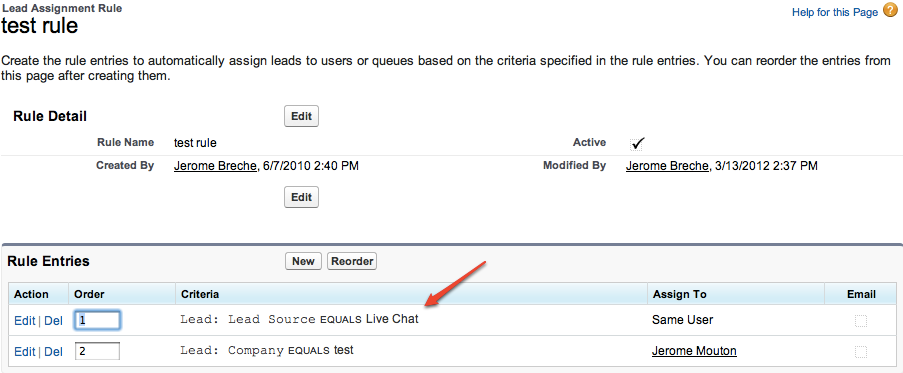
For Salesforce Leads
Create a Rule Entry that evaluates if LeadSource equals “Live Chat”.
This will be true for all Leads created from SnapEngage Live Chat via Salesforce API.
Verify the Rule Entry creation for Leads was successful
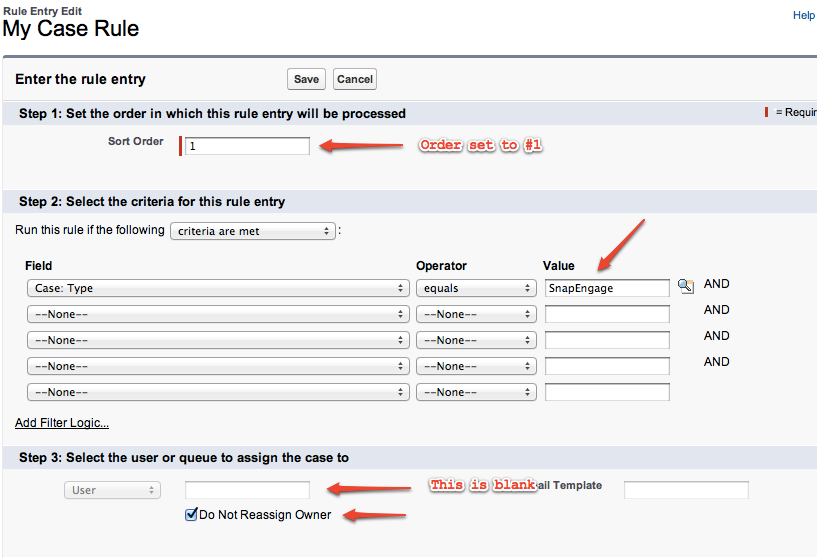
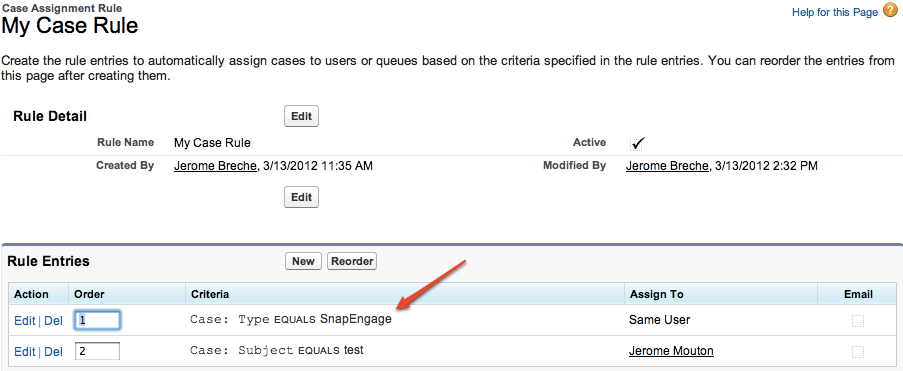
For Salesforce Cases
Create a Rule Entry that evaluates if Type equals “SnapEngage”.
This will be true for all Cases created from SnapEngage Live Chat via Salesforce API.
Verify the Rule Entry creation for Cases was successful
Your Salesforce Leads or Cases created from SnapEngage should now be assigned the correct owner.
Did you find this article helpful?


 (4 votes, average: 3.25 out of 5)
Published March 13, 2012