Home > Adding SnapEngage to your Salesforce Customer Portal
Categories: Integrations & Plugins
(Last Updated On: )
About This Article
The purpose of this article is to provide a comprehensive overview of how to add SnapEngage to your Salesforce Customer Portal.
Create an HTML file that will be used as the portal footer:
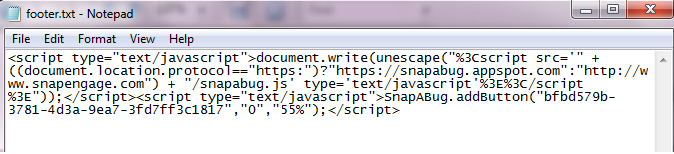
1) Using your preferred text editor, create a file: footer.txt
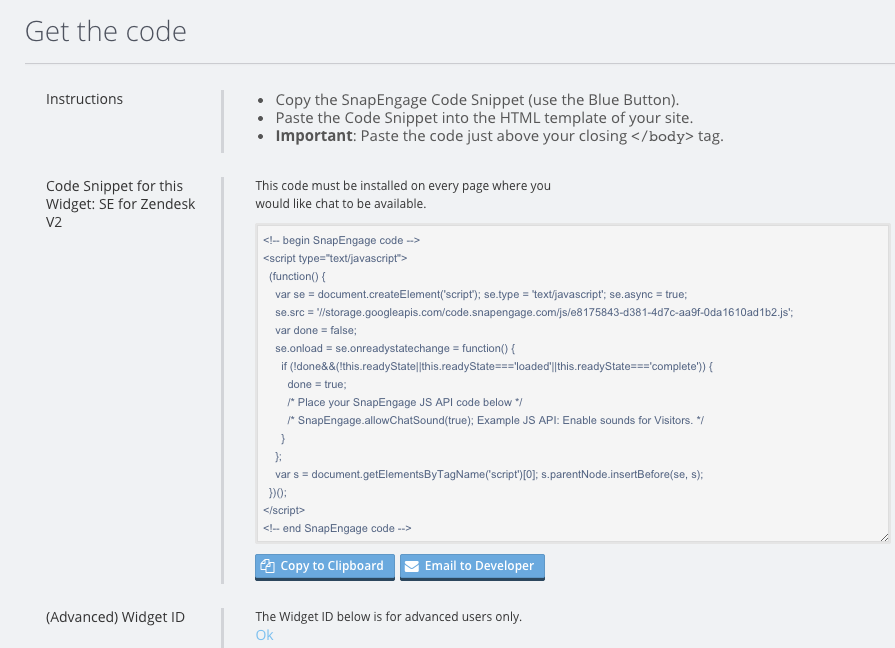
2) Copy and paste the SnapEngage JavaScript from the SnapEngage Admin Dashboard “Get The Code” tab, into your footer.txt file
3) Save the footer.txt file to your computer
Now configure your SalesForce Portal:
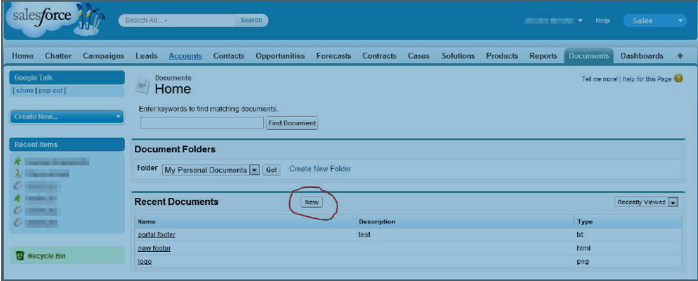
4) Launch Salesforce and navigate to the “Document” tab and create a new document, for this example we will use “portal_footer” as our document name
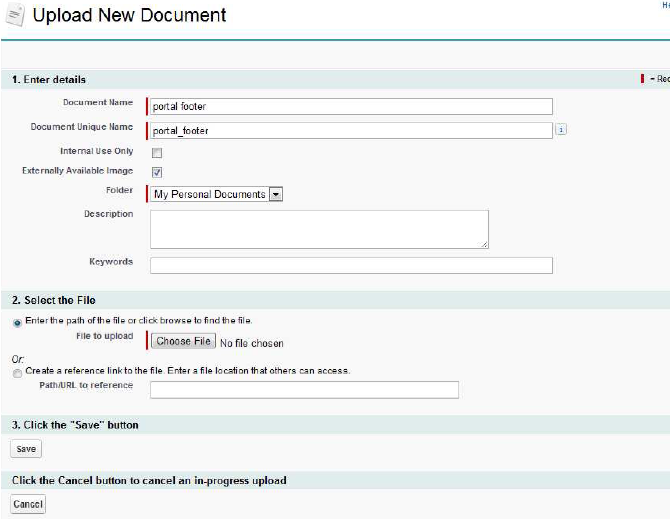
5) Give your Salesforce document an appropriate name (portal_footer) and check the box next to “Externally Available Image”
6) Click on “Choose File”, select your footer.txt file and click “Save”
Adding the footer file into the portal:
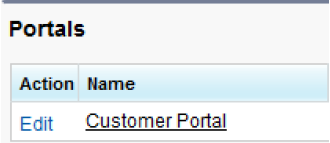
7) In Salesforce Setup, go to “App Setup” and click on the “Customer Portal” category.
- Click on “Manage your Customer Portal Settings”
- Click on “Edit” next to the portal you want to update
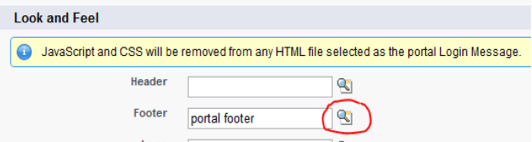
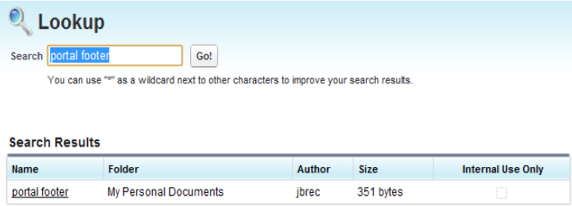
8) In the “Look and Feel” section, click on the magnifying glass, find your footer html file you created (in this example portal footer) to the footer section and click “Save”
Congratulations…..you can now chat with your Salesforce Customer Portal users!!!
Did you find this article helpful?
 (1 votes, average: 5.00 out of 5)
Published January 18, 2012