Home > Post Chat Survey
Categories: Chat Settings
(Last Updated On: )
About This Article
This article explains the post chat survey which allows your website visitors to provide feedback at the end of each chat.
The Agent Survey feature allows your website visitors to provide feedback at the end of each chat. The survey will be shown to the visitor regardless of who closes the chat. The feedback is then made available to agents via the Conversation HUB and to admins via the Survey report in the Agent Performance analytics.
Troubleshooting Tip: If you have enabled this feature inside your Admin Dashboard, yet your visitors aren’t seeing the survey at the end of a chat, you might have the old SnapEngage code snippet installed on your website. It’s time to update your code snippet!
To configure this feature sign into the SnapEngage Admin Dashboard and select the “Options” tab. Scroll to the “Agent Survey” section where there are three different survey options to choose from:
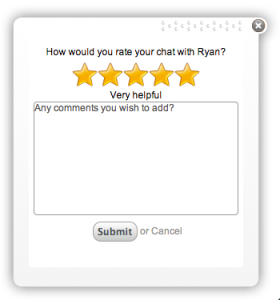
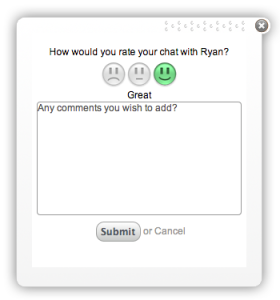
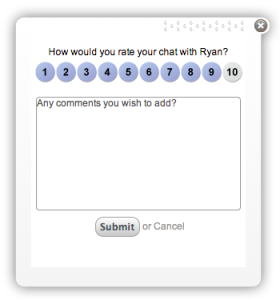
After selecting the desired survey type click on the “Save” button. Once this is done the survey will be presented to the visitor at the conclusion of the chat where they have the opportunity to fill it out or simply close it. Anytime the visitor clicks on any of the scoring metrics (stars, smileys, numbers) the score is recorded as part of chat. Once they click on any of the metrics a text field is shown where the visitor can enter any additional comments. Those comments are only recorded if the visitor clicks on the “Submit” button.
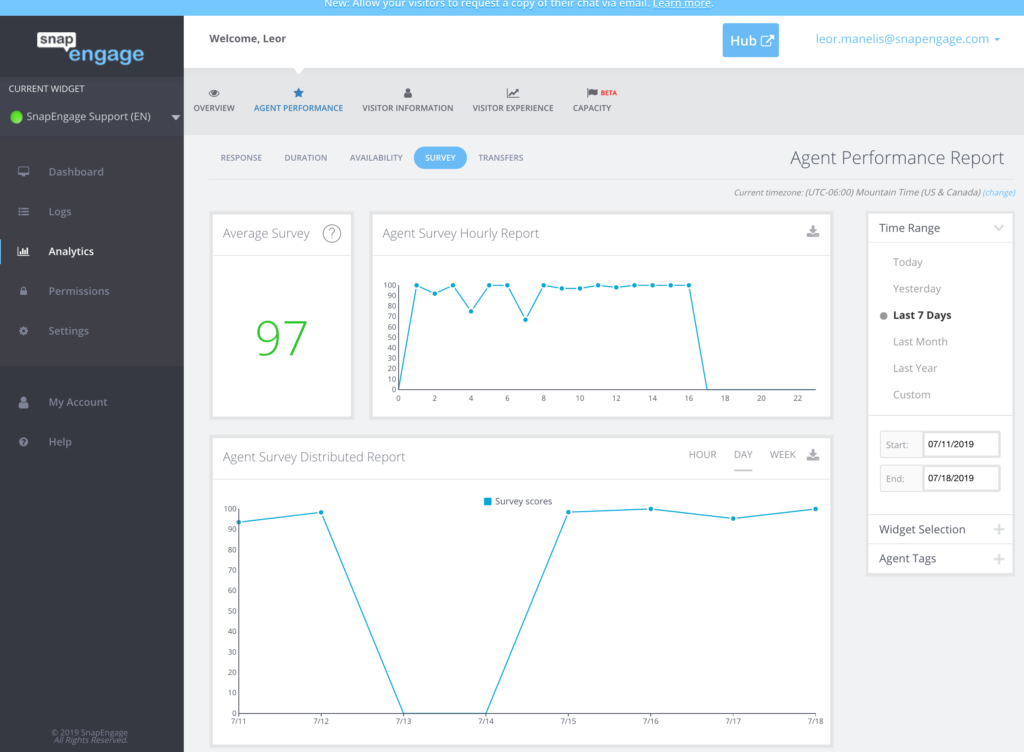
The survey results can be viewed by admins by selecting the “Survey” report in the “Agent Performance” analytics.
The survey will be normalized to a number between 0 (lowest rating) to 100 (highest rating). With the 5 star rating this would be:
1 star: 0 points
2 stars: 25 points
3 stars: 50 points
4 stars: 75 points
5 stars: 100 points
For the smileys, this would be as follows:
🙁 = 0
😐 = 50
🙂 = 100
For the 1 to 10 rating, this would be as follows:
1 = 10
2 = 20
3 = 30
4 = 40
5 = 50
6 = 60
7 = 70
8 = 80
9 = 90
10 = 100
Please note that for the sake of simplicity, the 1-10 rating starts at 10 rather than 0.
In addition, agents will be able to view their survey results under the Conversations tab section of Hub. You should see something like this displaying results.
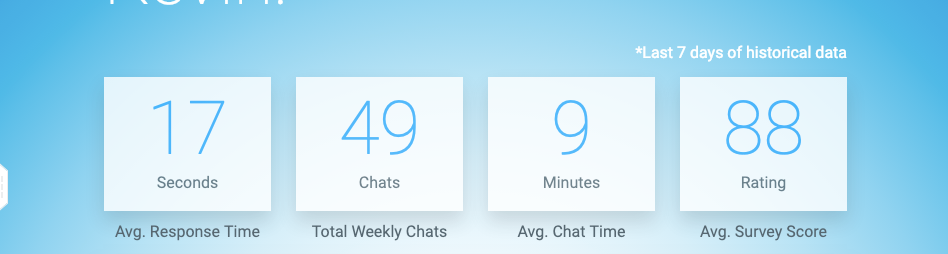
The stats numbers shown are the averages over the last seven days ,with the arrows indicating if the number has gone up or down over the seven prior days. Please be aware that if the option to delete data after sent to the integration is enabled, the survey comment will not be saved.
Did you find this article helpful?

 (20 votes, average: 4.30 out of 5)
Published July 18, 2014