Home > How to add SnapEngage Live Chat to your Prestashop
Categories: Integrations & Plugins
(Last Updated On: )
About This Article
The purpose of this article is to provide a comprehensive overview of how to add SnapEngage Live Chat to your Prestashop.

Use SnapEngage Live Chat to automatically engage your website visitors and turn them into customers on your Prestashop.
Here is a link with info to set up your PrestaShop:
Or watch a tutorial video in the link above, also found here :
https://www.youtube.com/watch?v=psz4aIPZZuk
To install SnapEngage on your PrestaShop, you first need to have your SnapEngage JavaScript code available. You can find this in the Get The Code tab of your account settings.
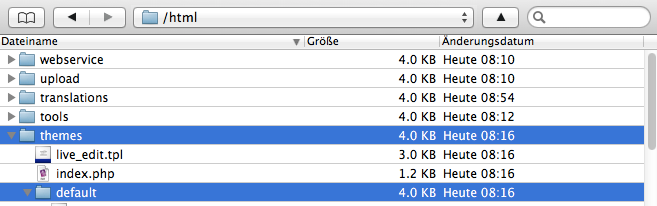
1) go to your Prestashop home directory in a FTP client of your choice, then navigate to the Themes folder and open your installed theme (in a new installation it will be the default one)
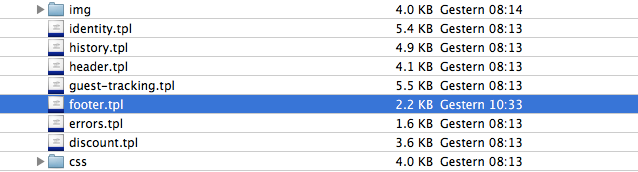
2) navigate to “footer.tpl” file and open it in an editor of your choice, and save a backup of this file!
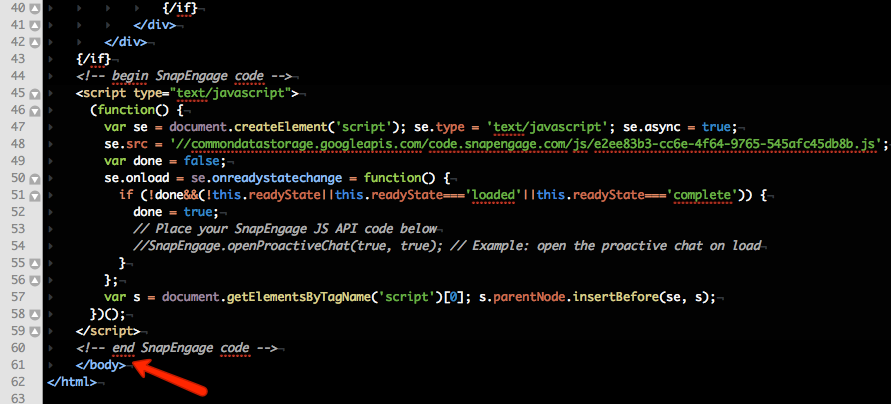
3) copy & paste our JavaScript code to this file, just before the closing </body> tag at the end:
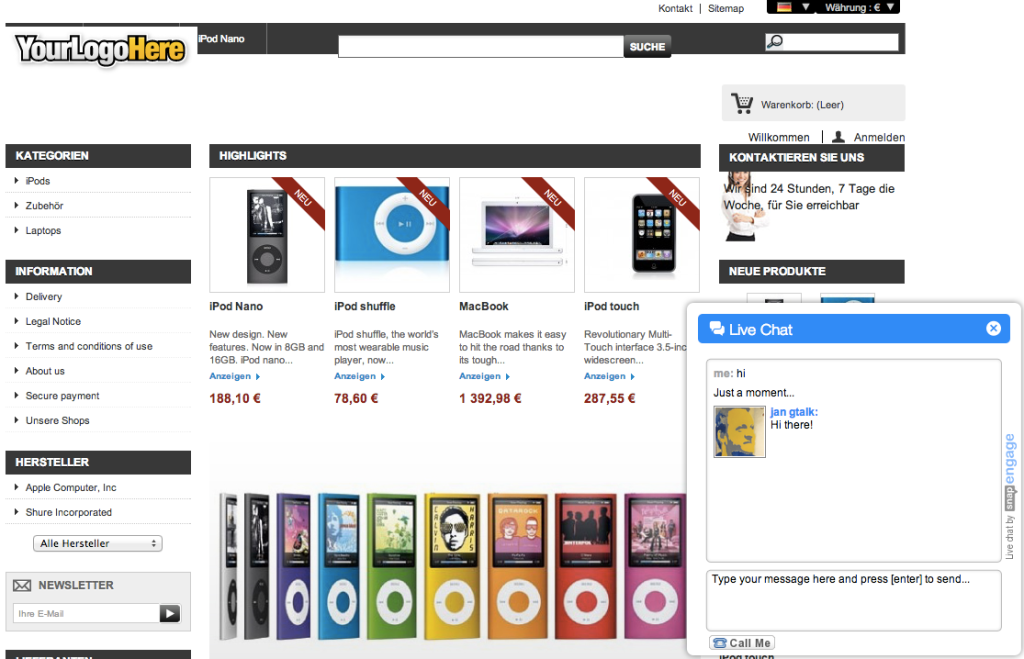
4) Congratulations, you have now installed SnapEngage on your Prestashop!
You should see a small green button, reading “help,” floating at the side of your website and can start a chat now.
– To activate the chat, you can now sign in to the Web Client.
You can find the following steps to get your chat set up here in our Getting Started help article.
Did you find this article helpful?


 (3 votes, average: 2.33 out of 5)
Published September 18, 2013