Home > How to create an integration with Zapier and Google Sheets
Categories: Integrations & Plugins | Tips & Tricks
(Last Updated On: )
About This Article
The purpose of this article is to provide a comprehensive overview of how to set up an integration with Zapier and Google Sheets.
Thanks to our Post API, you can also integrate SnapEngage using Zapier and send data over to google sheets, or other apps!
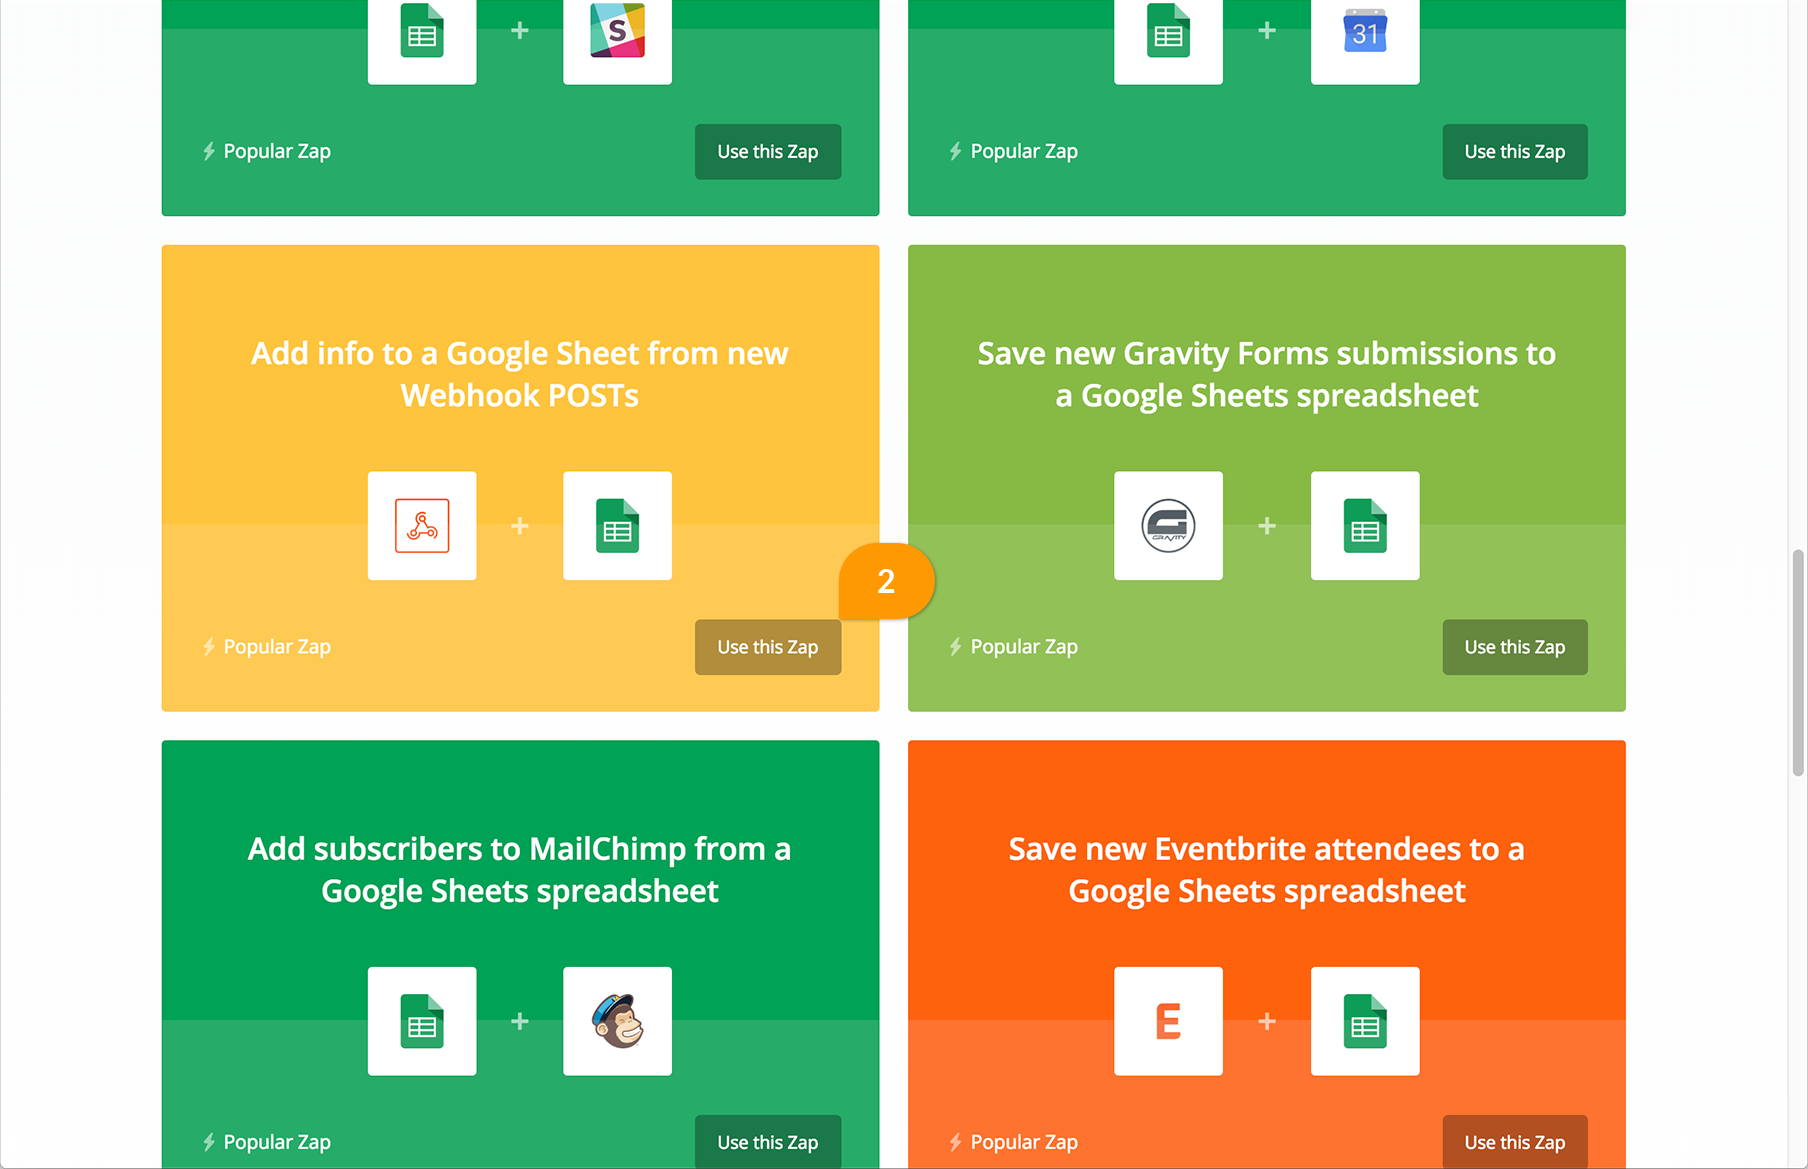
1- On Zapier, from the apps, select “Google sheets”

2- Scroll down and use the Zap “Add info to a google sheet from a new Webhook POSTs” (other ones may work, but the instructions may differ slightly)
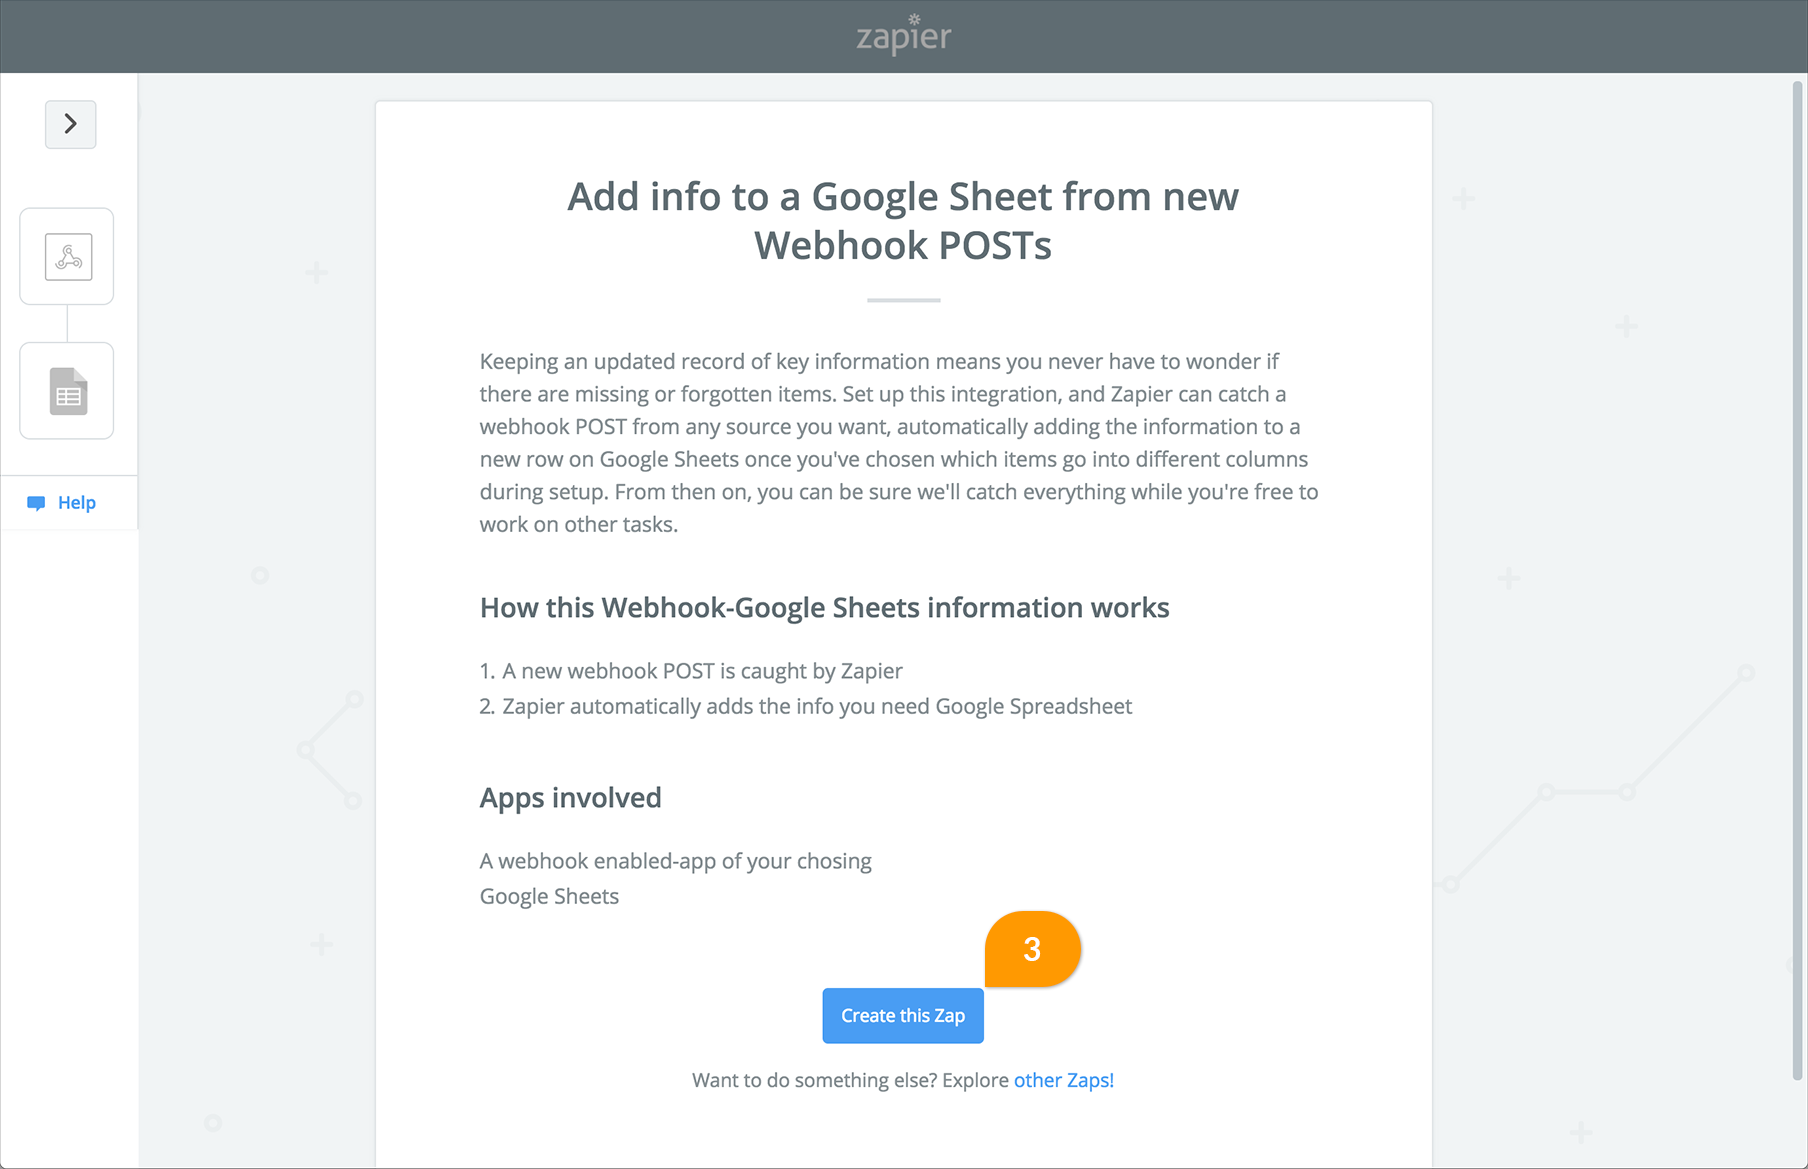
3- Create the Zap
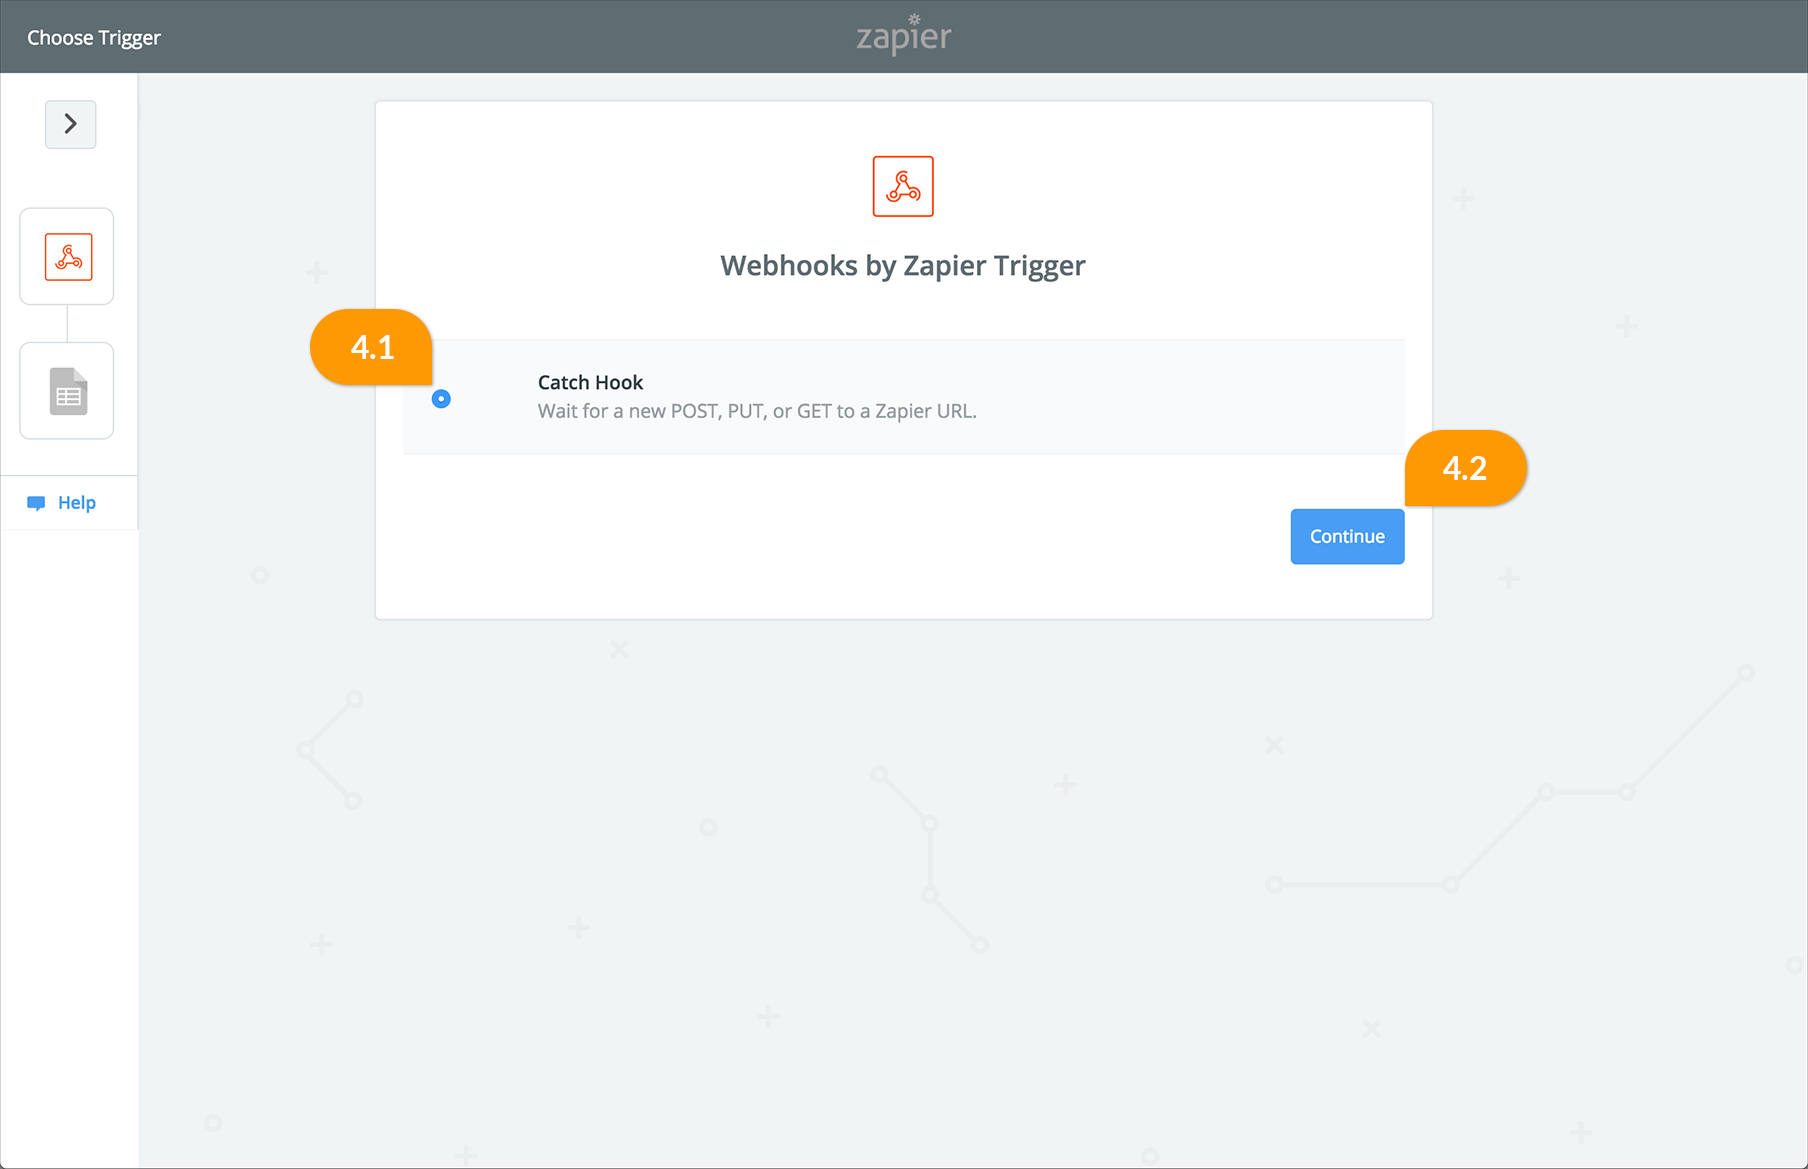
4- Select Catch Hook (4.1), and continue (4.2).
5- I would recommend leaving the next screen empty unless you are an expert on JSON, just click continue.
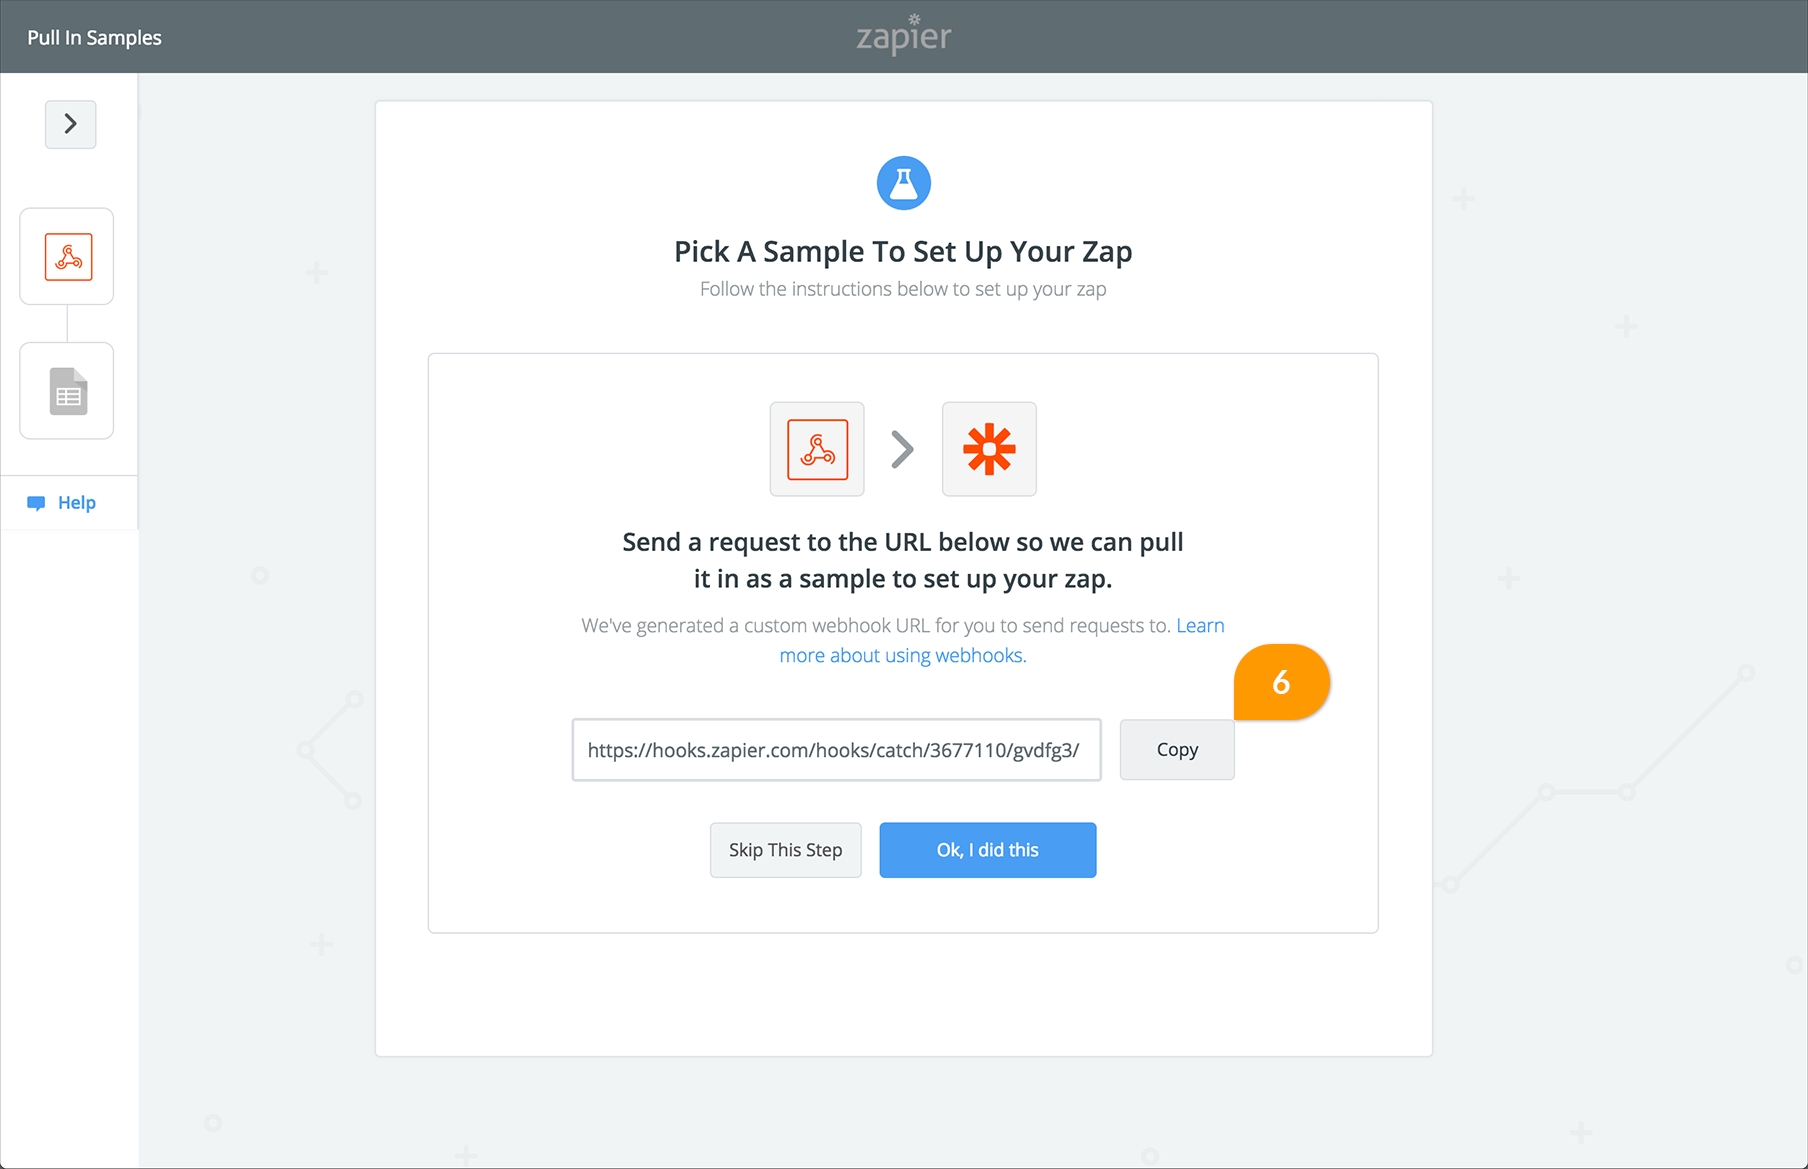
6- Copy the URL from the clipboard
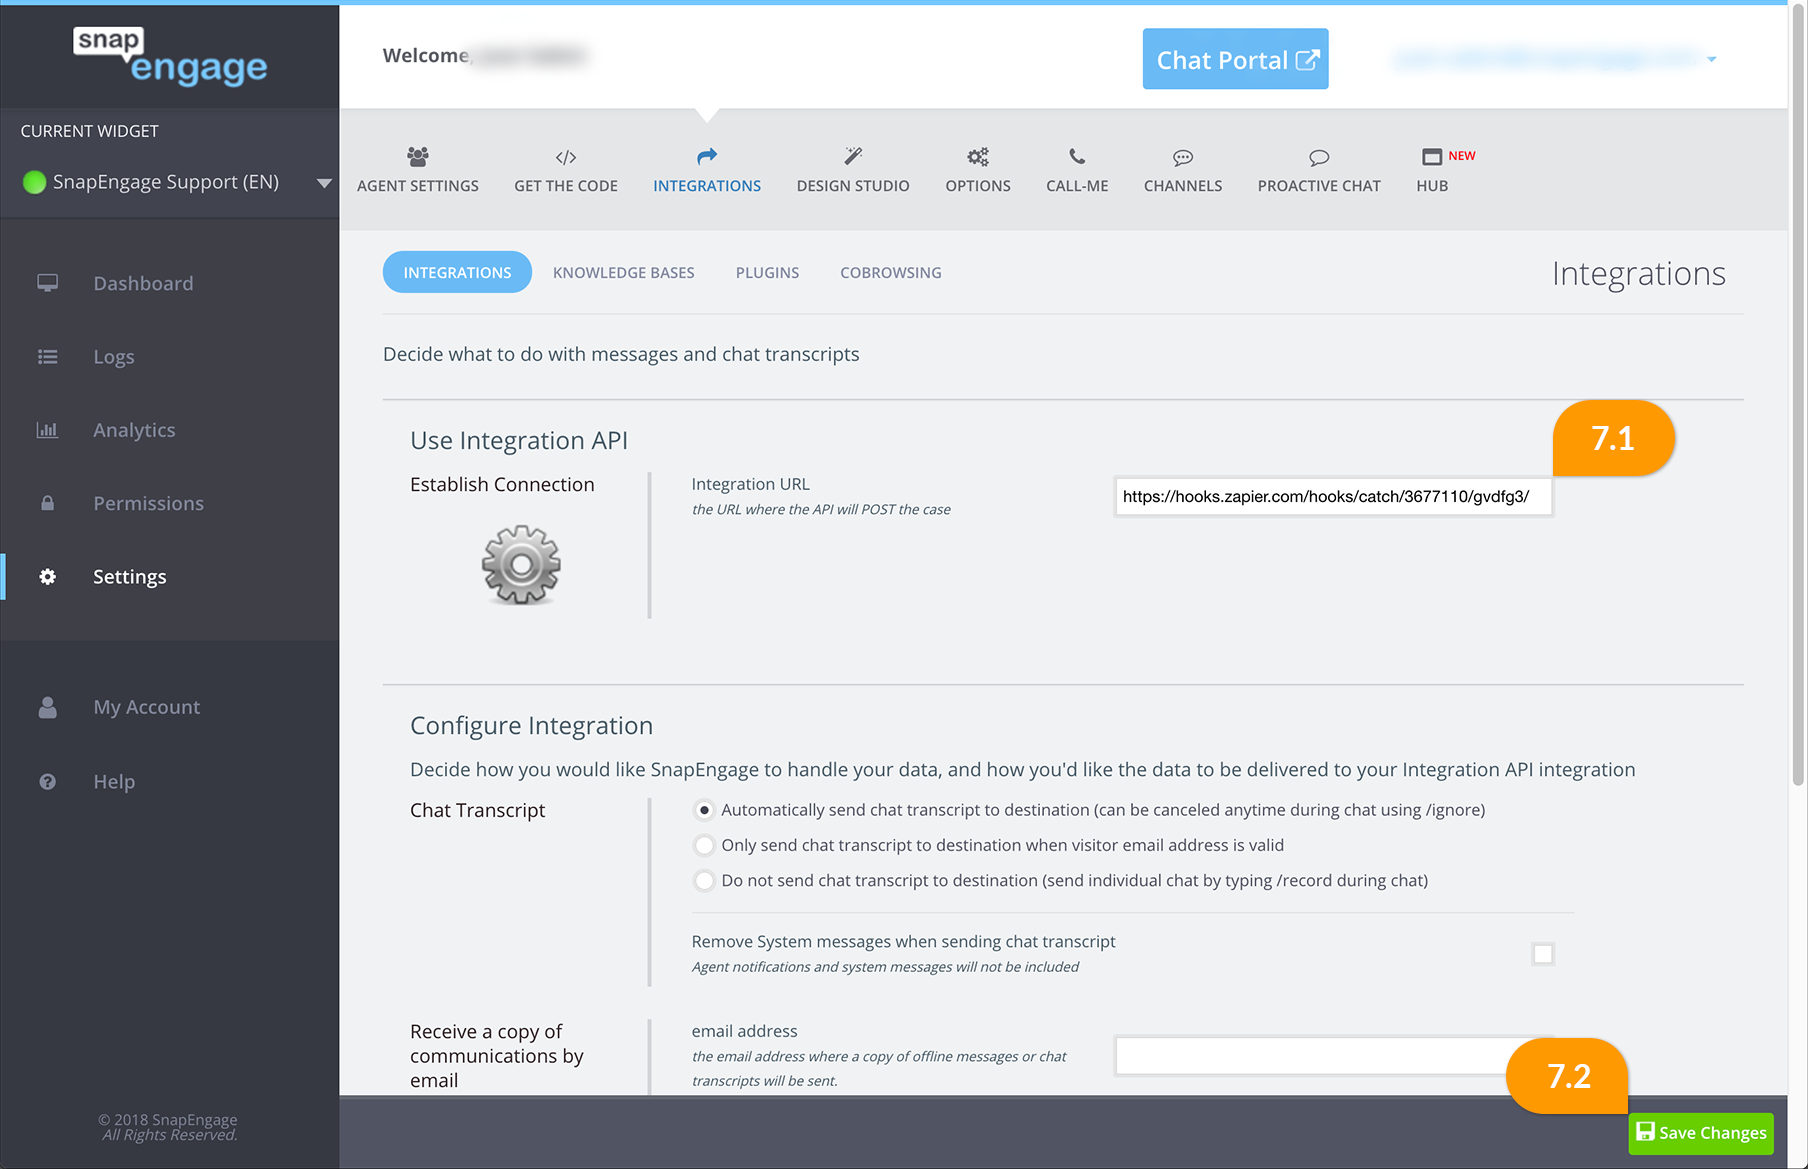
7 – On the SnapEngage dashboard, go to Settings – Integrations, select “Integration api”, and paste the URL on the Post event URL field (7.1), and save (7.2) :
8 – Back on Zapier, click on “OK, I did this” (this step can take a few minutes). You may need to start a chat, respond and close it, so that the hook gets something to test
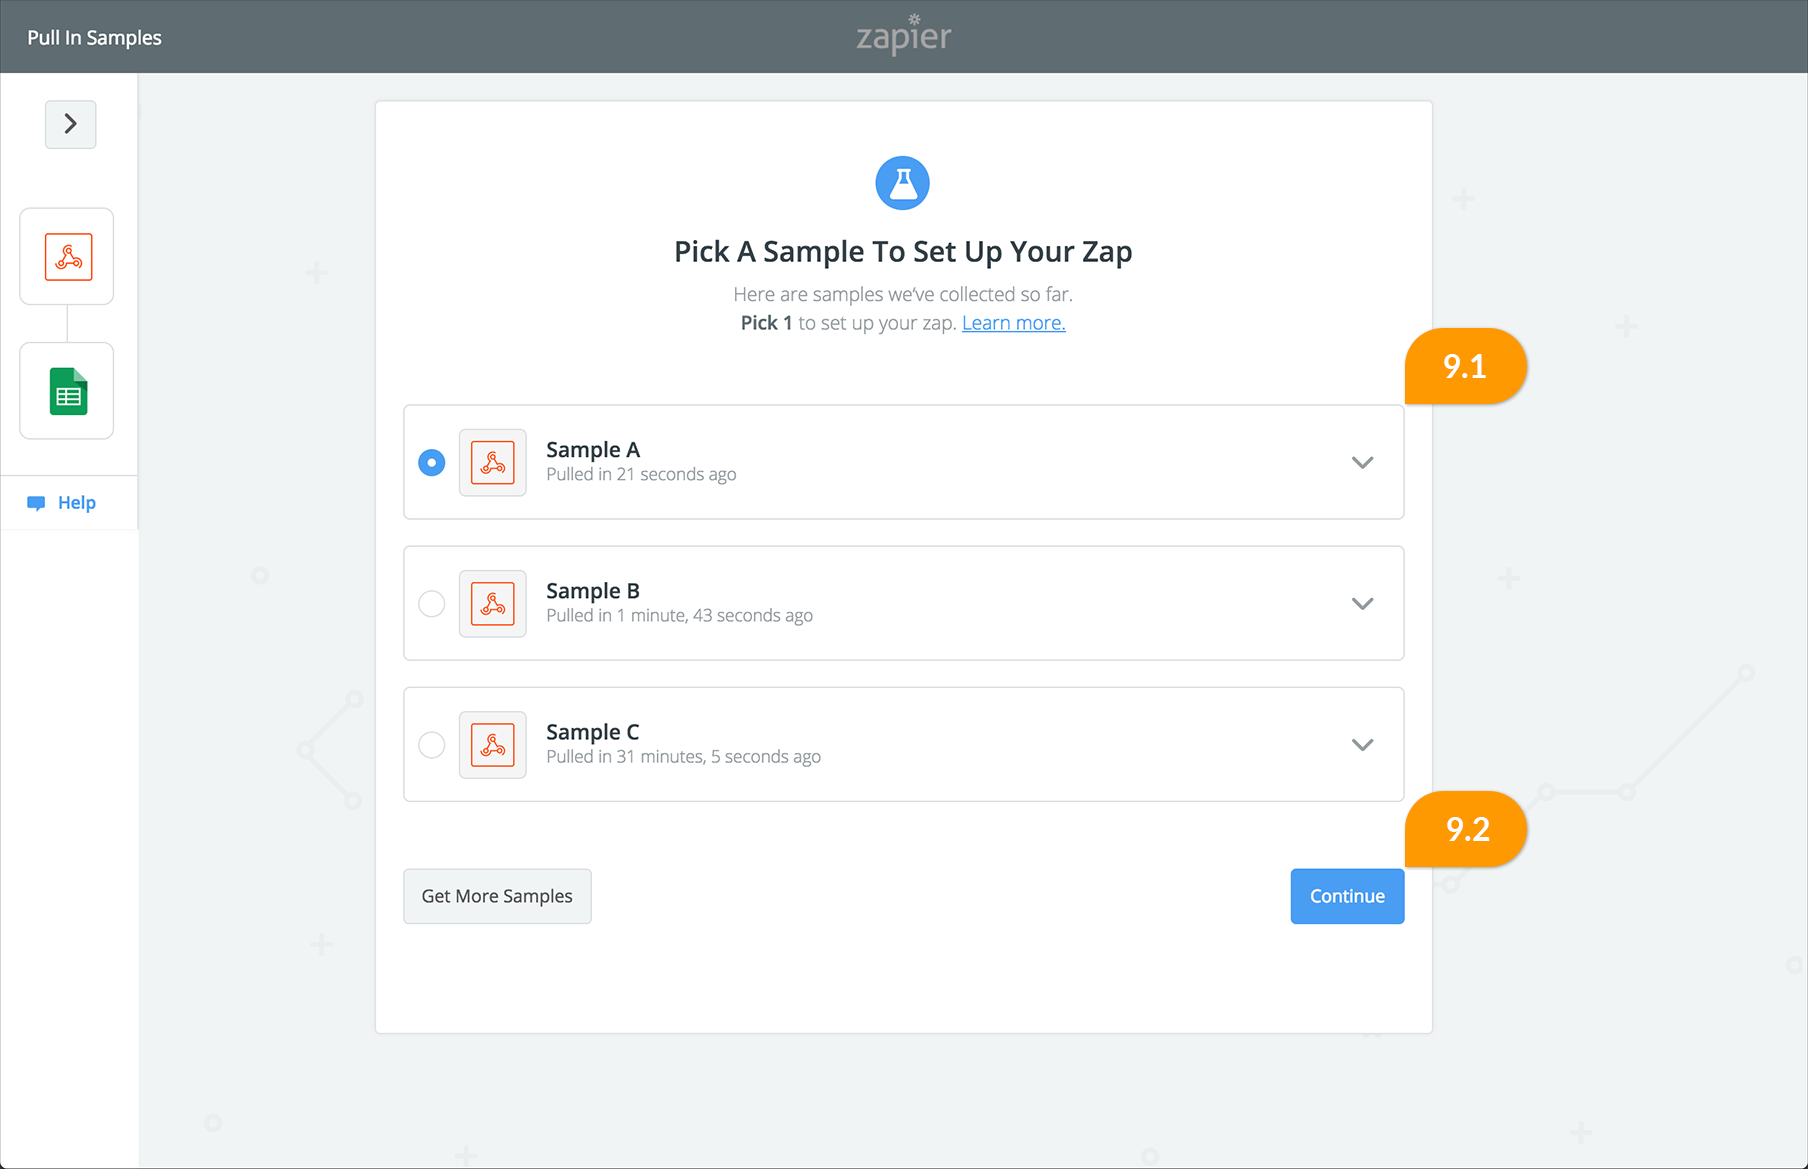
9 – You will get a sample for every chat, select one (9.1) and continue (9.2)
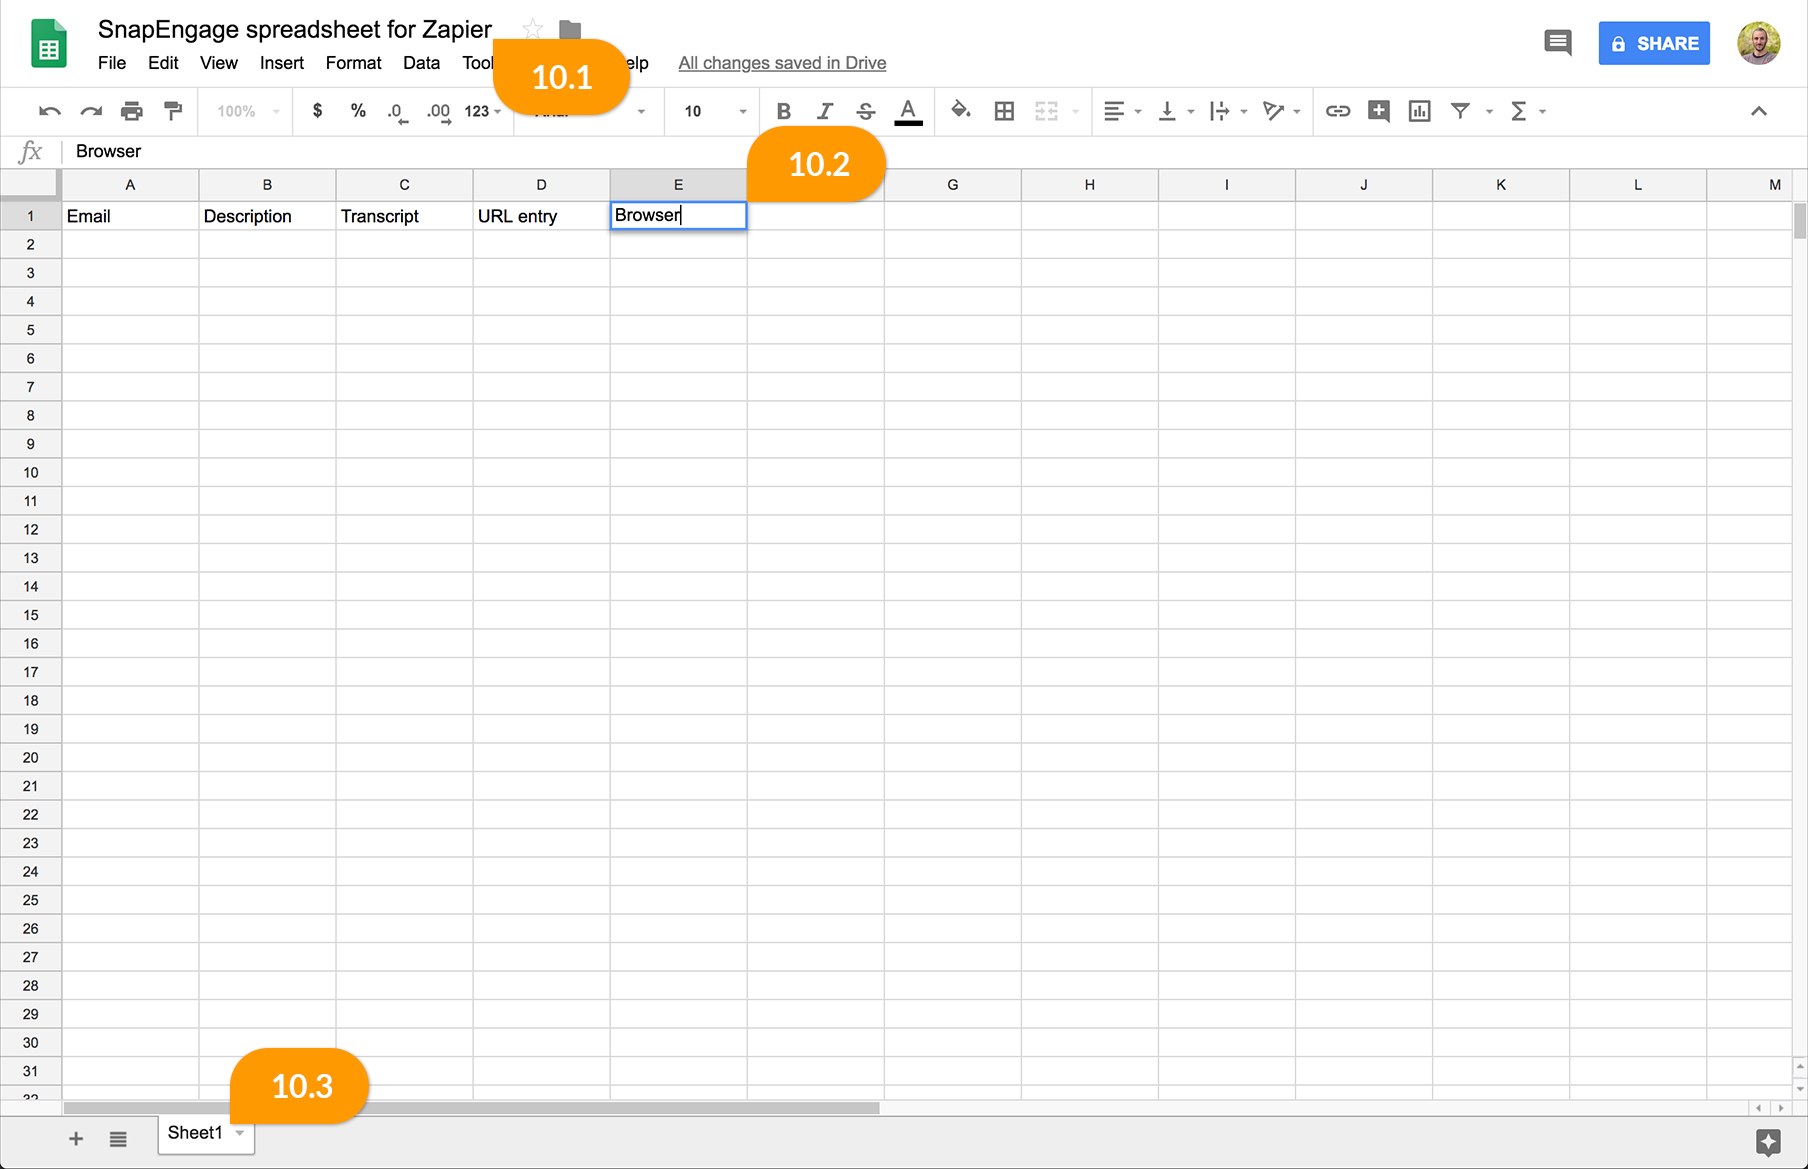
10 – Then go to your Google Drive and click on New – New google sheets, to create a new spreadsheet. Give it a name (10.1) and add some headers depending on the data you want to receive (10.2) also, you can edit the sheet name (10.3).
11- Back to Zapier, click on “Create spreadsheet Row” and continue
12- Connect Zapier to your google account, then save and continue
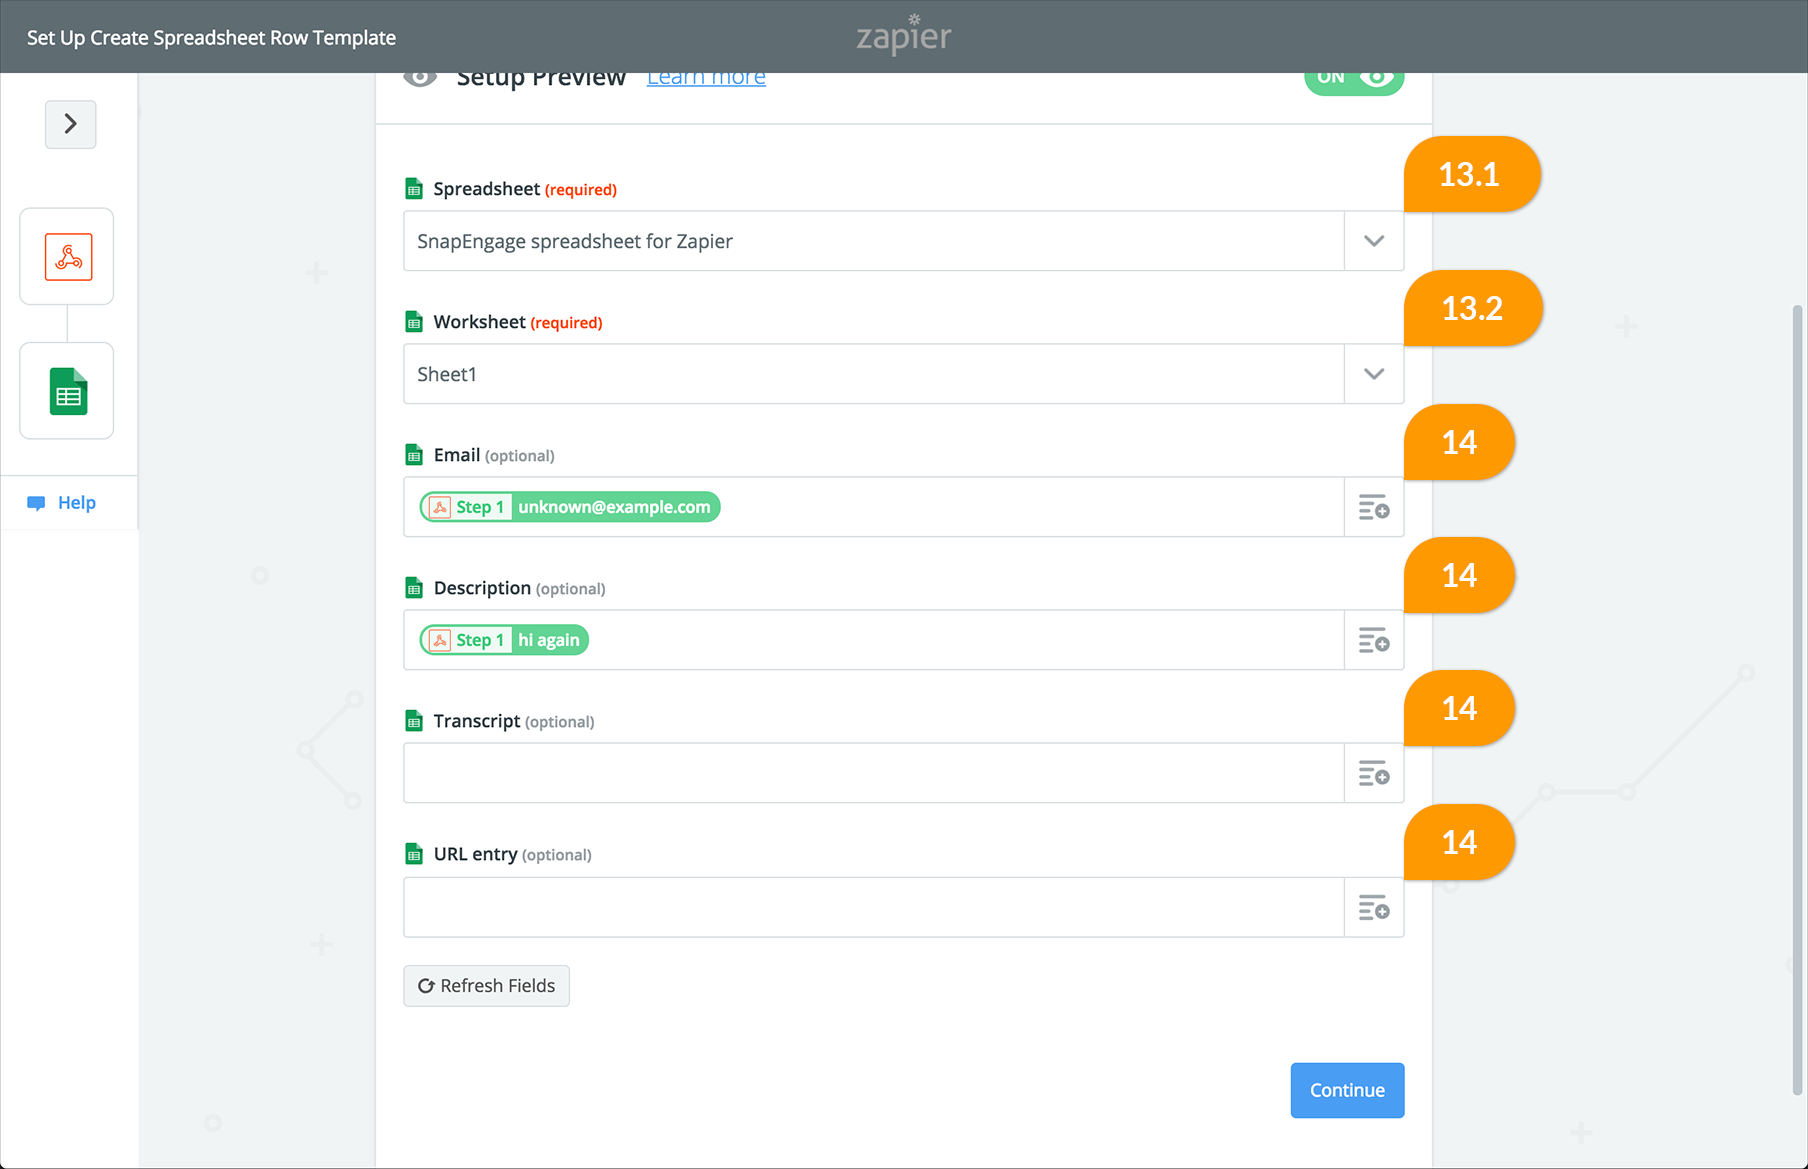
13- Under Spreadsheet, select the name of the spreadsheet you have created (13.1), under worksheet, select the sheet on that document (13.2), by default Sheet1 (as screenshot above)
14- Once you have chosen these two, you will need to map the fields (14), which is basically telling Zapier what SnapEngage values you want to fill those fields with and click Continue:
15- Click on Send to google sheets, or skip the test
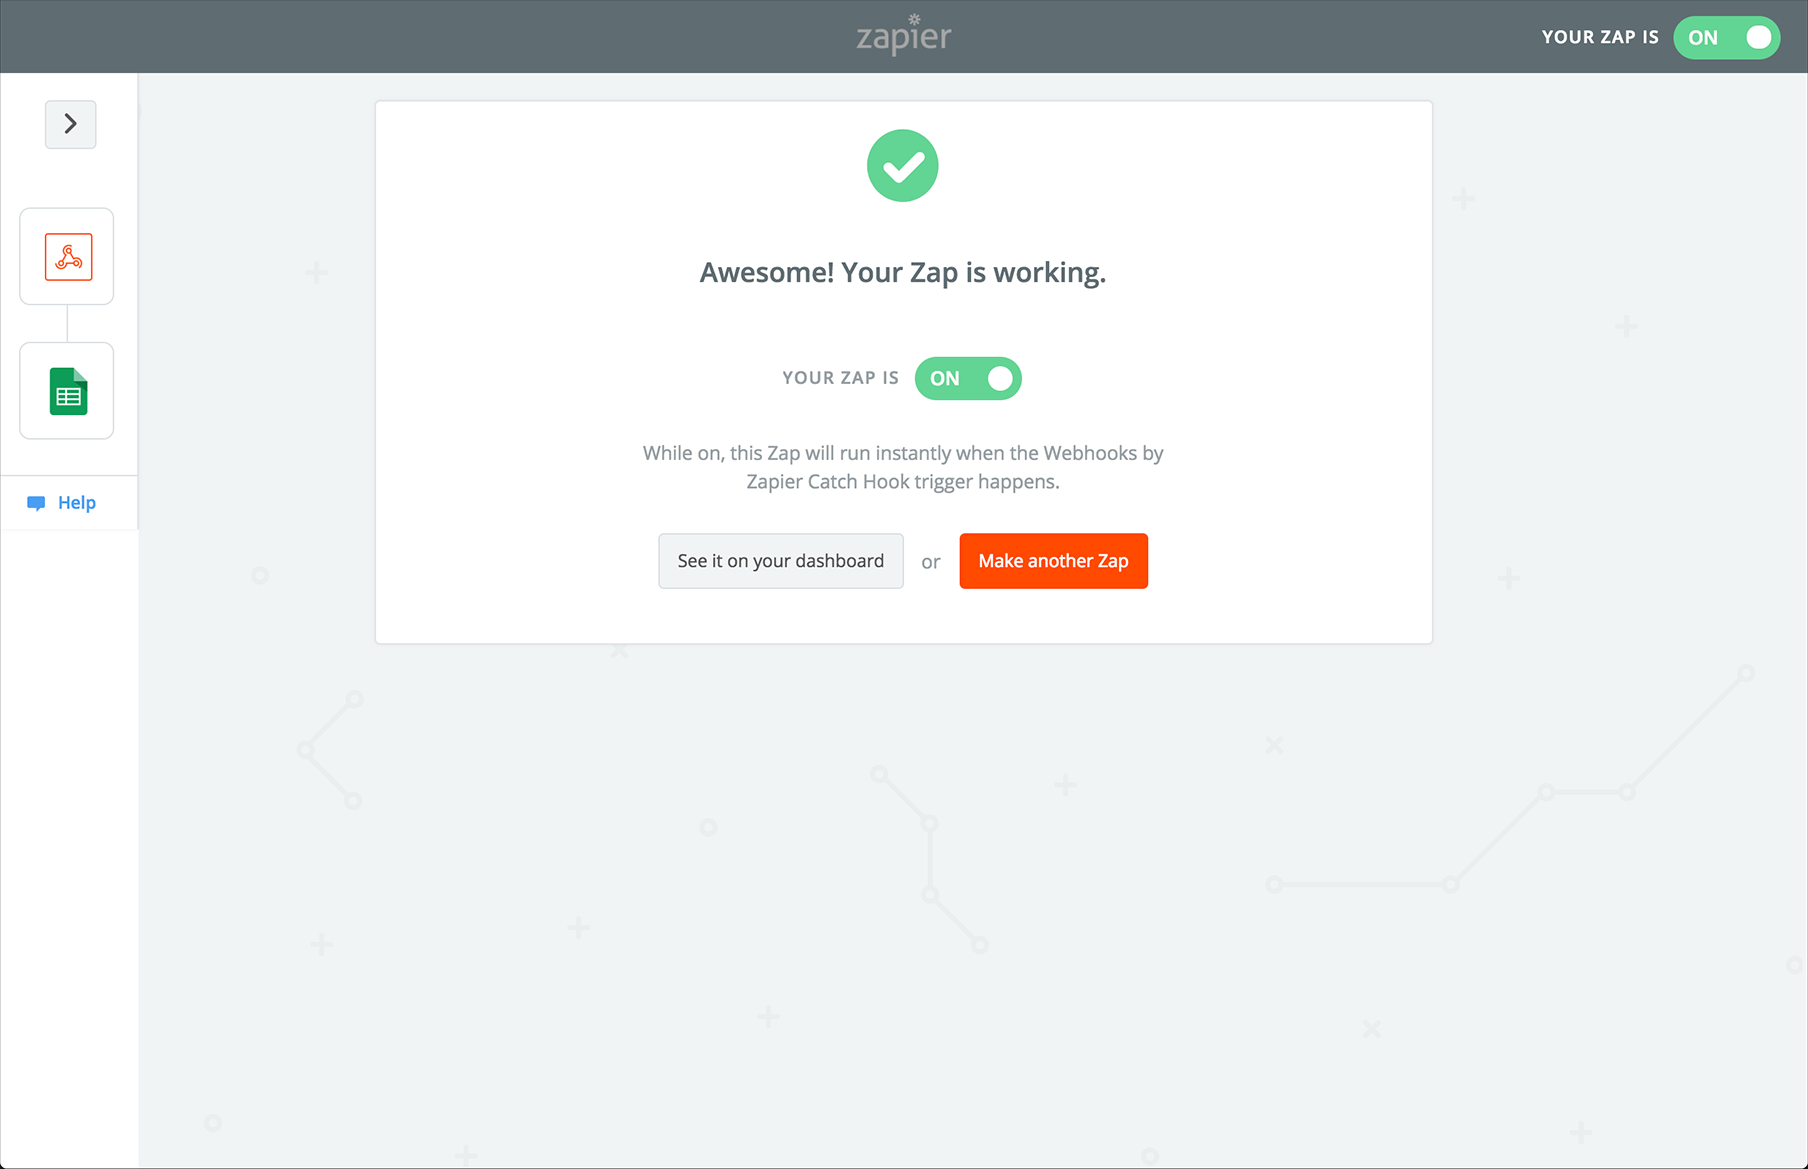
16- Click on Finish, and turn the zap on!
Did you find this article helpful?
 (1 votes, average: 5.00 out of 5)
Published March 1, 2018