Home > How to integrate SnapEngage with HubSpot
Categories: Integrations & Plugins
(Last Updated On: )
About This Article
The purpose of this article is to provide a comprehensive overview of how t0 integrate SnapEngage with HubSpot.
You can configure SnapEngage to send chat transcripts and offline requests directly to HubSpot.
Follow the steps below to configure your HubSpot integration. Or check out an overview of HubSpot live Chat integration.
Step 1: Set up HubSpot in SnapEngage
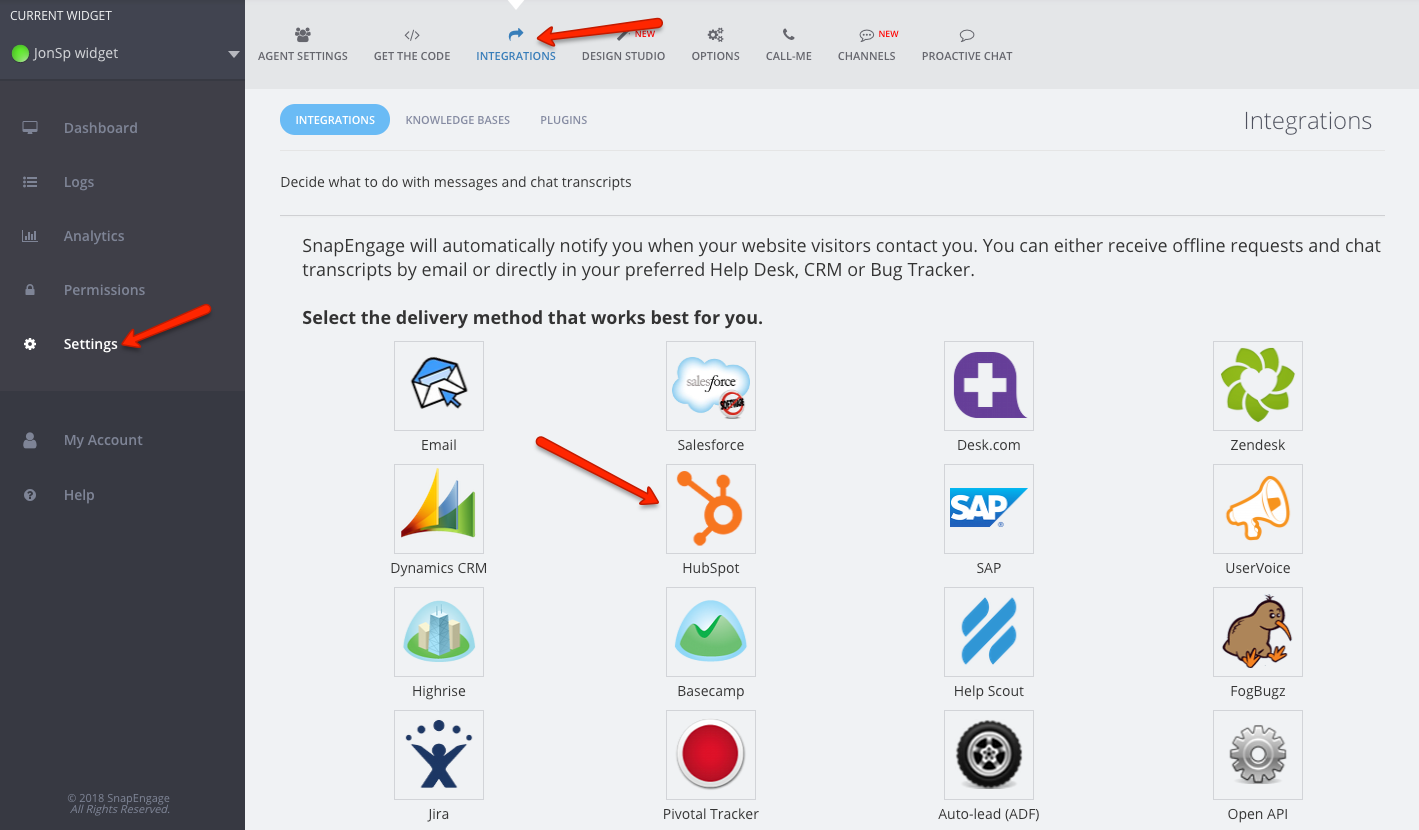
First, log into your SnapEngage Admin Dashboard. In your Settings, click into the “Integrations” tab, then click on the HubSpot icon.

On the next screen, enter your HubSpot Portal Id.
You can find your HubSpot Portal Id here.

Next click on green button “Connect to my HubSpot Account”
You will see a pop-up window with HubSpot authentication, if you are not connected to HubSpot enter your credentials.
**If you do not get a pop-up, you may have a pop-up blocker on. You will want to allow pop-ups to finish configuration**
In the next screen, enable ‘Grant access’ and press ‘ok’.
Once access is allowed, if the connection is good you will see the word ‘Connected’ and your settings will be saved.

Step 2: Configure Integration
How should SnapEngage Update your HubSpot Contact?
Select the method you prefer when updating Contact.
“Don’t update existing Contact, only create new ones” means that if there is a contact matching the email address in HubSpot, no information will be updated. If there is no contacting matching, one will be created.
“Update Contacts, overwriting any existing data with details from Live chat” means data sent from chat will overwrite data in the contact. If there is no contact, one will be created.
“Update contacts, only append details” means any new information from Live chat will be appended to the contact. If there is no contact, one will be created.
When should transcripts be sent?
Select when you would like chat transcripts sent to your destination.

Receive an additional copy by email?
Enter an email address and select whether you would like to receive offline request, live chat transcripts, or both. You can have these sent to you by the visitor, or from SnapEngage.

**Be aware that if your visitor is chatting to you via Facebook or SMS to chat we will not be able to send the transcript through and create a contact unless you get the email address from the visitor, as this is a Hubspot requirement.**
Custom Mappings
You can configure custom field mappings to populate data in your HubSpot system with details from SnapEngage.

In this example, you can see 5 different custom mappings to HubSpot Properties.
Mappings 1,2 – are simple text values to Lifecycle Stage Property in HubSpot. The first mapping will set Lifecycle stage as “subscriber” for offline messages. The second mappings will set Lifecycle stage as “lead” for Live chats. Please note that the words “subscriber” and “lead” must be lowercase for this to work.
Lifecycle Stage is a commonly used Hubspot field and the five available stages you can use for this mapping are subscriber, lead, marketingqualifiedlead, salesqualifiedlead, customer, evangelist, other and opportunity.
Mappings 3,4,5 – are Javascript variable values that are mapped to Properties (First Name, Last Name and Company) in HubSpot. In this case, we are using a pre-chat form with Design Studio, and that is where we are getting the information to populate that. Note the name, email and transcript fields are mapped by default and do not require custom mapping and duplicating these fields with custom mapping could cause errors.
Do you want the agent handling the chat to decide the lifecycle stage? Then, why not use it as a label and map it? If you use labels, you can also run a report in SnapEngage.

Be sure to hit save!
Published January 15, 2013
Reader Feedback
No comments yet


 (10 votes, average: 4.00 out of 5)