Home > SSO via SAML 2.0 and Microsoft Active Directory Federation Server (ADFS) with SnapEngage
Categories: Integrations & Plugins
(Last Updated On: )
About This Article
The purpose of this article is to provide a comprehensive overview of how to SSO via SAML 2.0 and Microsoft Active Directory Federation Server (ADFS) via SnapEngage.
SSO via SAML 2.0 and Microsoft Active Directory Federation Server (ADFS) with SnapEngage
With the SingleSignOn (SSO) feature, it is now possible to login into SnapEngage using a SAML (Security Assertion Markup Language) identity provider, rather than logging into SnapEngage with a username/password from our sign-in page. The SAML/SSO feature is available for Enterprise customers.
In a nutshell, SAML is a standard for authentication that allows a user to login one time for separate (all) web sites that require password authentication. Thus, by implementing this protocol, you can have a sign-in process that is easy to hook into from other systems. By providing your team with their SSO accounts, they will be able to login to SnapEngage (and other possible services that you are using) once without having to create and manage different login information and passwords.
Requirements
You need the following components:
- A SnapEngage Enterprise plan with at least 2 chat agents: for security reason the master SnapEngage account (i.e. firstly created account) can’t connect through SSO authentication).
- An Active Directory Federation Server (AD FS) up and running. For more information on deploying an AD FS server please refer to this Microsoft KB article : https://msdn.microsoft.com/en-us/library/gg188612.aspx
- An Active Directory server (AD DS), where all accounts have an email address attribute.
- A valid SSL certificate for token signing
This guide is based on Microsoft Windows Server 2012 R2 (ADFS 3.0) but should work on other ADFS versions supporting SAML 2.0.
Step 1: Exporting Federation Metadata information
By default, your Federation Metadata is published at https://<FQDN OF THE ADFS FARM>/FederationMetadata/2007-06/FederationMetadata.xml
To check your publication URL:
- Use a PowerShell cmdlet :
Get-AdfsEndpoint | where {$_.protocol -eq “Federation Metadata”} | select fullurl

- By GUI: log into the ADFS server and open the management console. Click on Service\Endpoints folder, you will find your Federation Metadata address as highlighted below:
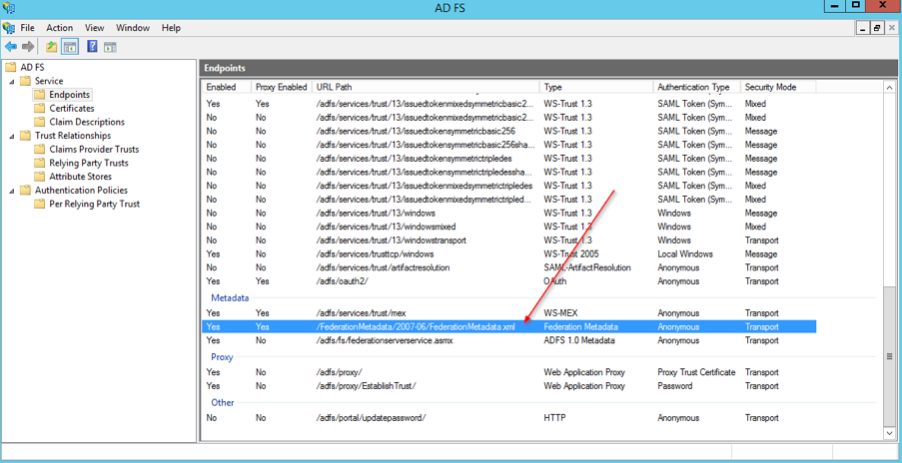
Once you have found the correct address, enter it in your web browser (Firefox or Chrome) to download and save the XML file.
Step 2: Importing Federation Metadata in SnapEngage
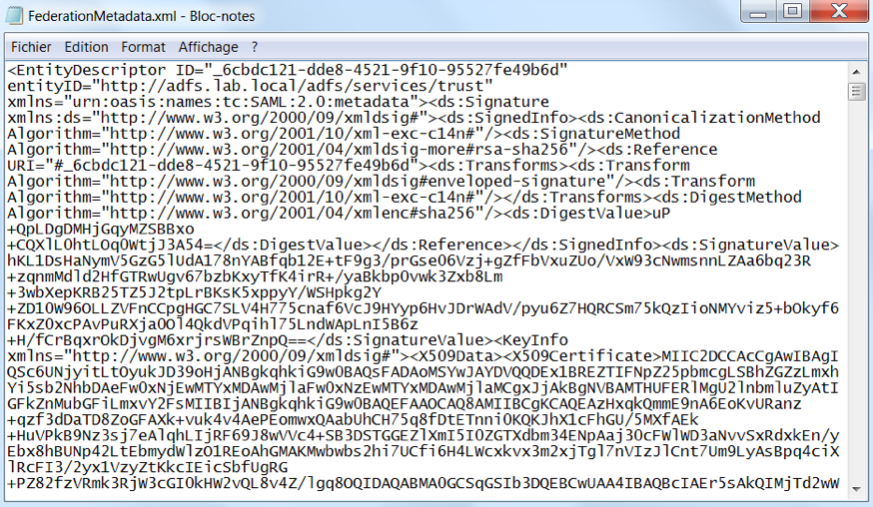
Open the XML file with Notepad
Connect to your SnapEngage account in your internet browser and go to: My account > Security > Access Rules. Copy and paste your XML file content into the textarea (1)
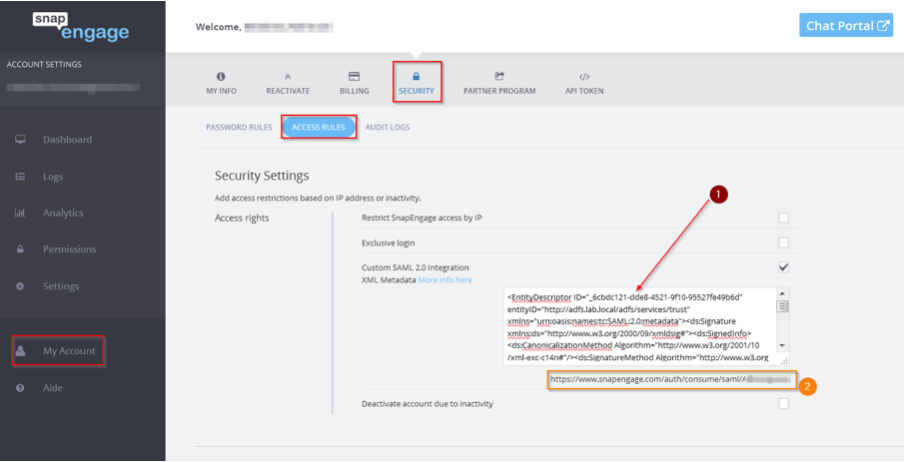
Copy the URL under the textarea and keep it: we will use it later in this guide as the SSO Service URL (2)
Step 3: Adding a Relying Party Trust
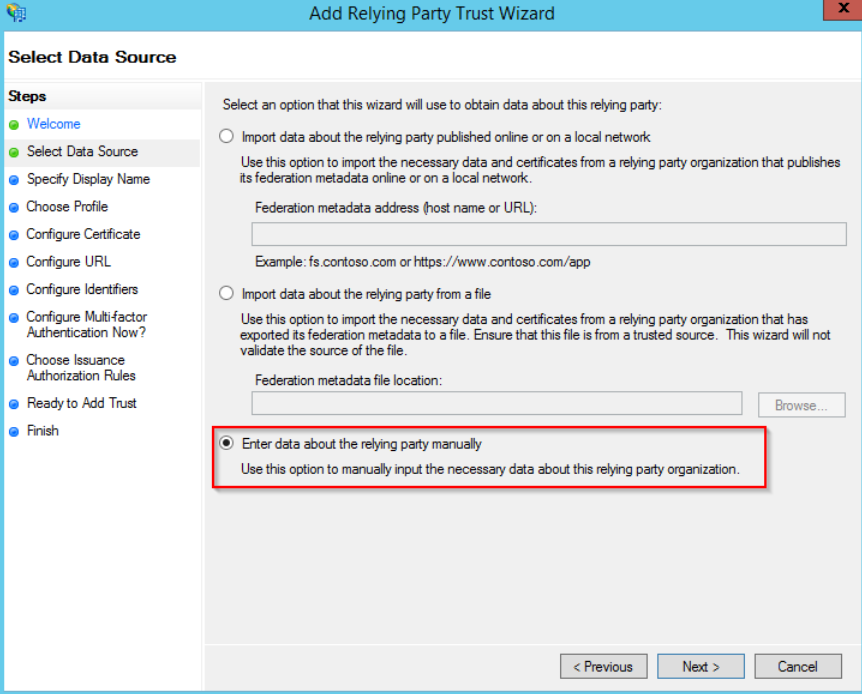
Go back to your ADFS management console. Select the “Relying Party Trusts” folder, right click on it and select “Add Relying Party Trust”.

In the new Wizard, go directly to step 2 “Select Data Source” and select “Enter data about the relying party manually”:
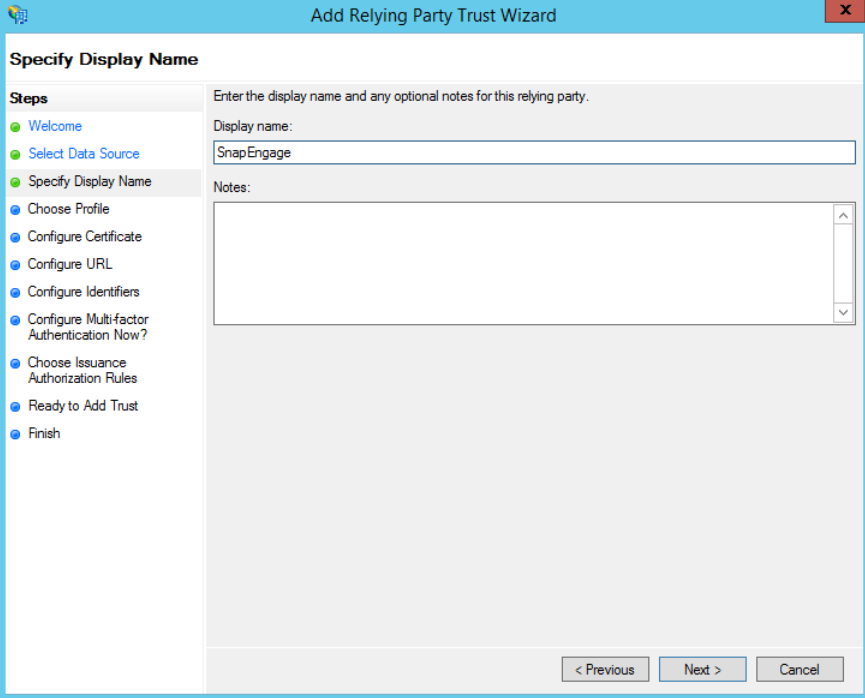
At the next step, enter a Display name of your choice (e.g. SnapEngage)
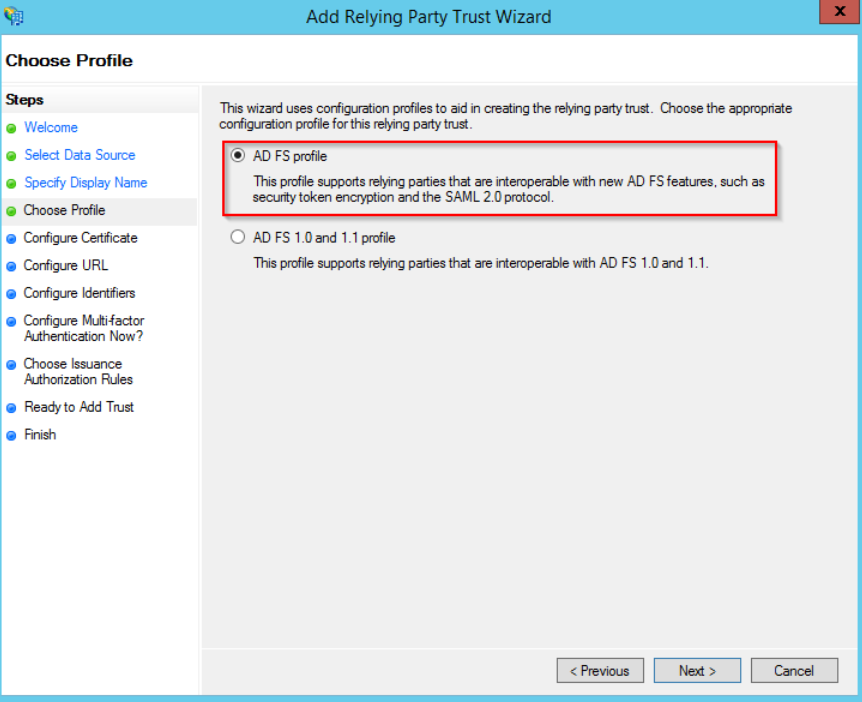
On the next screen, select the “ADFS FS profile” option:
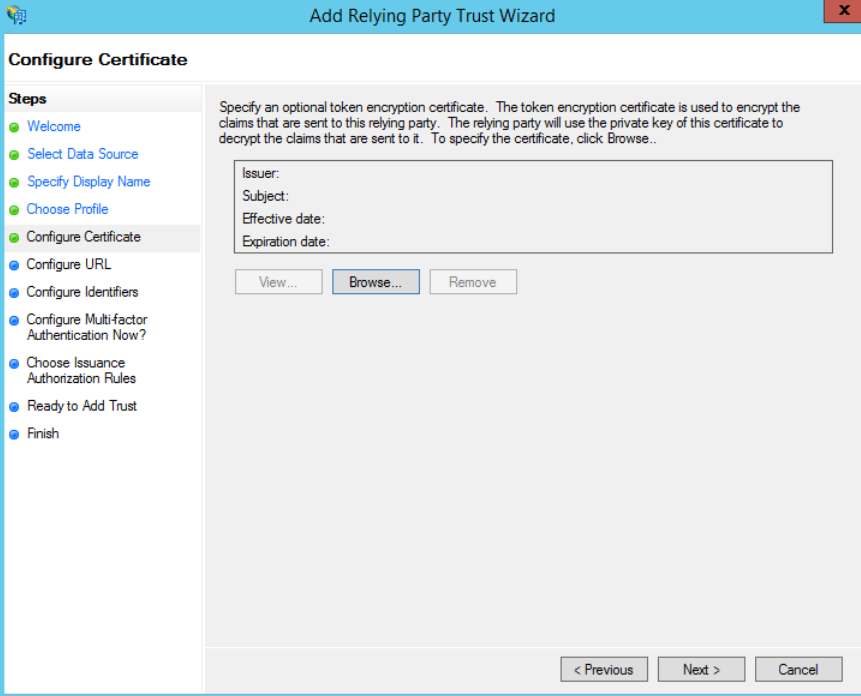
Pass the next step without specifying any certificate
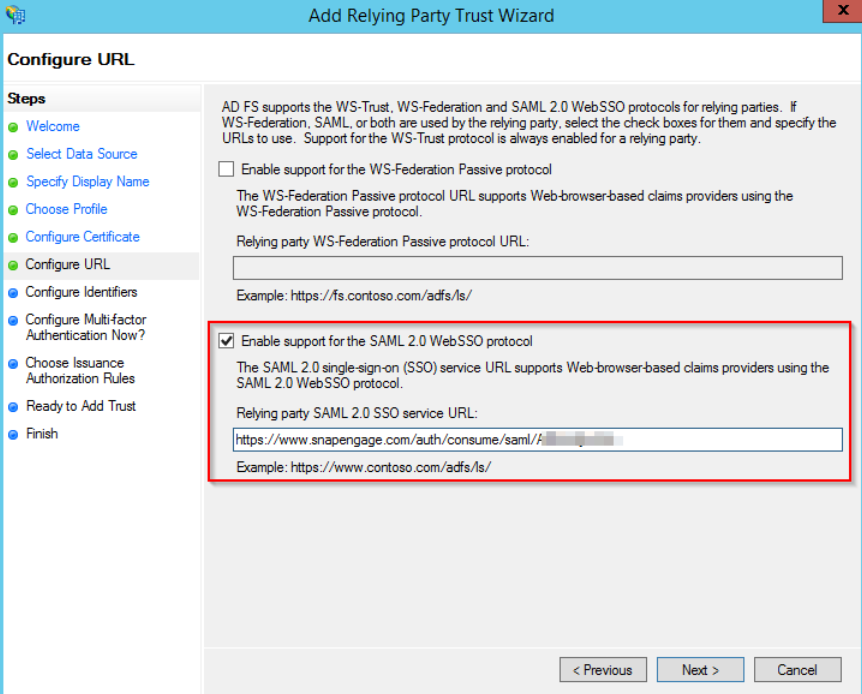
On the next step, check “Enable support for the SAML 2.0 Web SSO protocol” and paste the SSO service URL from your SnapEngage Account (please refer to step 2)
On the next step, add the same URL as the Relying party trust identifier

On the next step, you may configure multi-factor authentication if you need it. Otherwise leave it default.

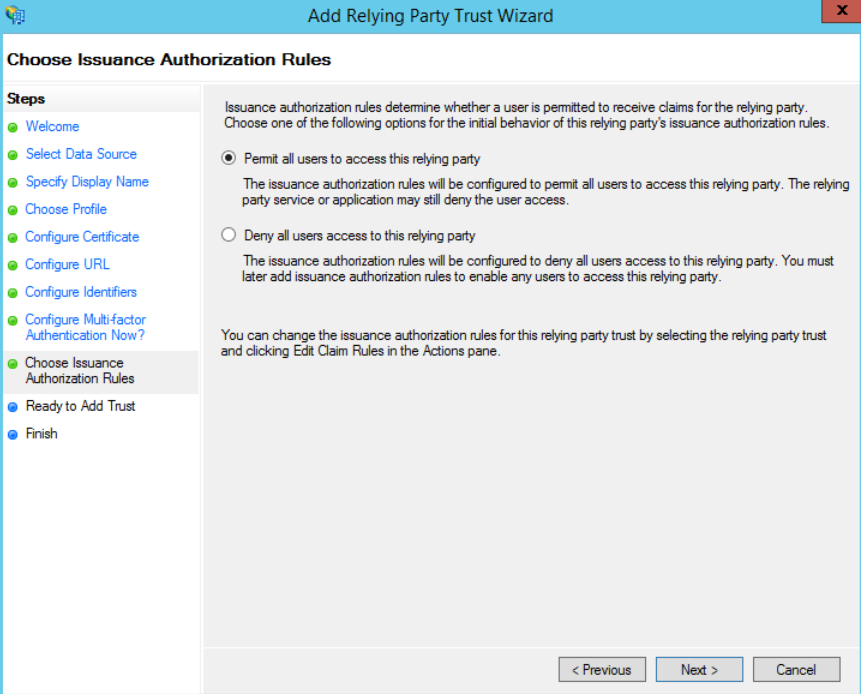
On the next step, select the “Permit all users to access this relying party” option.
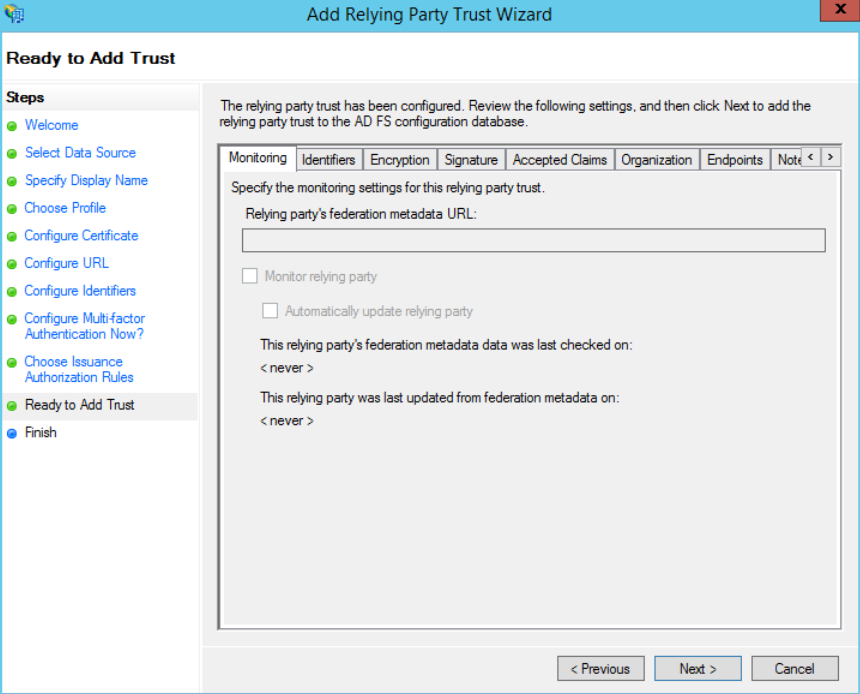
On the next step, you can review your settings.
On the final screen use the Close button to exit.
Step 4: Edit claims rules
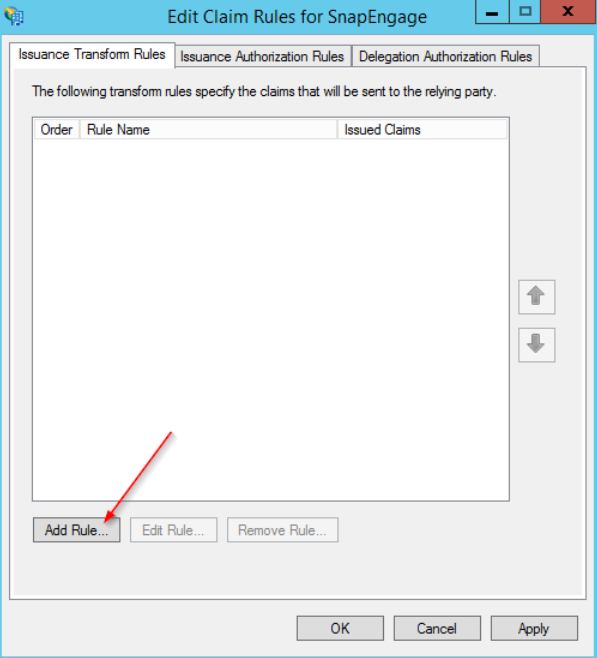
If the Claims Rules editor doesn’t start automatically: right click on the newly created relying party and select “Edit claim rules…”

On the “Issuance Transform Rules” tab, click “Add Rule…”
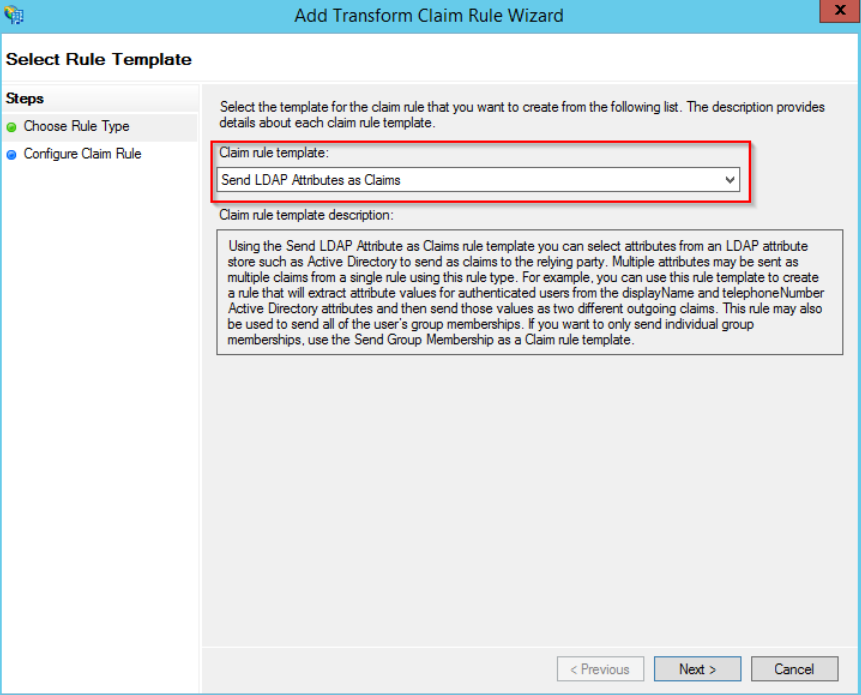
Select the “Send LDAP Attributes as Claims” rule template.
On the next screen, enter a rule name of your choice (e.g. Ldap Query) and select Active Directory as your attribute store. Select the “E-Mail Addresses” option in the first and second columns:
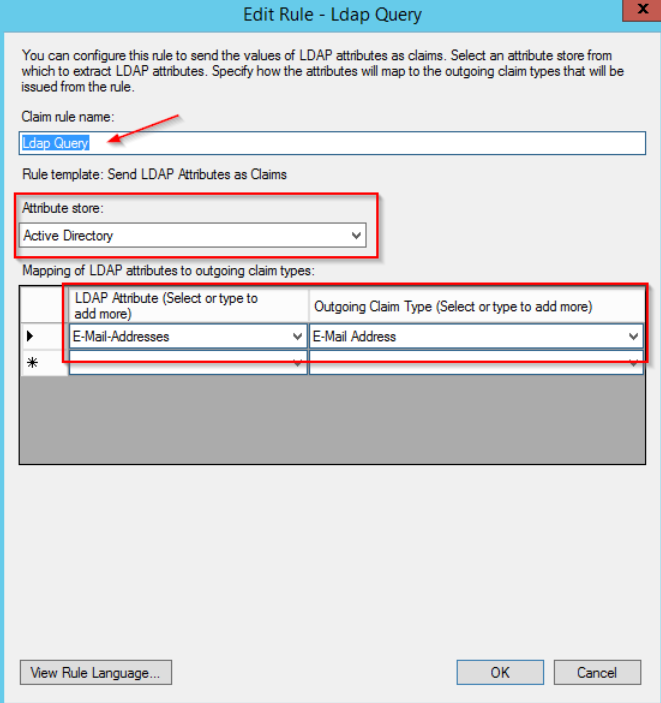
Click on OK to save the rule.
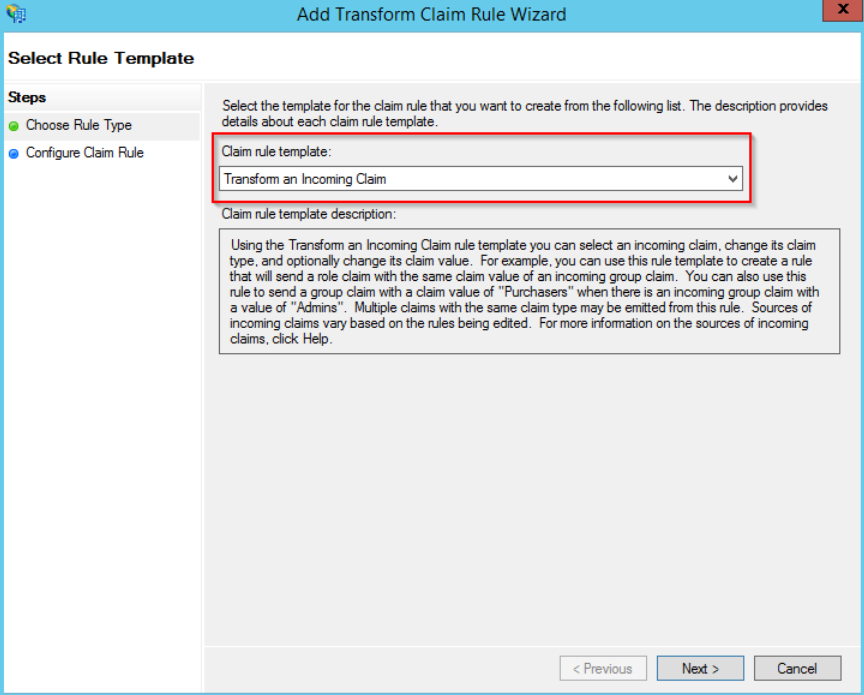
Create a second rule by clicking “Add Rule” with a “Transform an Incoming Claim” rule template.
On the next screen, enter a rule name of your choice (e.g. Transform Email to NameID) and select the “E-Mail Addresses” as the incoming claim type and “Name ID” as the outgoing claim type”. Select also “Email” as the outgoing name ID format.
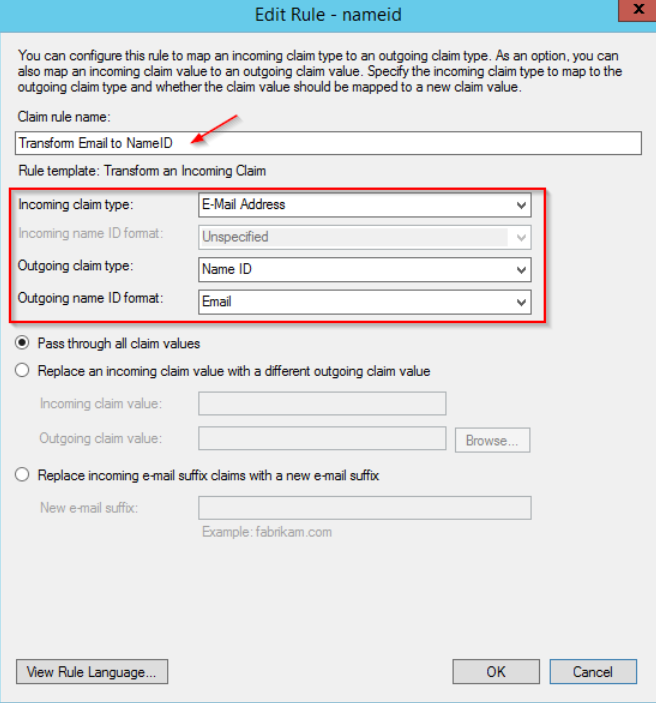
Click on OK to save the rule, and also OK in the parent windows.
Step 5: test SSO authentication
In your web browser, go to https://<YOUR ADFS FARM FQDN>/adfs/ls/IdpInitiatedSignon.aspx and sign in with a valid account: this account must have a valid email attribute in your Active Directory, and a chat agent with the same email address must be defined in your SnapEngage account.
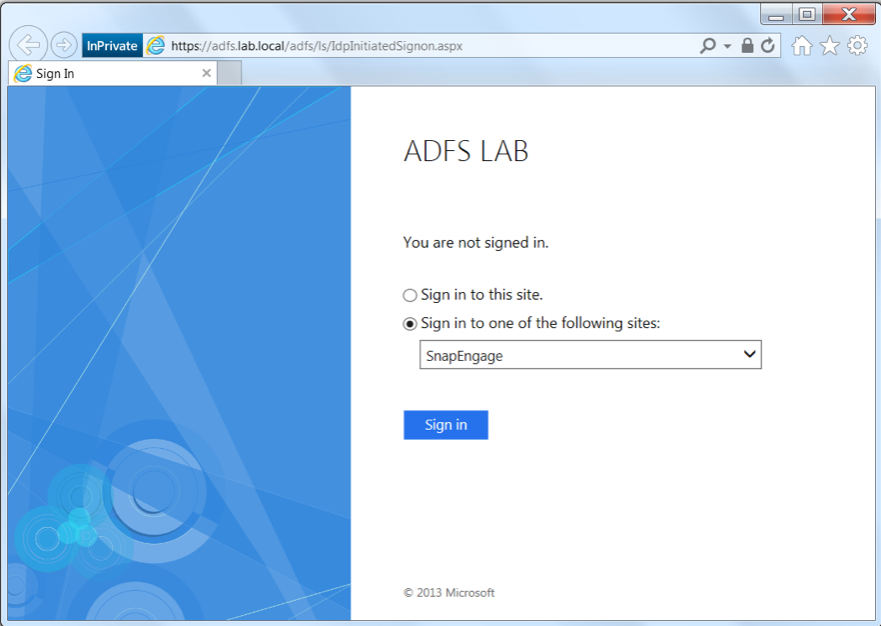
After a few seconds, you should be signed in and redirected to your SnapEngage account.
Please note:
SnapEngage SAML SSO supports SAML IdP initiated mode: Identity Provider Initiated SSO. This means that the SSO sign-in process has to start from your server.
We do not currently support SAML SP initiated mode: Service Provider Initiated SSO.
Did you find this article helpful?
 (1 votes, average: 5.00 out of 5)
Published December 15, 2016