Home > Configuring and Using File Exchange
Categories: Chat Agent Docs
(Last Updated On: )
About this Article-
This article goes over in detail where to enable & how to set to use file our file exchange option.
SnapEngage makes is easy to exchange files during a visitor chat. With just a click of a button your agents and website visitors will be able to upload and download files directly with one another without having to resort to using email or another service.
Admin Dashboard Configuration
To activate the File Exchange feature sign into to your SnapEngage account and click on Options tab underneath in the Settings section. The File Exchange section is found near the bottom:

Simply click on the checkbox to the right of “Enable visitors and agents to exchange files during a chat” label and click on the “Save” button. Conversely, if you wish to disable the feature uncheck the option and click on the “Save” button.
By default, any type of files can be exchanged with the exception of Windows executables (exe, dll, com, bat and msi files), Javascript (js) and script files (sh). If you want to further restrict the types of files you can either restrict specific types of files, or only allow specific types of files.
NEW: Allow visitors to upload & send files to agents – This allows the option for visitors to paste images directly in to the chat box or upload them without requiring the agent to request the file!
Agent to Visitor
If during the course of a chat the agent wants to send a file to the visitor they simply need to click on the “Actions” button to the right of the message input field to yield a menu and pick “Send a File” :
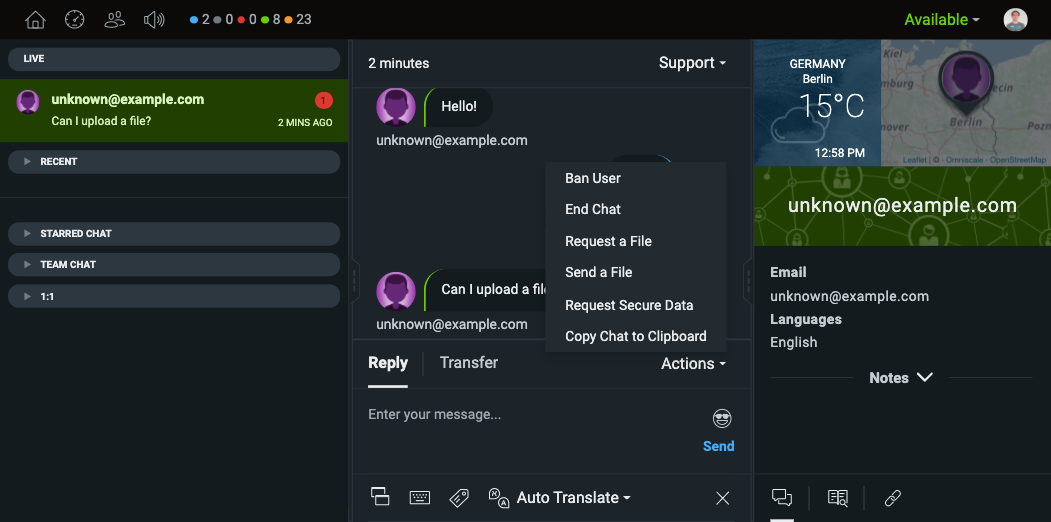
After doing so the agent then needs to select the file they wish to upload, and click on Send, to send the file to the visitor. This would then appear to both the agent and visitor.
Visitor to Agent
There are two ways that a visitor can upload a file. The easiest way is to ensure the “Allow visitors to upload and send files to agents” setting is enabled under Settings -> Options:

With this setting enabled, the visitor can simply paste an image or file in to the chat box and it will automatically be sent to the agent if the file type allows (You can check your restricted file types in the same tab).
The second option is to disable the above feature. When the “Allow visitors to upload & send files to visitors” option is disabled, if during the course of a chat the agent wants to receive a file from the visitor they need to initiate the exchange by clicking on the “Actions” button which will yield a menu and then they need to pick “Request a File” :

After doing so the visitor will then see a file upload form and can click on “Upload” :
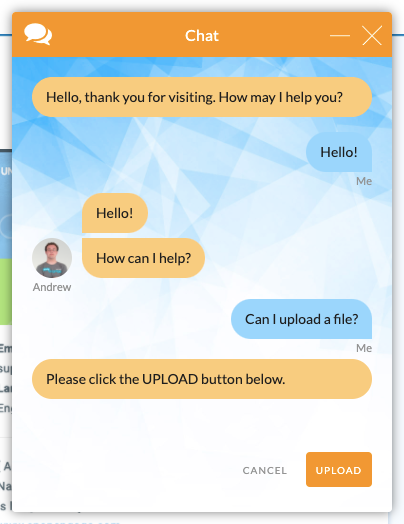
Once the visitor selects the file then both the visitor and agent will see it in the chat transcript:
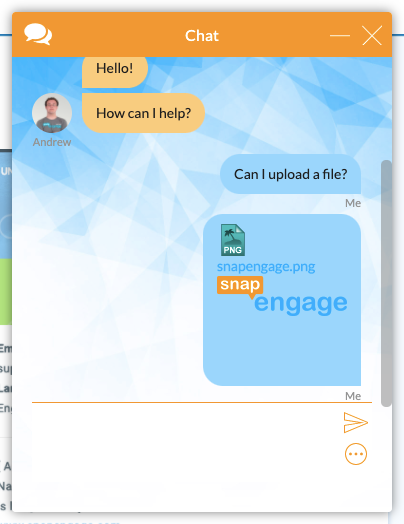
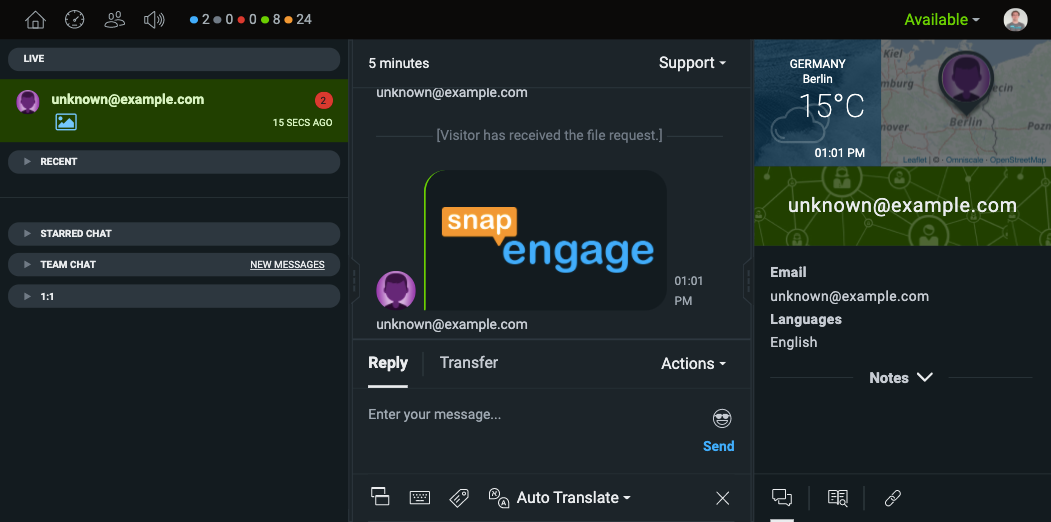
As a bonus: If the uploaded file is either a png, gif or jpg a preview of the image will be shown.
Integrations
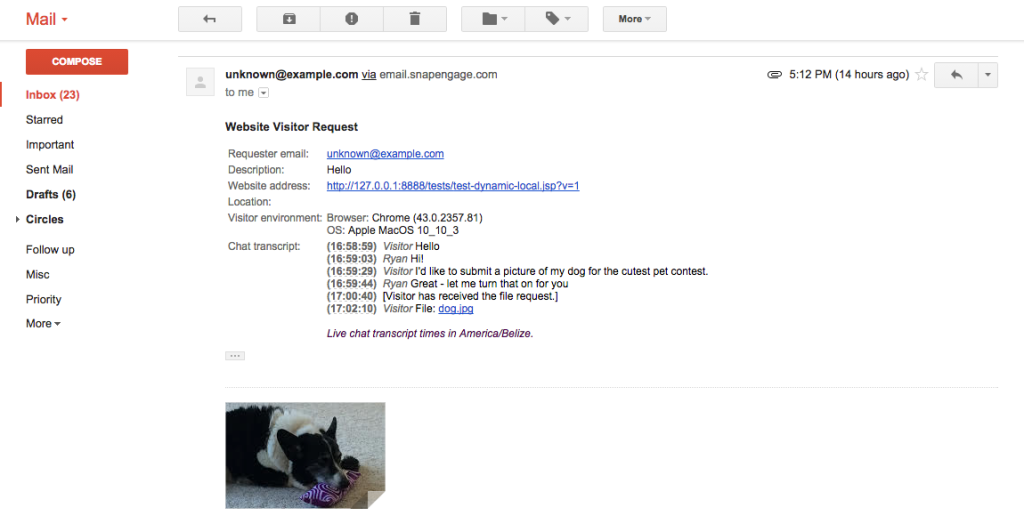
Any files exchanged during the chat will be linked in the chat transcript within whichever integration is configured. For Email and Zendesk integrations copies of the files will be included as well.
Additional Notes
- The maximum file upload size is capped at 32 MB.
- File exchange also works with Channels (i.e. Facebook Messenger, SMS to Chat)
- This feature is HIPAA compliant.
Published June 3, 2015
