Home > Generating, Changing or Deleting Your SnapEngage API Token
Categories: Featured Article
(Last Updated On: )
About This Article
This article explains the ability to manage your own API token for SnapEngage.
You now have the ability to manage your own API token for SnapEngage. The first step in doing so is making sure you actually need an API token to accomplish your goal. You do NOT need a token to work with the SnapEngage Javascript API or POST API.
Additionally, the Provisioning and Get Chat APIs will still need their own keys. To get a key for either of these APIs, please email [email protected].
The API page in your Admin Dashboard allows you to generate a token to use the Visitor Chat API! This doc will go over the different functions of the page and implications of the actions.
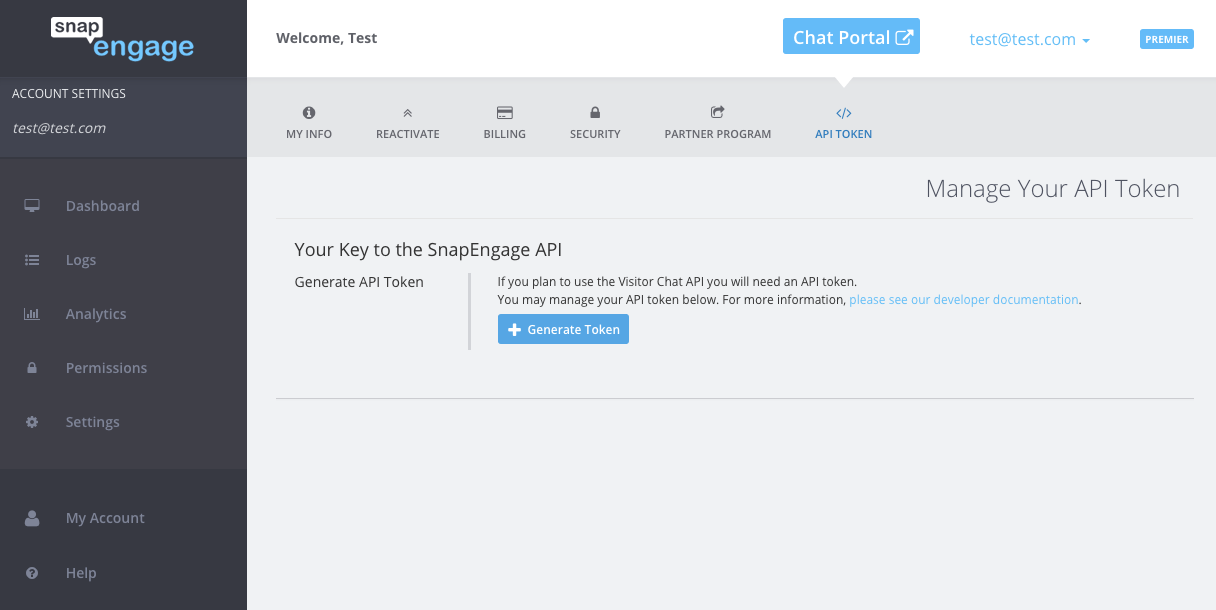
To get to the API page, go into your Admin Dashboard and go to My Account > API Token:

Generating Your Token
Before you have a token, you will see something like the below, with just an option to generate a token:
Once you have generated your token, the page will look like this:
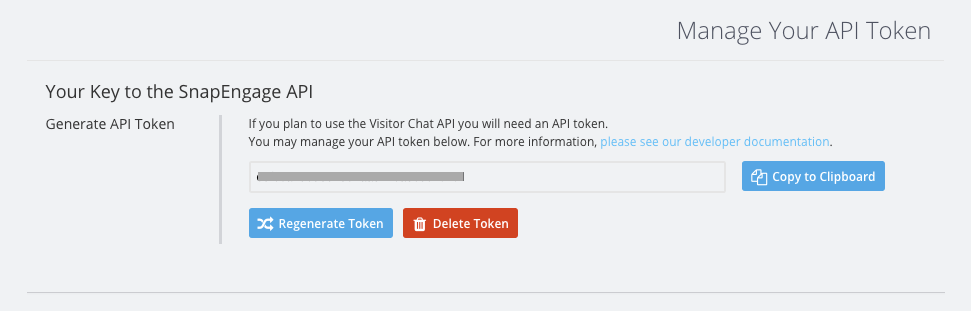
You will have options now to regenerate your token, delete your token, or copy it to your clipboard.
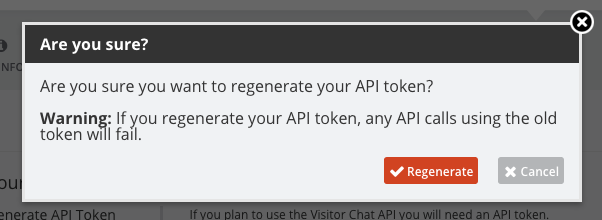
Regenerating Your Token
Should you choose to regenerate your token, you can do that on this page. It is VERY important to note that anything that you created/connected using your current token will break. You will need to be sure to swap out your old token with your new one. Once you click the “Regenerate” button, a dialog box will pop up asking you to confirm that you are aware of the implications of regenerating your token. If you do, indeed, want to regenerate your token, click the “Regenerate” button. If you decide you do not want to regenerate your token, click the “Cancel” button.
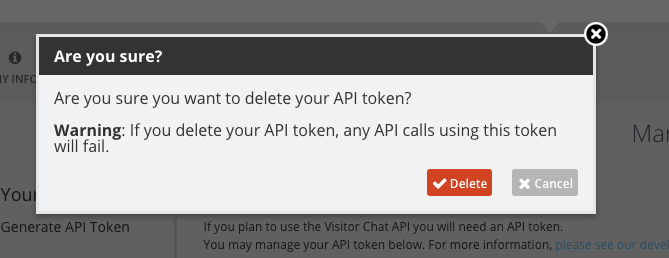
Deleting Your Token
Should you decide you no longer need a token, you can click the “Delete” button below your token. As you might expect, if you have anything that is coded using this token, it will no longer work if you delete your token. To confirm that you do, indeed want to delete your token, a dialog box will pop up, asking you to confirm your decision. If you decide that there is no reason for you to have a token any more, click the “Delete” button in this pop up. If you decide that you have functions that will break if you delete your token, you can go ahead and click the “Cancel” button.
Did you find this article helpful?


 (6 votes, average: 1.83 out of 5)
Published August 9, 2016