Home > How to integrate SnapEngage with TeamSupport
Categories: Integrations & Plugins | Featured Article
(Last Updated On: )
About This Article
The purpose of this article is to provide a comprehensive overview of how to Integrate with TeamSupport.
SnapEngage integrates with TeamSupport. Once the chat is finished, you can send the transcript to TeamSupport.
How to configure it:
In order to configure this integration, head over to Settings -> Integrations, and choose TeamSupport.
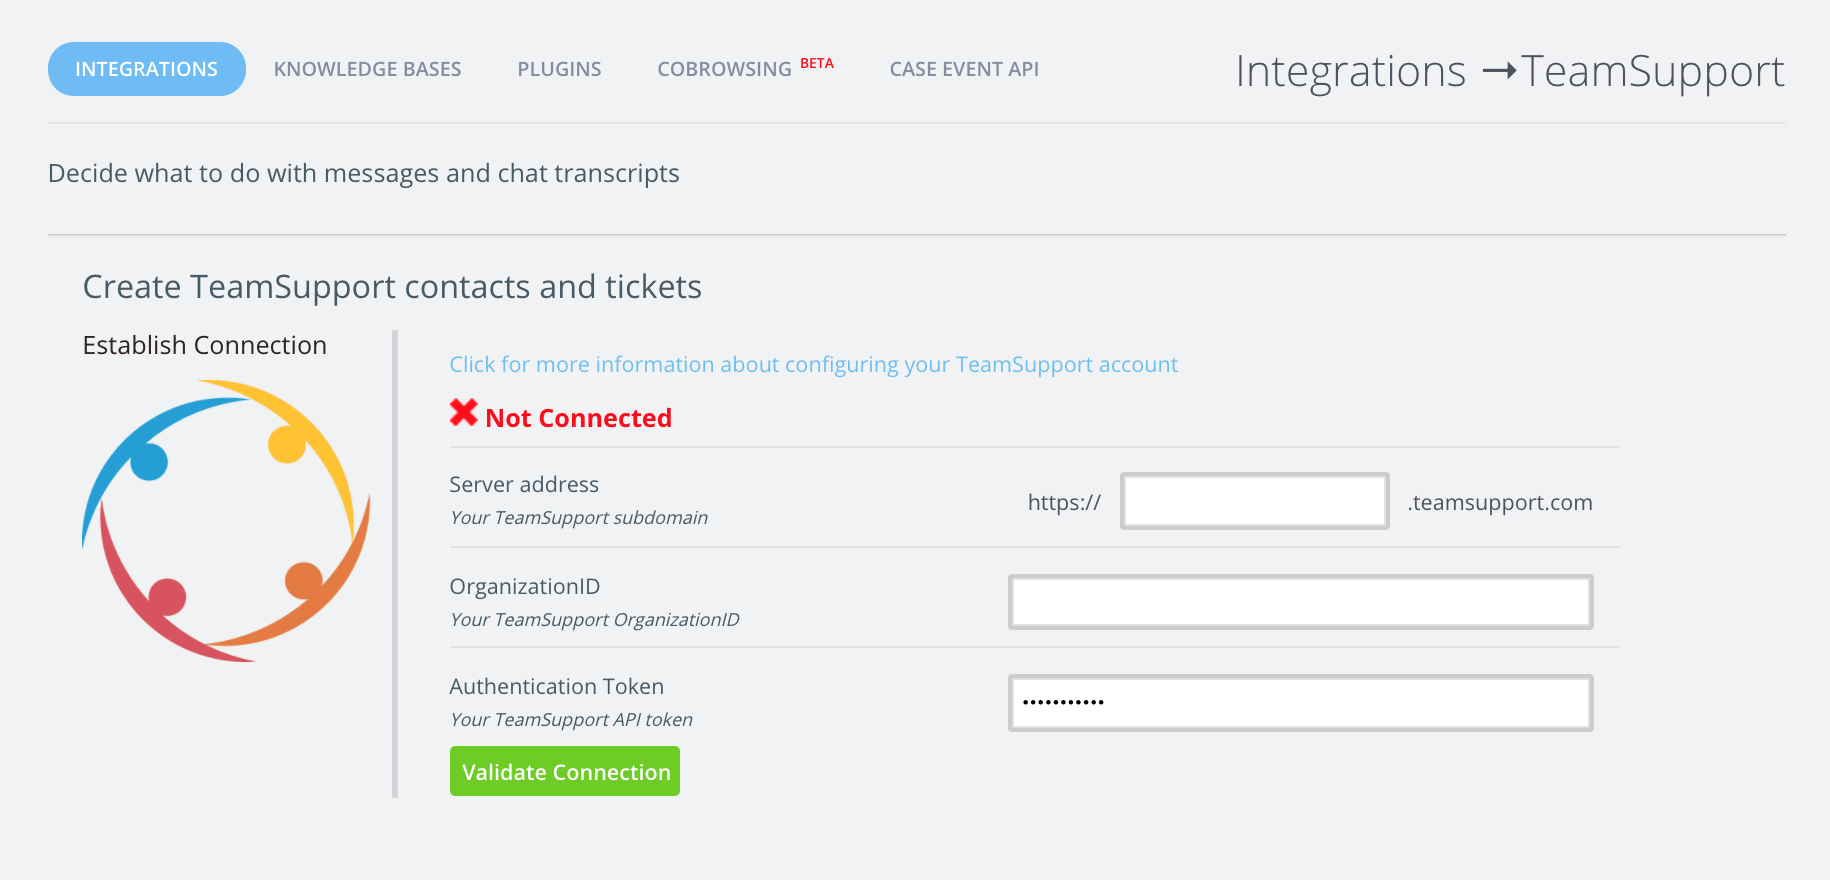
On the server address field, enter the part of the URL that is missing as you compare it to how it shows on the address bar when you’re logged into your TeamSupport account.
In TeamSupport, head over to the Admin section, click on My Company -> Account Settings, and copy the Organization ID. Paste it on the OrganizationID field in SnapEngage.

Then head over to the Integration section and expand the “TeamSupport API” section at the top. Copy the TeamSupport API token and enter it on the Authentication Token in SnapEngage. Then, hit validate connection to make sure you’re logged in.

Choose the type of tickets you want to create from chat
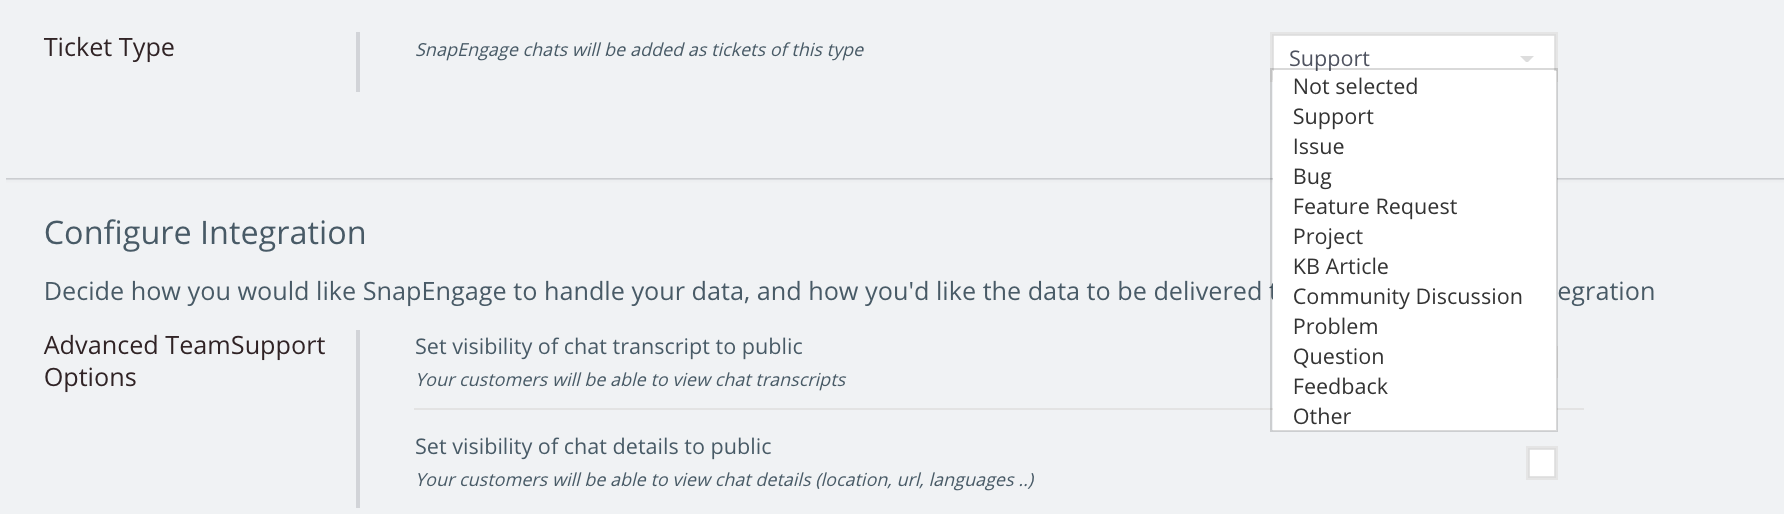
TeamSupport works with different types of tickets. In the integration, you will be able to choose what type of tickets you want chats to create.
You can choose from the following types of tickets:
Support / Issue / Bug / Feature request / Project / KB Article / Community discussion / Problem / Question
If you have other custom ticket types, you may be able to choose them as well.
How to use custom mapping
Custom mapping offers the ability to change fields in TeamSupport directly from the configuration or from the chat. You can send:
- Specific fields from your Pre-chat form
- Defined fields to show the source of the ticket as chat
- Labels that your agents can set up, this is possible.
Here are some scenarios you may want to consider.
Pre-chat form
If you are capturing data using the pre-chat form, why not send those values to the corresponding field directly?
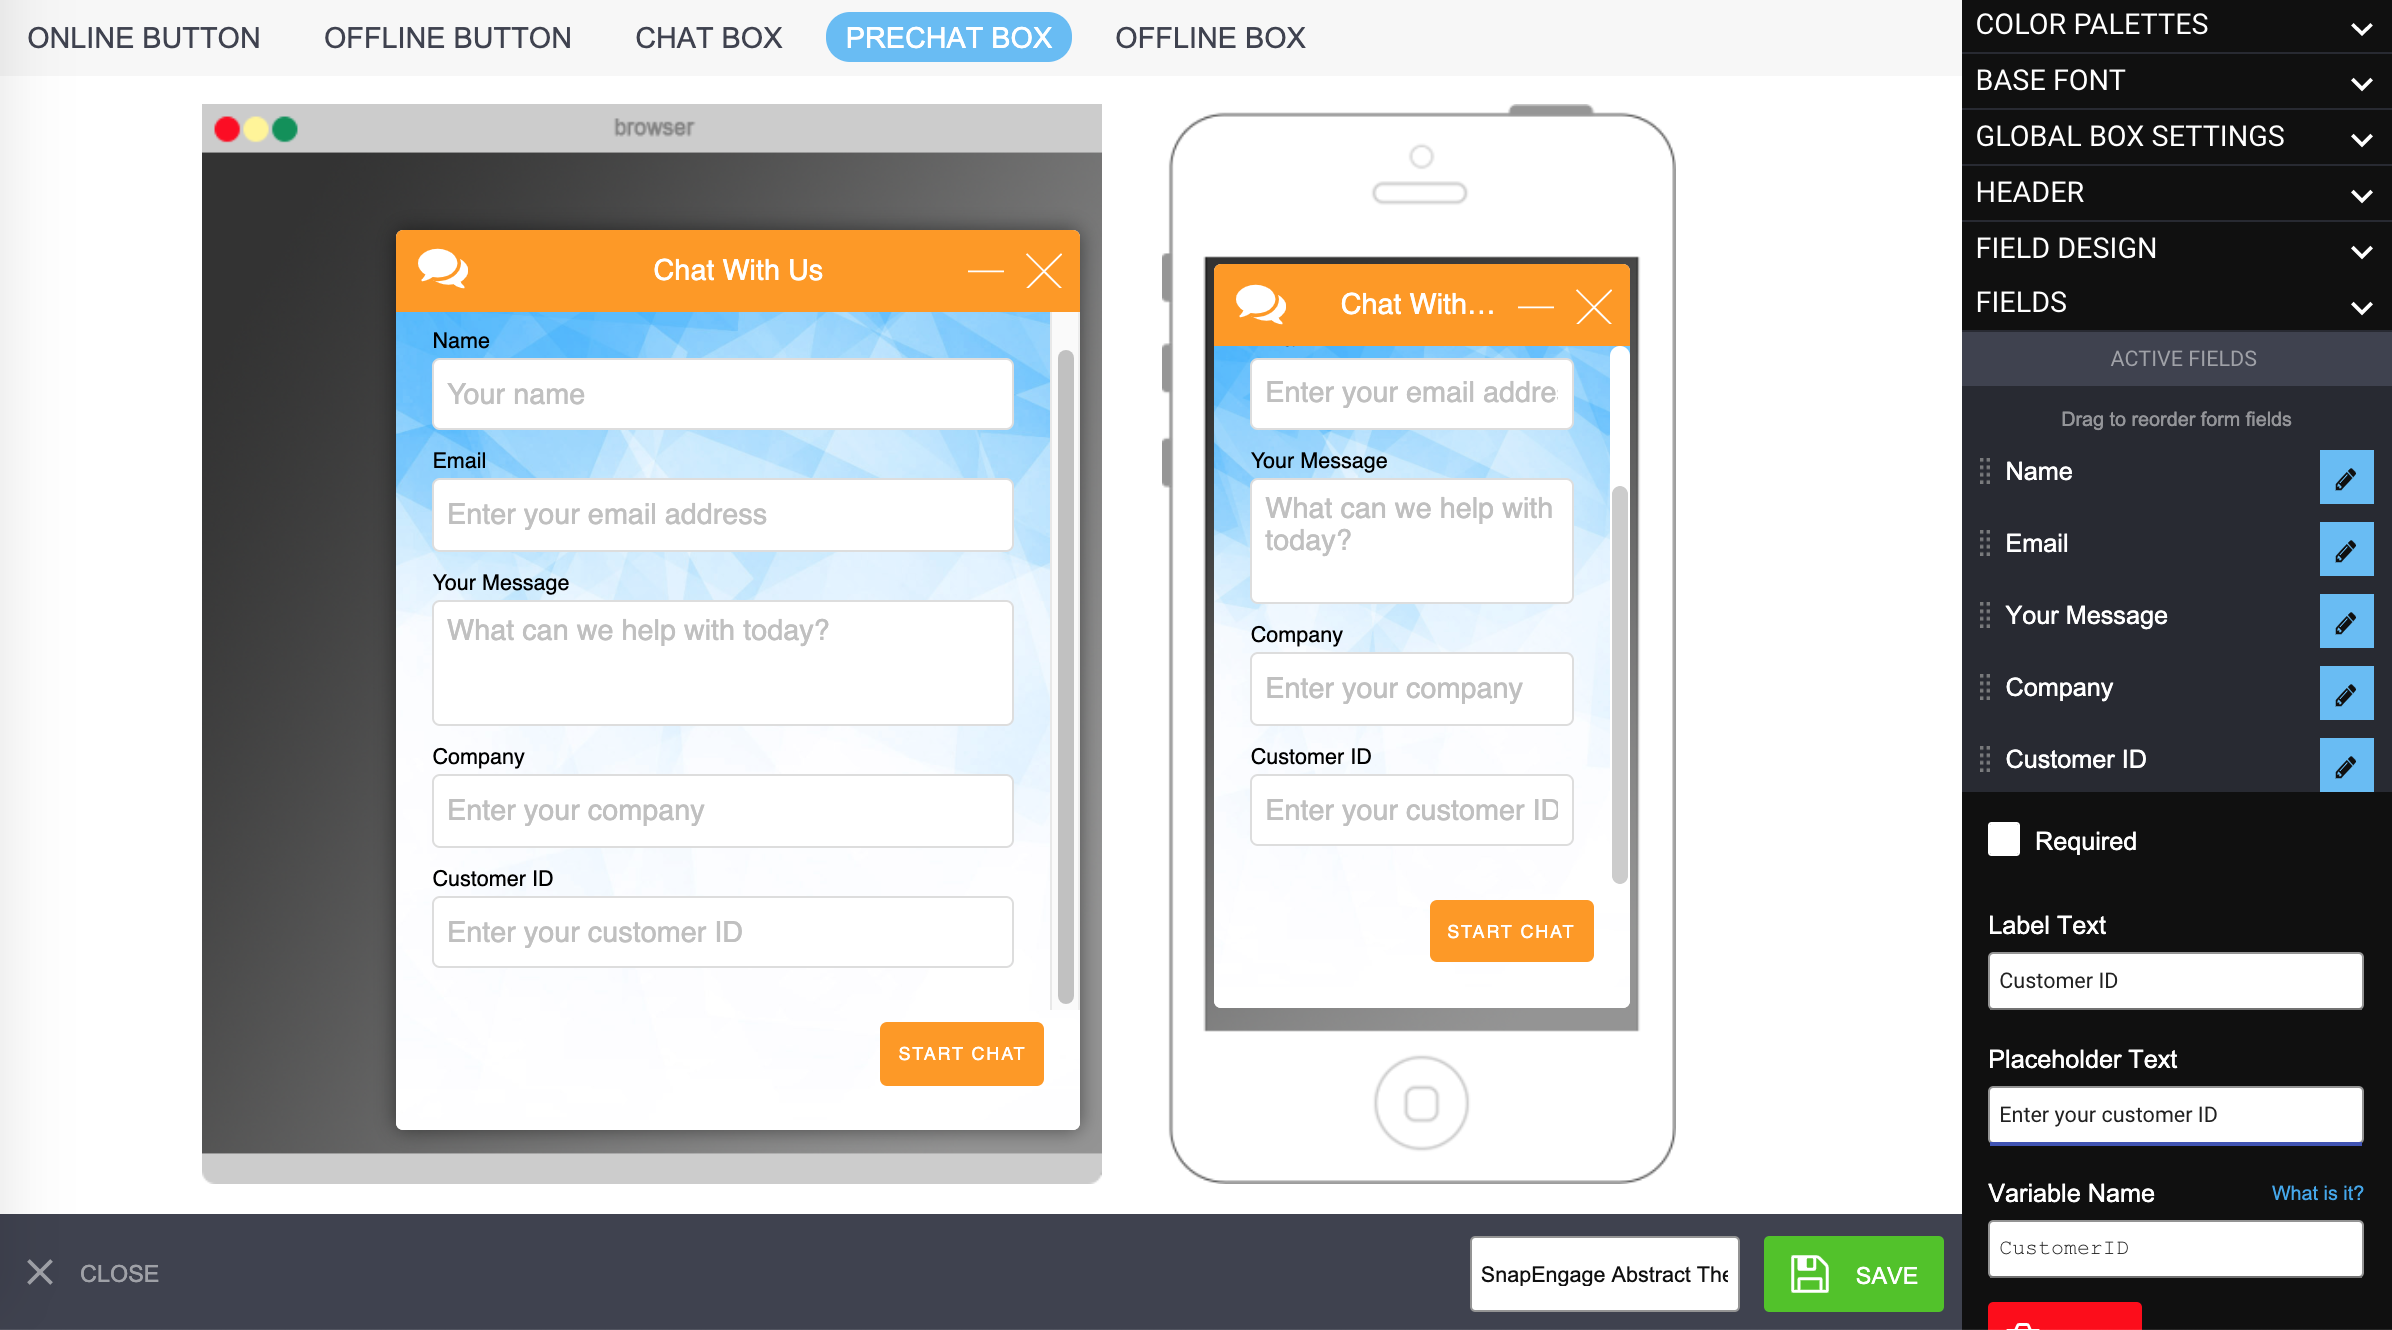
The fields you are capturing data with on the pre-chat form will have “Variable names”. Copy those, and add them to the “Collect additional information” box under Javascript variables, on the Options tab.

Once those variables have been added and saved, they will be available on the integration screen under the custom mapping at the bottom. Choose the variable, and select which field they need to be mapped to in TeamSupport.

How to close a chat or change status
Combine the power of Labels and custom mappings to allow your agents to choose the status of a ticket before it’s even created.
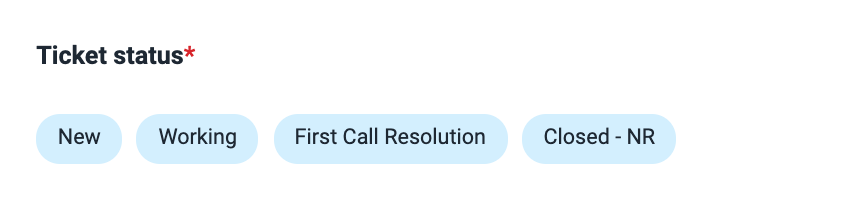
Under Settings -> Hub, create a label called “Ticket status”. You can choose whether you want to make it required. Add the options to match the status names in TeamSupport that you want your agents to be able to choose from. In the example below, “New”, “Working”, “First call resolution” and “Closed – NR”. Hit save. Make sure the name of these statuses matches exactly the name in TeamSupport.
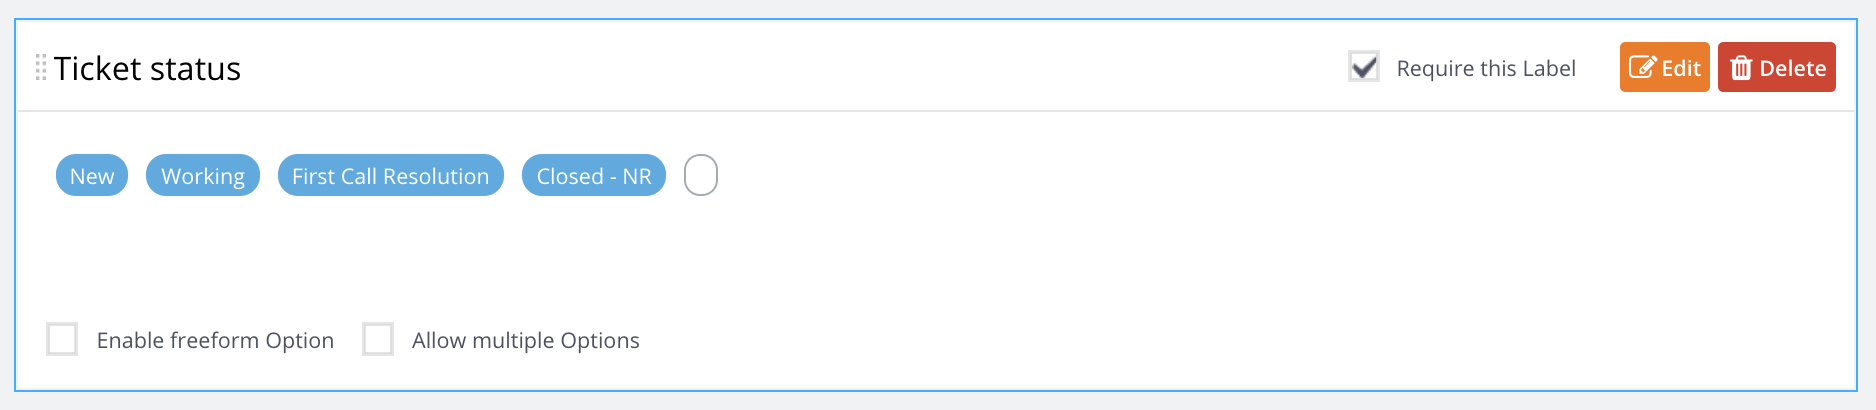
Navigate to Settings -> Integration, and scroll down to custom mapping. Map the Labels you’ve just created with the Status field in TeamSupport.

During a chat, the agent will be able to click on Labels and choose the status for the ticket once it gets created in TeamSupport. If the chat has solved the issue, why not close it straight away? Now, you can.
If the Label is required, the agents will not be able to close the chat without adding a Label. Whatever status the agent chooses here will be the status of the ticket.
Choose to make a ticket visible or not in the Client Portal
Custom mapping also allows you send text to the integration. By doing what’s represented in the screenshot below, you can choose whether you want tickets to be visible by default (true) or not (false).

New ticket type
Be aware that if you create a new custom ticket type in TeamSupport, you will need to create a ticket manually that has that ticket type assigned before you can map anything onto it. Once you have assigned this ticket type to a ticket, the mapping will be showing on SnapEngage.
Did you find this article helpful?
 (2 votes, average: 5.00 out of 5)
Published August 21, 2020