Home > Overview of the Dashboard UI
Categories: Chat Agent Docs | Chat Settings
(Last Updated On: )
About this Article –
This article will cover the layout in detail of each part of the Admin Dashboard and how to set each. The admin dashboard is how you not only how you configure a widget but it’s also where you can view stats and analytics.
Admin Dashboard Overview
Let’s have a look at how to navigate through the admin dashboard. Remember, this dashboard is only available for the owner of all new plans Essentials, Professional, Enterprise.
You will see that the main navigation, complete with the Current Widget display, is located on the left side of the page. This will be the main menu that you will use to navigate to the various sections of your Dashboard. Once you click on each section, you will find another menu that is only relevant to that section at the top of the screen. Let’s go through them step-by-step:
Dashboard
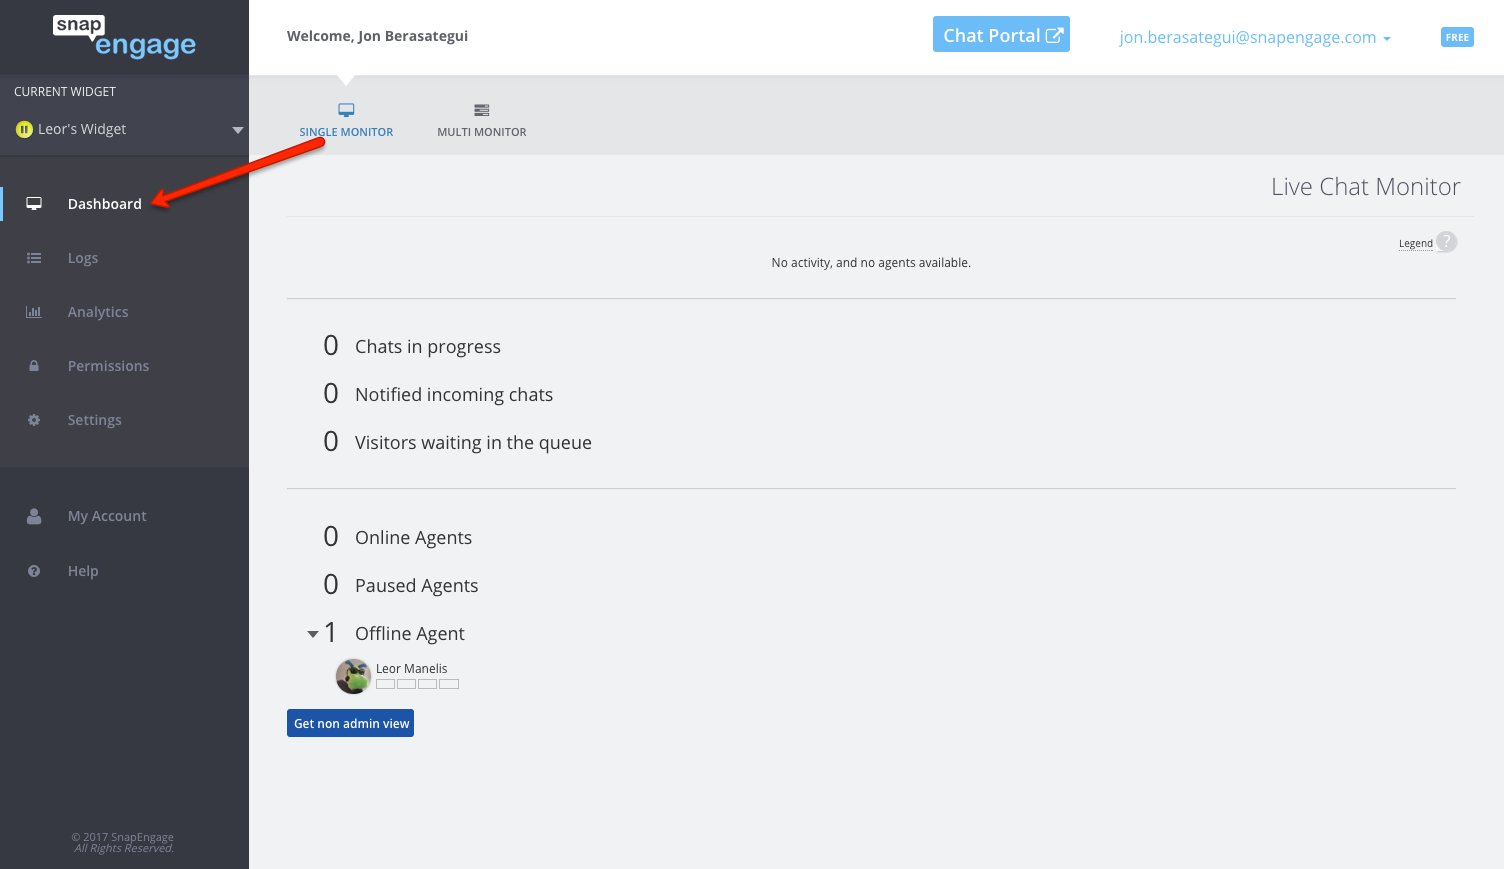
Selecting the Dashboard link will take you to to our Chat Monitor page. This is an excellent page where you will be able to track all chat activity via the Single Monitor or Multi-Monitor view. Click the “Get Non-Admin View” button to see a monitor without any sensitive data (great for sharing with agent teams!). Read this article to learn more.
Logs
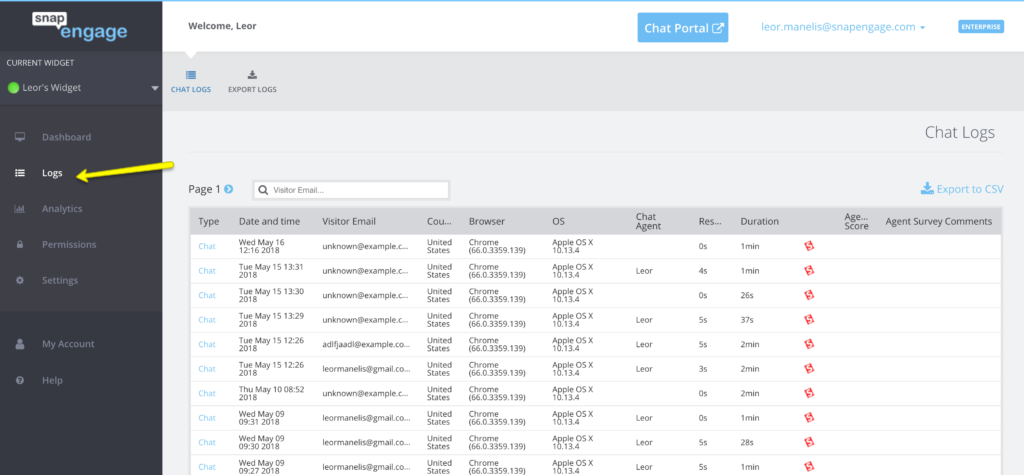
The next option is the Logs tab. The Logs area will show all of the Chat Logs for the selected widget (including information such as date, time, visitor email, browser, survey comments, link to chat transcript, etc). Chat logs are kept in the account for the life of the account until cancellation. The “Export Logs” area allows admins to easily export logs for specific months or custom dates.
Analytics
Next, we move to the Analytics section, which gives admins valuable insights into chat activity and various SnapEngage metrics. You’ll notice that the Analytics section is broken into four main sections: Overview, Agent Performance (including Response times, Chat Duration, Agent Availability, Post-Chat Survey Results and Transfers), Visitor Information (Environment, Pages, and Audience) and Visitor Experience (Wait, Queue). View this help guide to learn more about Analytics.

Permissions
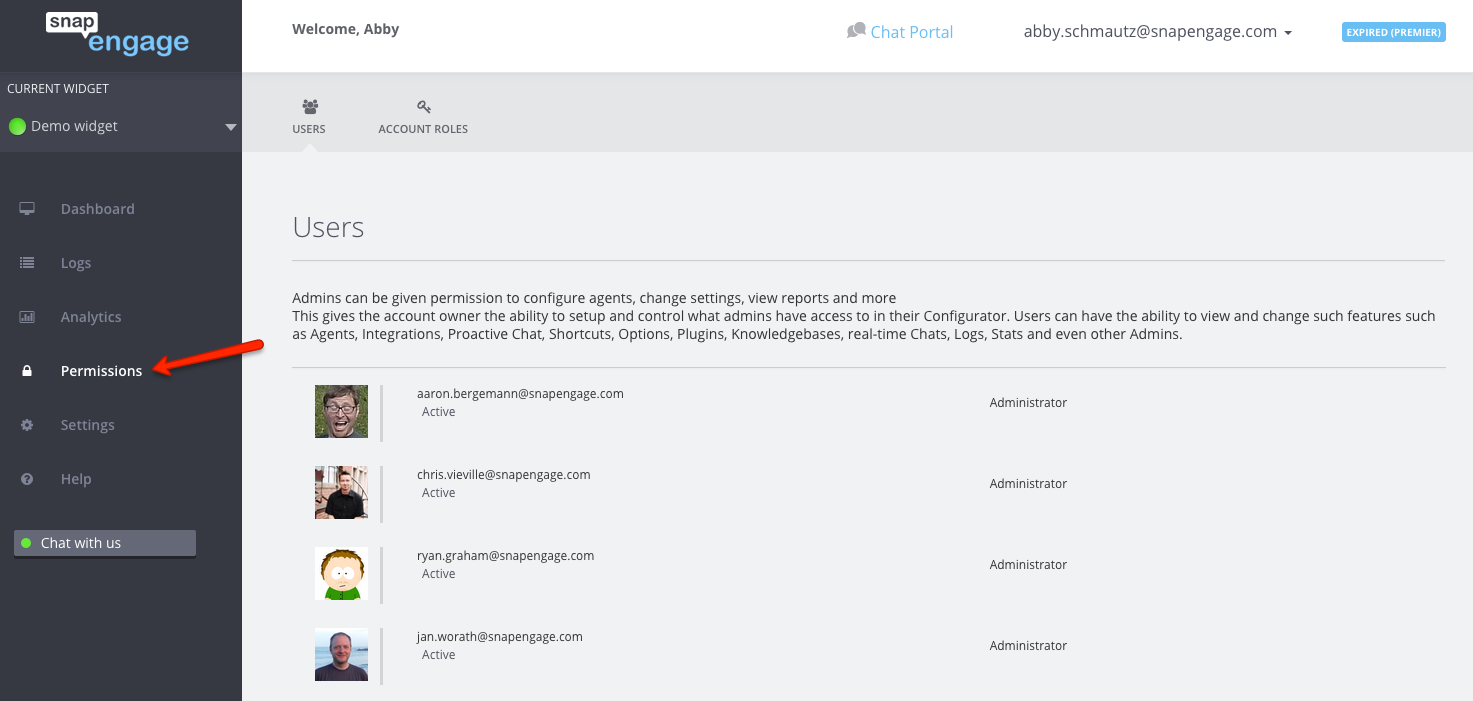
After browsing through Analytics, move on down to the Permissions section. This section is where admins on Essentials and above SnapEngage accounts can give additional users permissions to configure agents, change settings, view reports, and more. In addition, use the “Account Roles” tab to specify specific account roles.
Settings
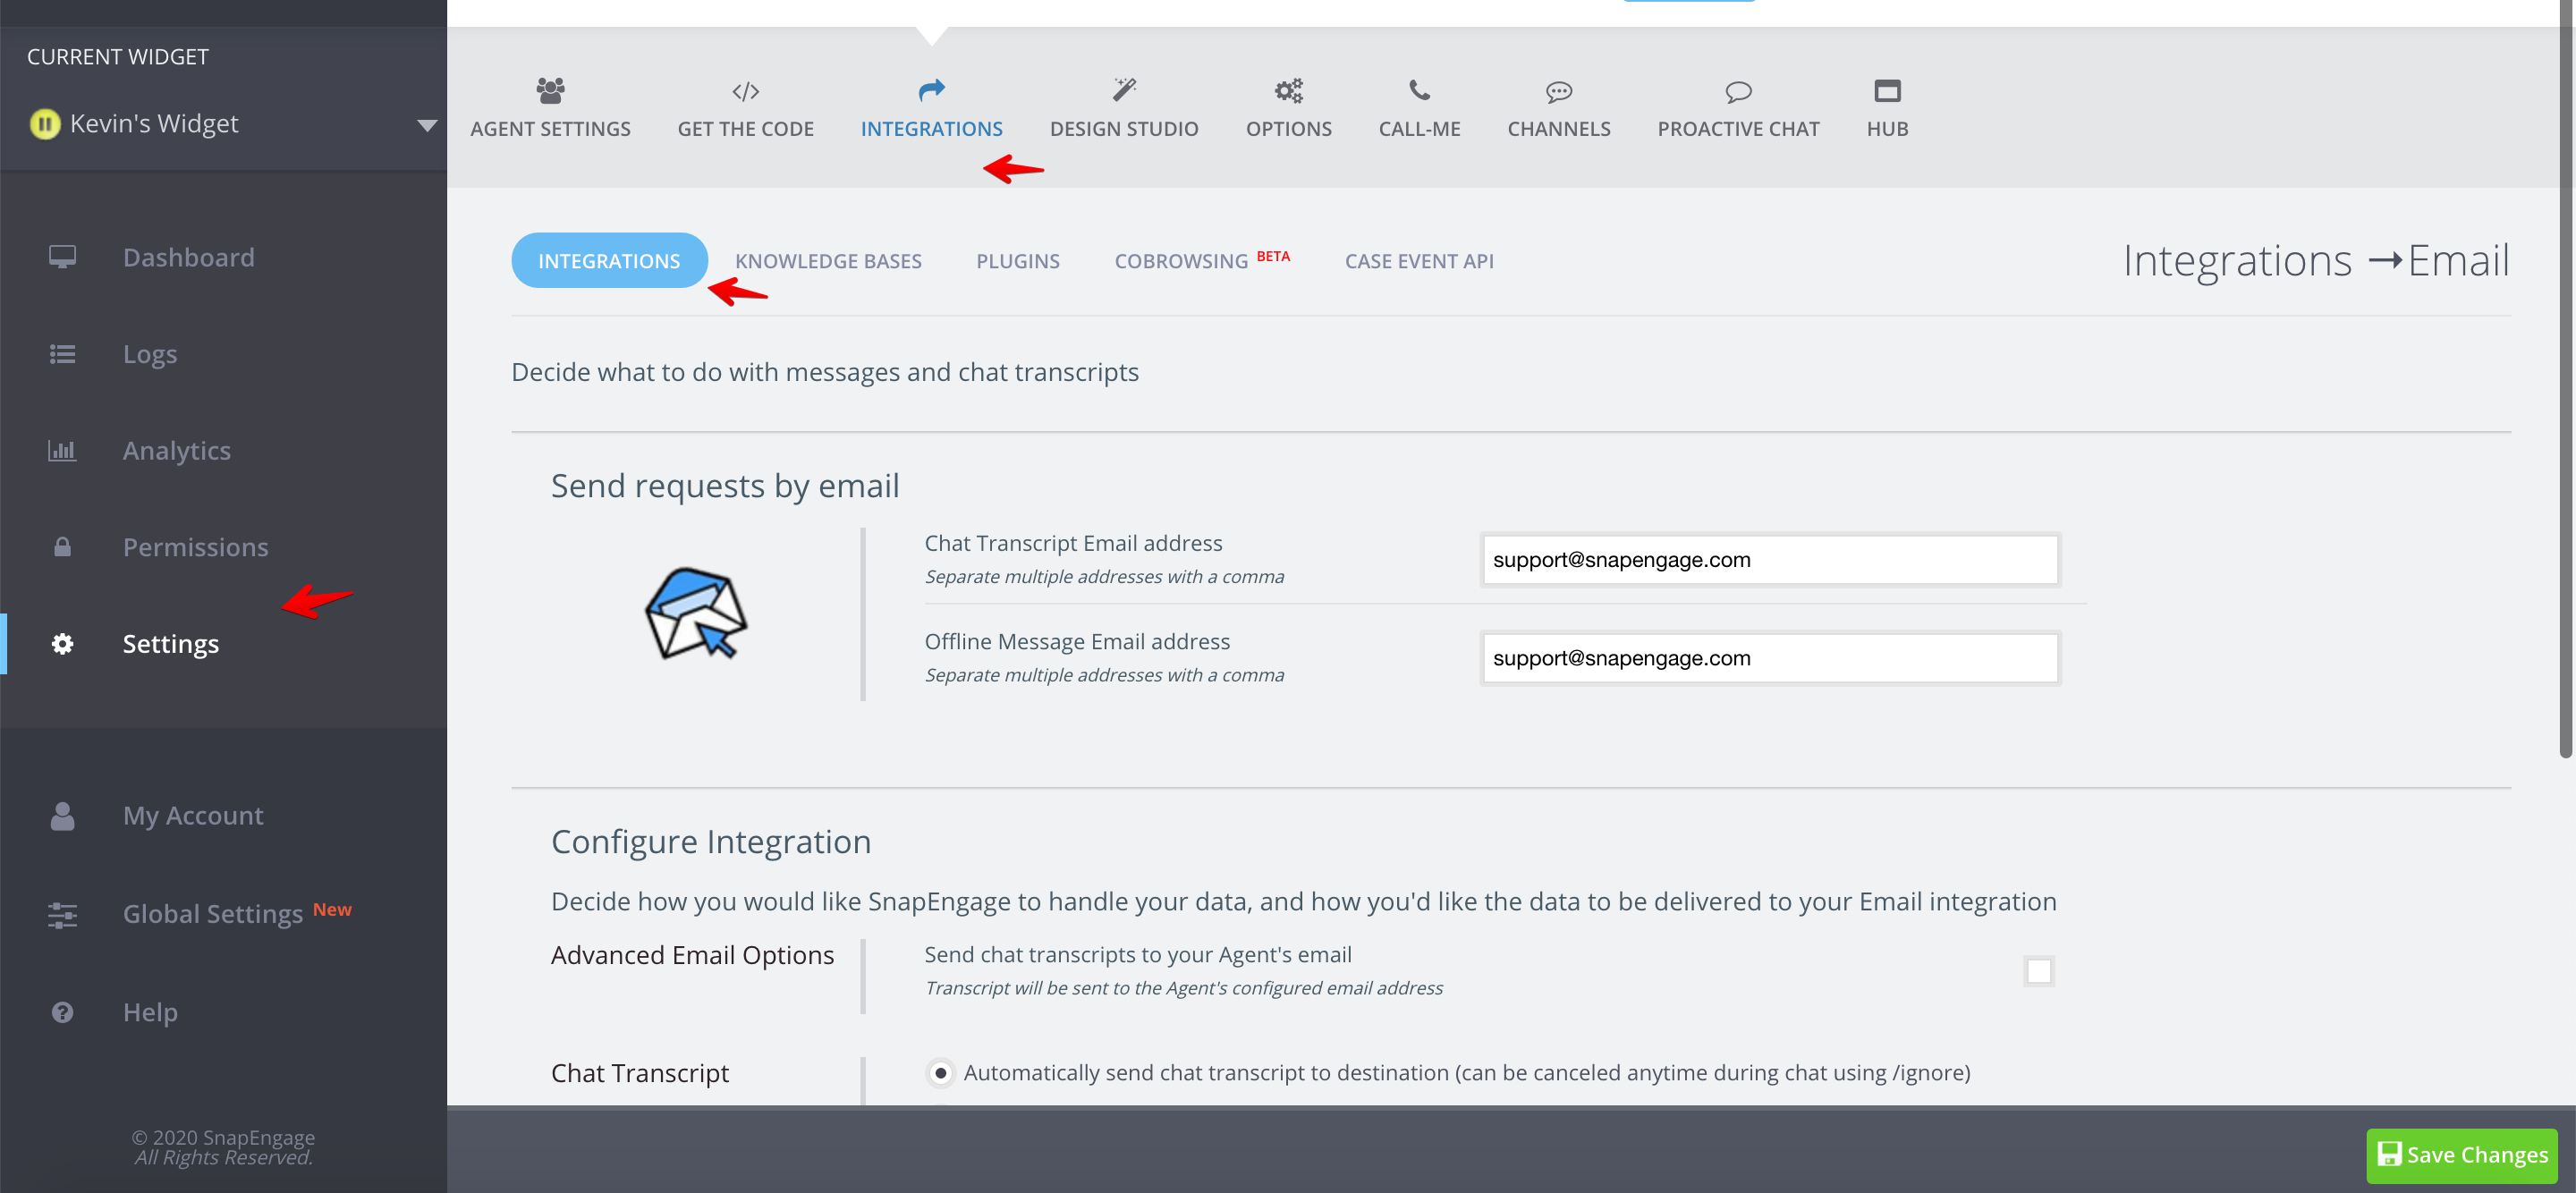
Nested under the Settings tab are the following sections: Agent Settings, Get the code, Integrations, Design Studio, Options, Call-Me, Text and Proactive chat. We have grouped similar settings together in order to make things streamlined and intuitive. Below is a break-down of these options:
Agent Settings
The Agent Settings tab includes the “Chat Agents” section, where you can accomplish important tasks such as adding/deleting agents, updating agent information such as email, photo, etc, add priority tiers, and more. Next to this is the Chat Assignment tab, where admins can configure chat routing, agent reassignment, schedules, etc. Last is the Shortcuts tab, where admins can add and delete shortcuts for the particular widget.

Integrations
The Integrations tab is where admins can configure the Integration for this particular widget. In addition, we’ve included the Knowledgebases and Plugins sections here.
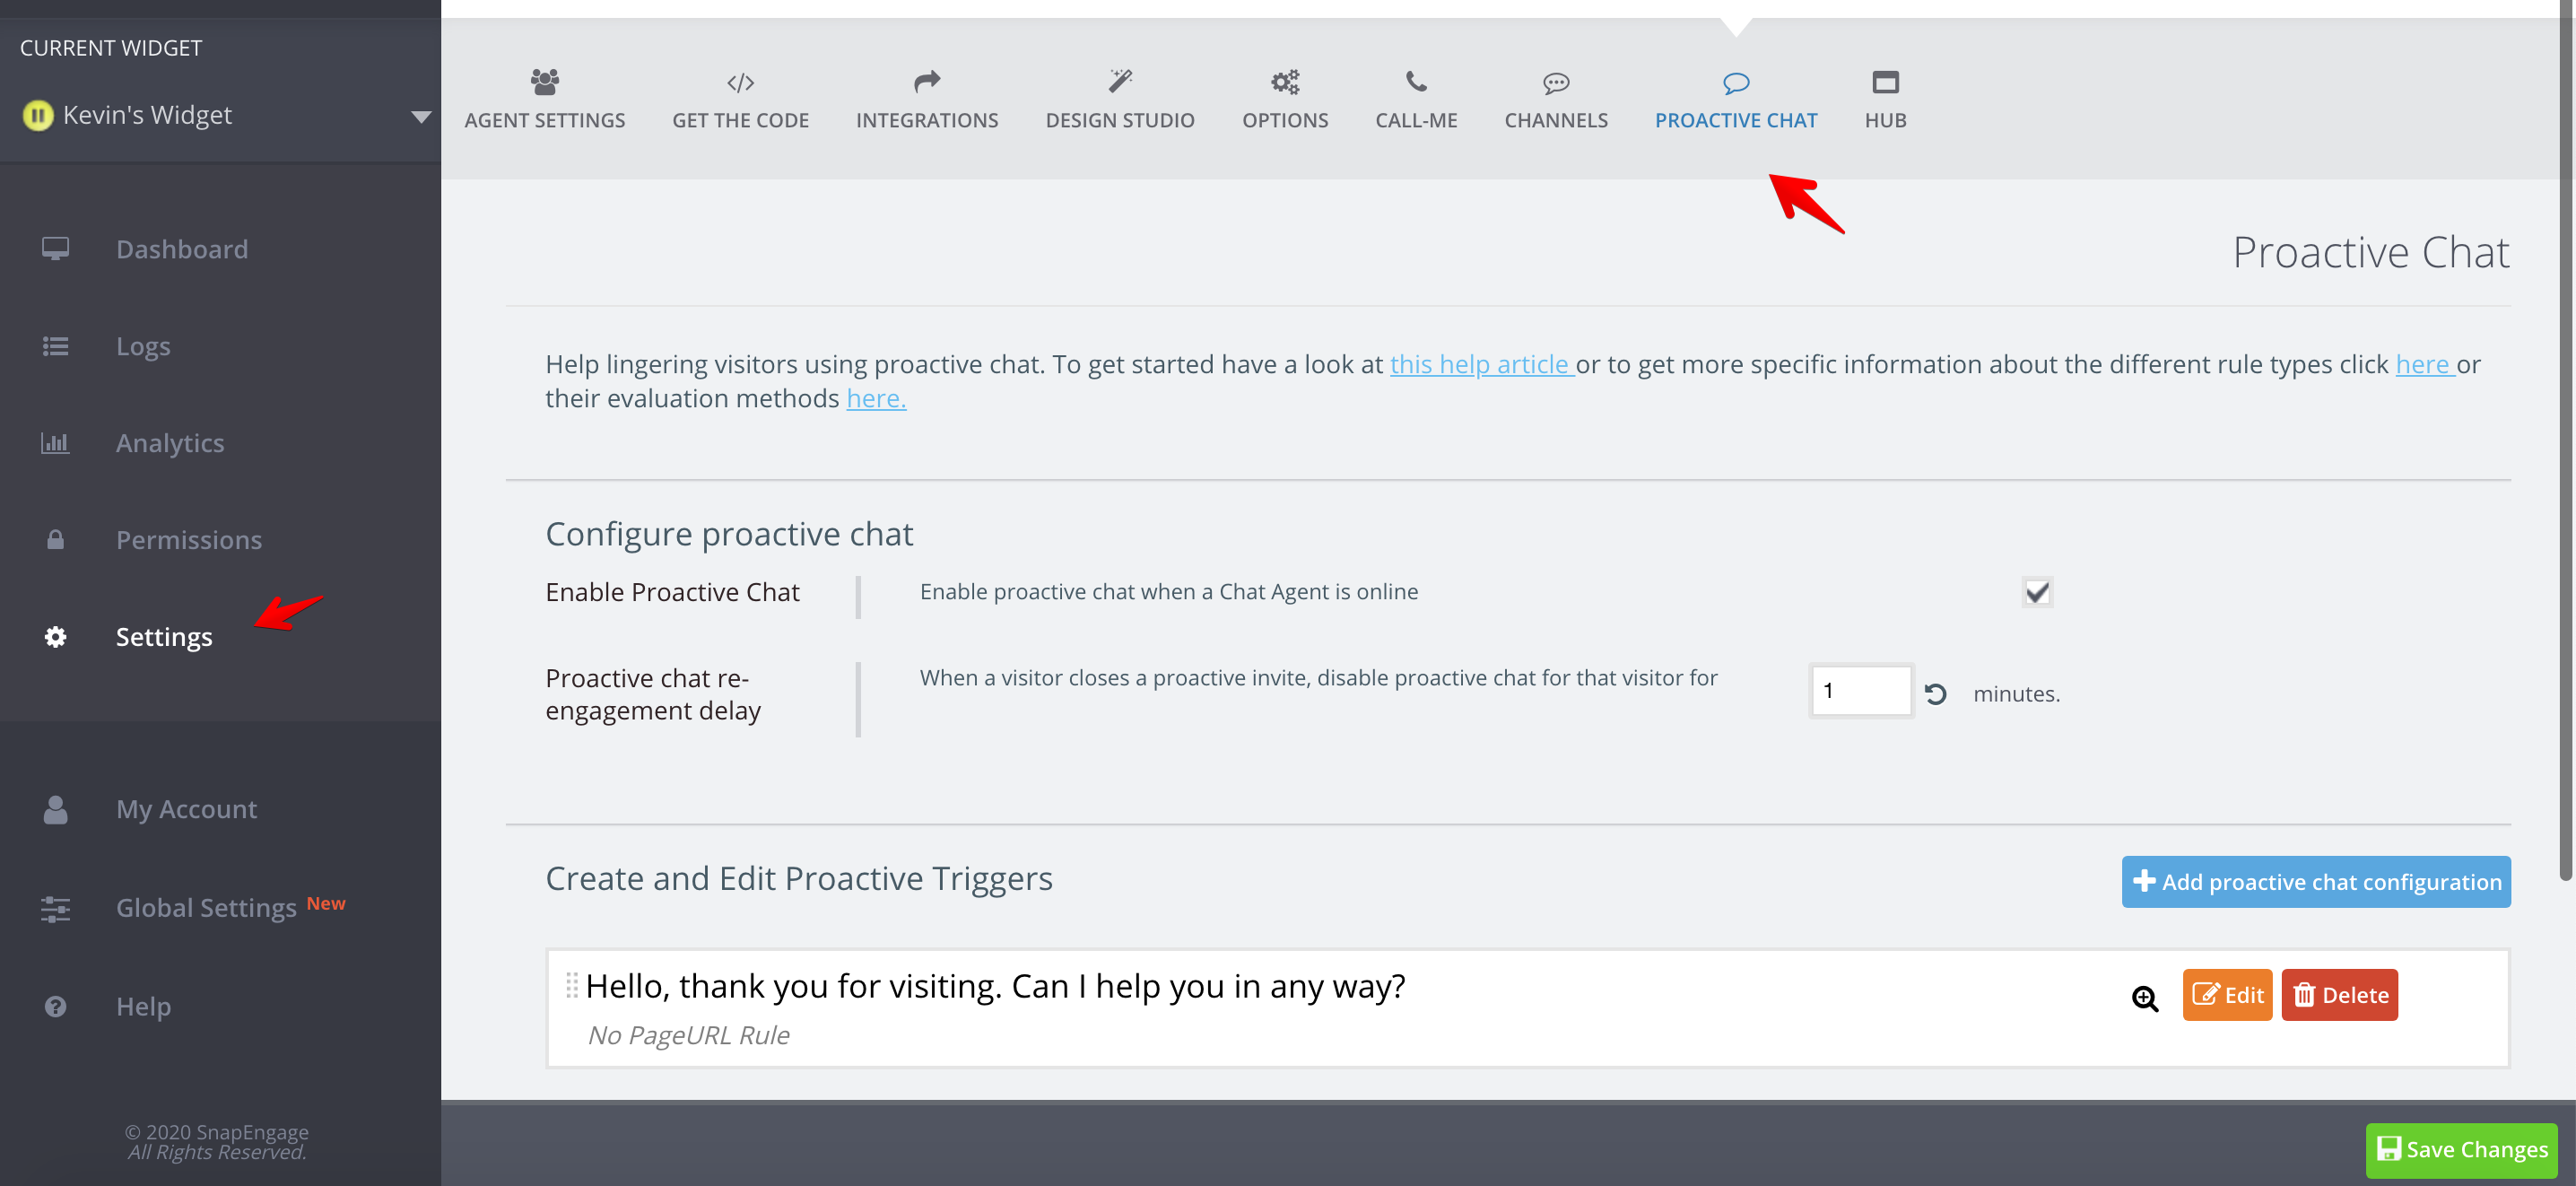
Proactive Chat
Moving on over, the Proactive Chat tab is where admins are able to setup and edit all proactive chat settings for this particular widget. Need to edit a rule? Just click the orange “Edit” button under that rule, and a new window will display where you can designate the specific metrics for that rule.
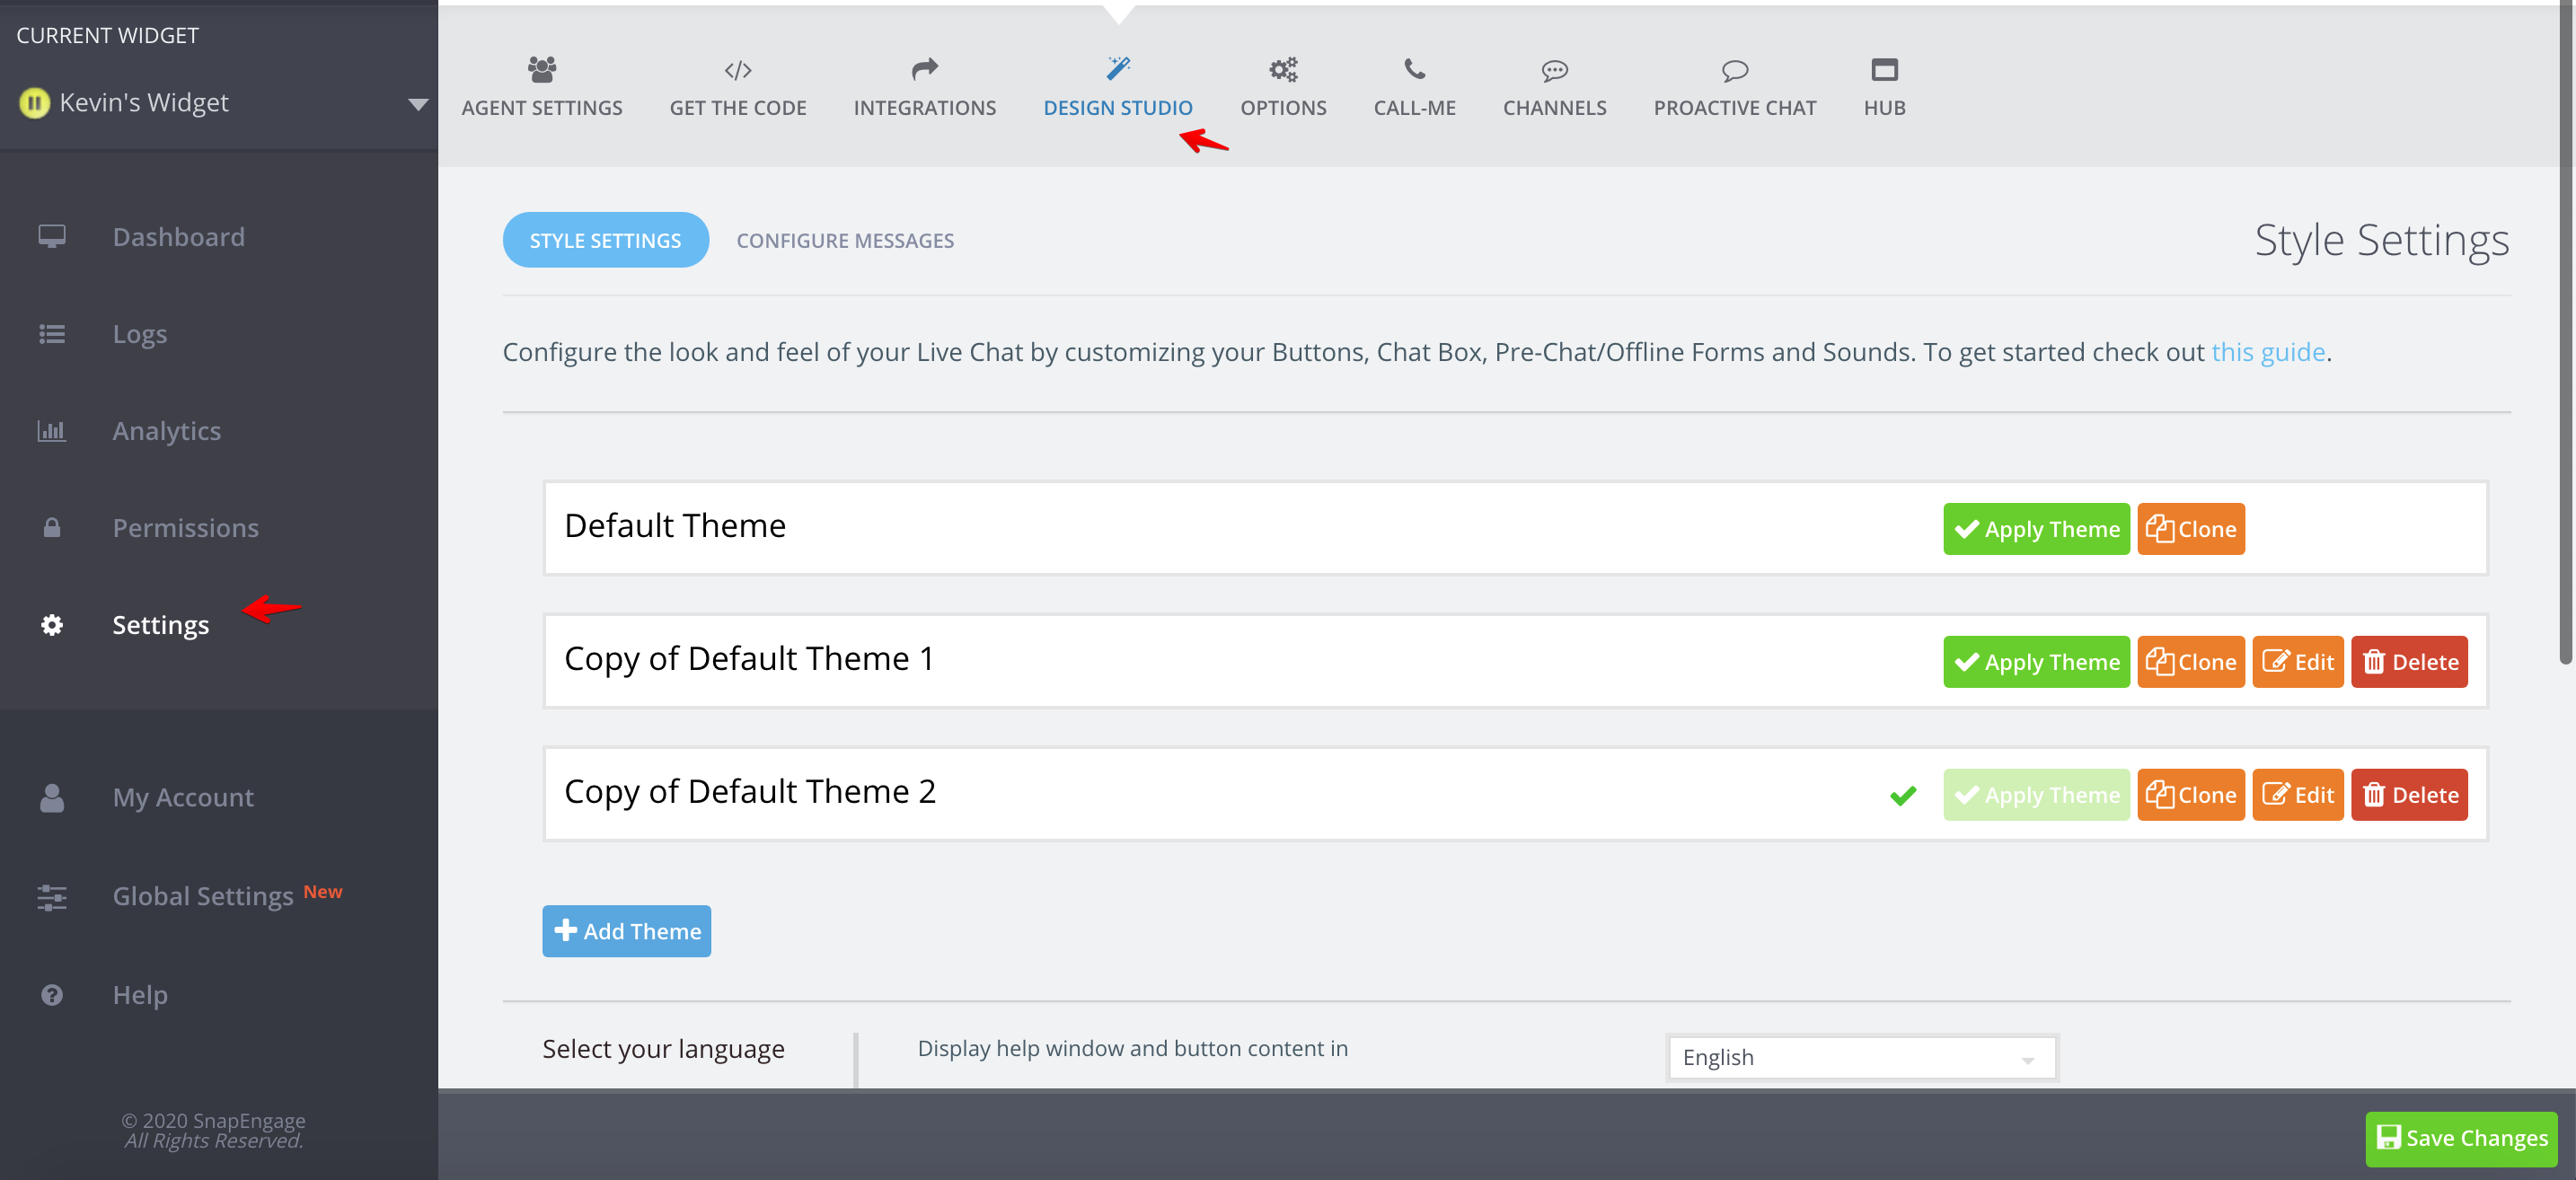
Design Studio
The Design Studio is a great tool that you will use to create your designs for the online & offline buttons, the chat box, and the pre-chat and offline forms. Add your logos, pictures, even gifs, and match the style of your chat to your corporate branding. This is also where you will find the configure messages, which are the visitor-facing messages within the system.
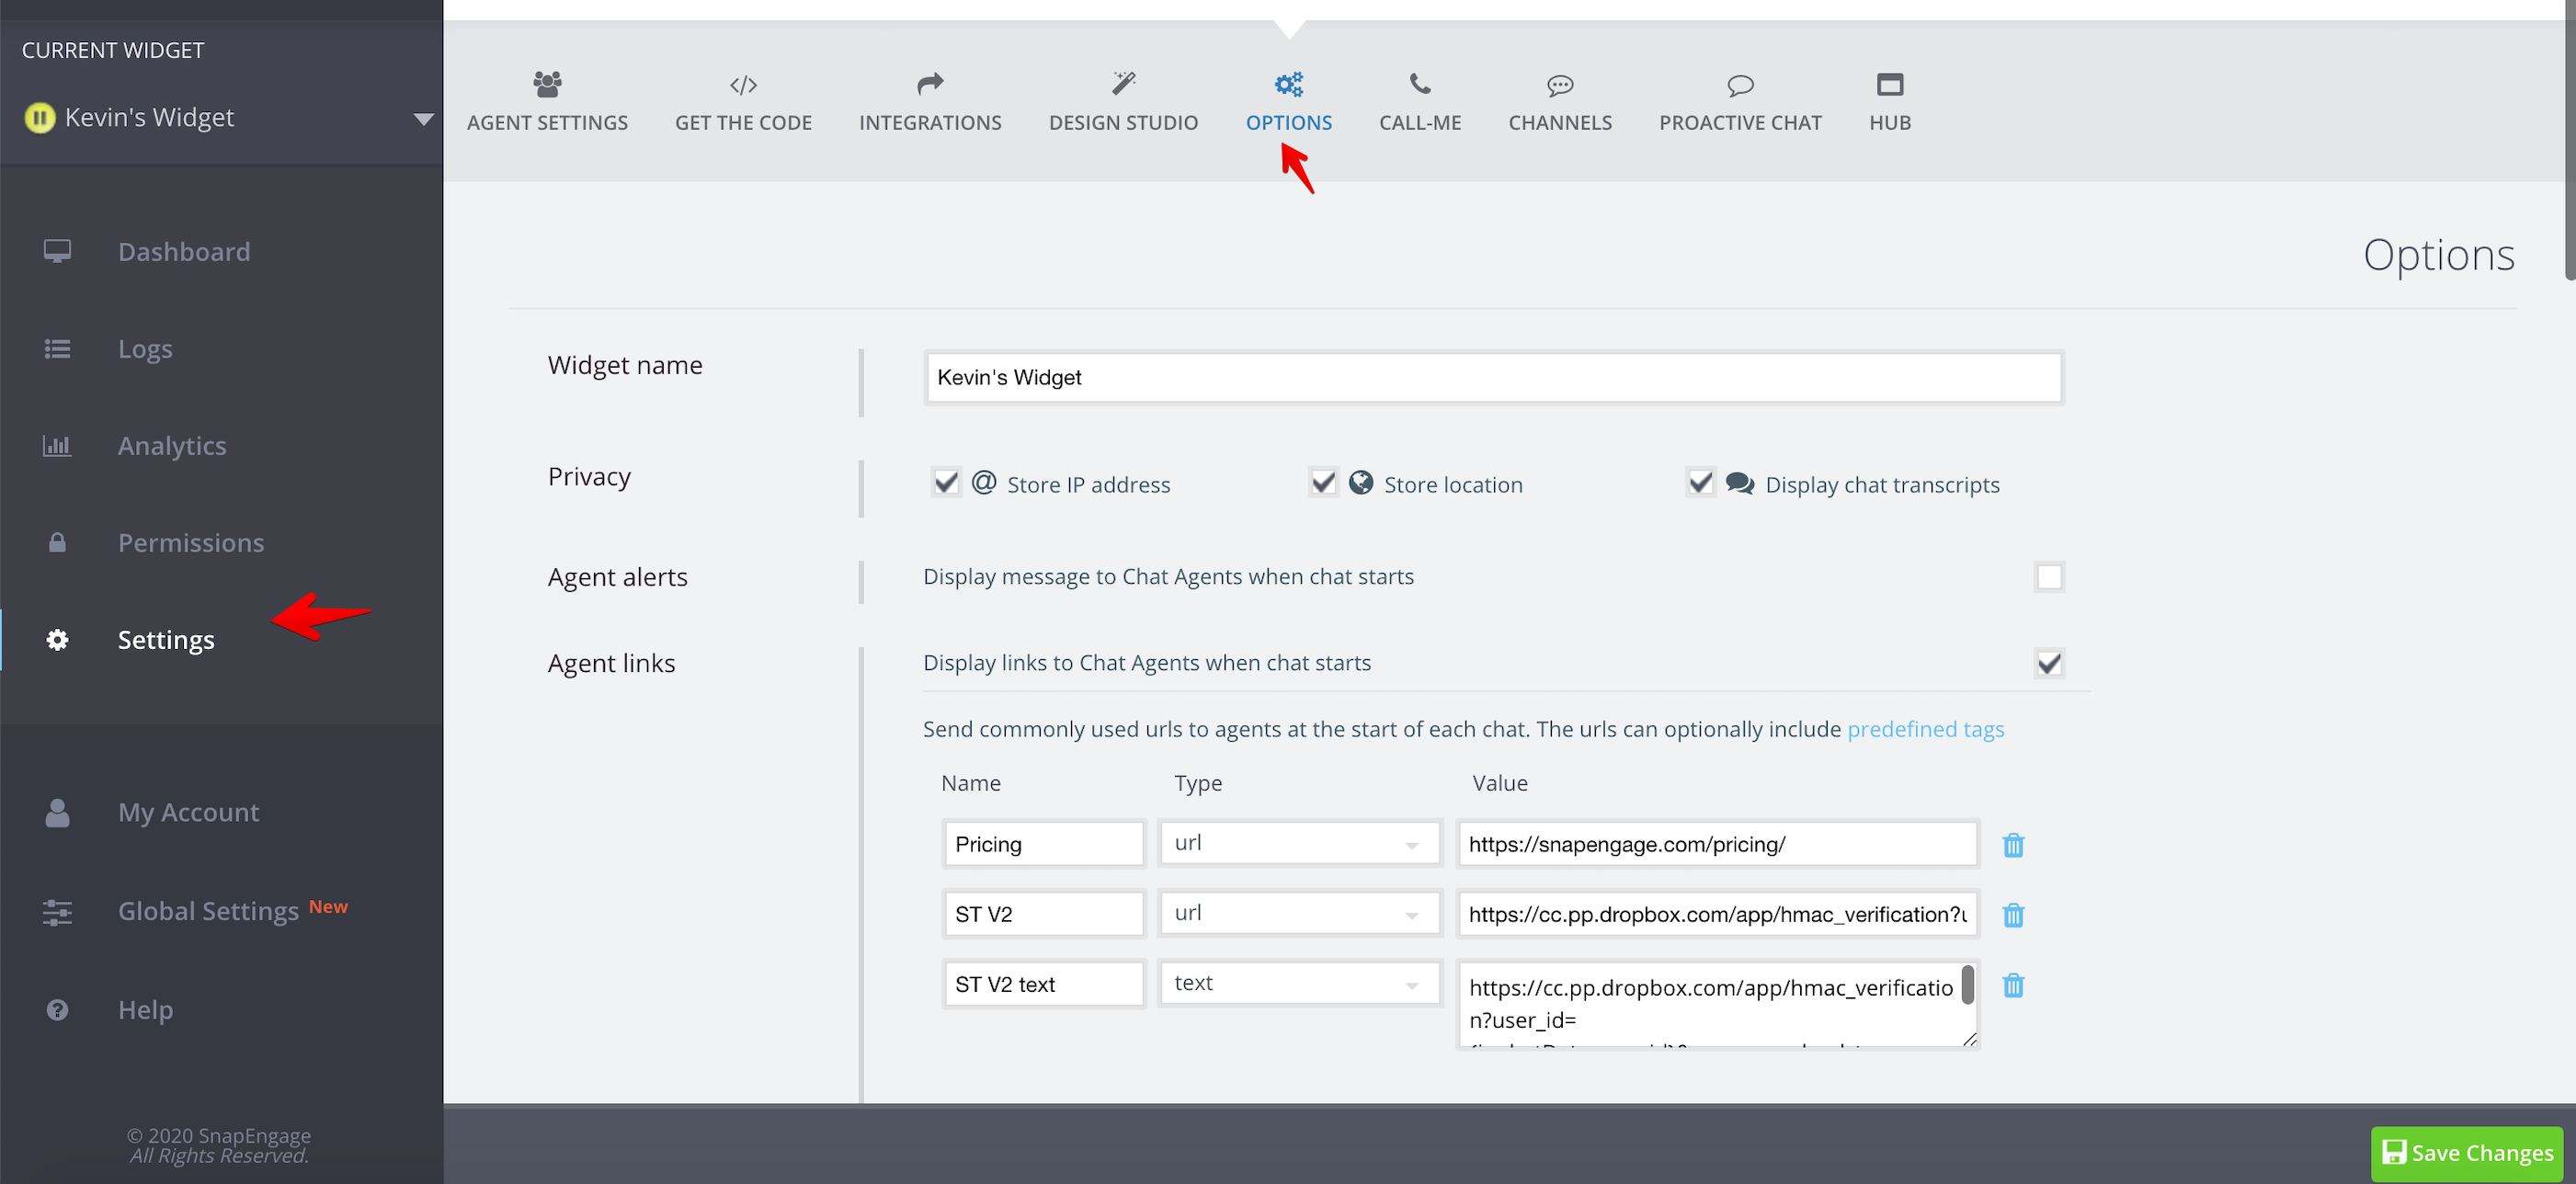
Options
The Options tab includes a variety of important settings such as widget names, agent alerts/links, widget transfer, Sneak Peek, custom variables, security, Agent Survey, and more. Please let us know if you have questions about any of these features!
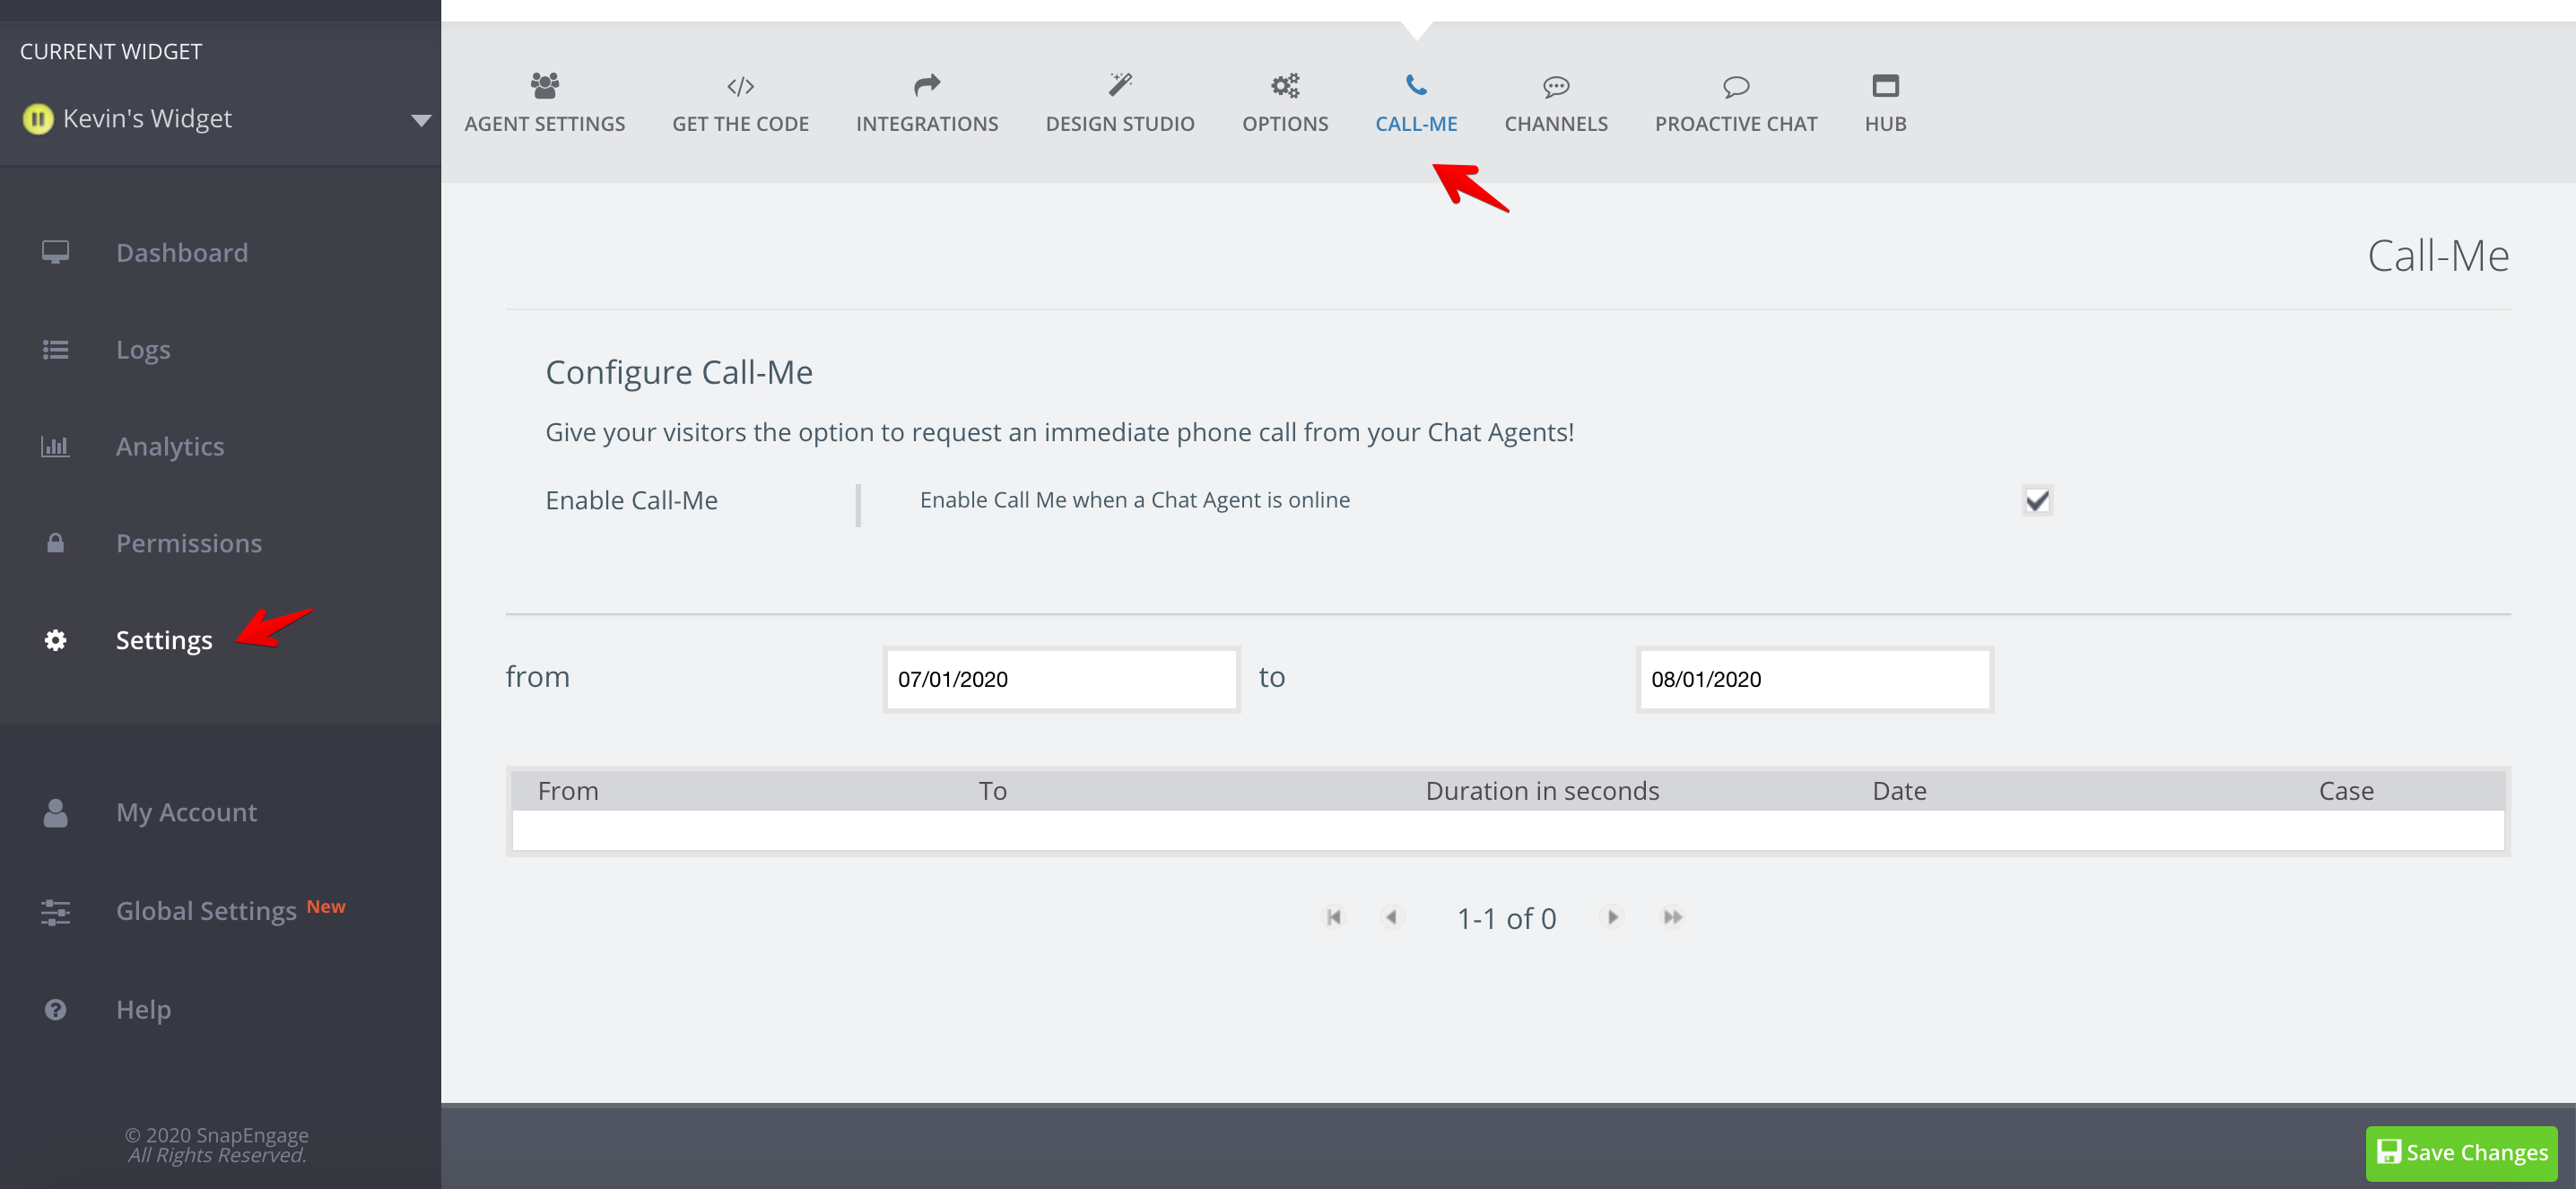
Call-Me
Use the Call-Me tab to view records for all Call-Me occurrences for this widget. View both caller and receiver phone numbers, duration, date, and case link to the chat where Call-Me was initiated.
Get The Code
Lastly, the Get The Code tab houses some very important information: the SnapEngage code! In case you need help installing our code, please refer to this help guide.

Channels
This is where you can configure the SMS to chat functionality which allows your visitors to contact you via SMS. (*check country availability) along with more channels details here.

Hub
The Hub menu is where you can set labels for tracking contact info and more details on how to set this up here

Global Settings
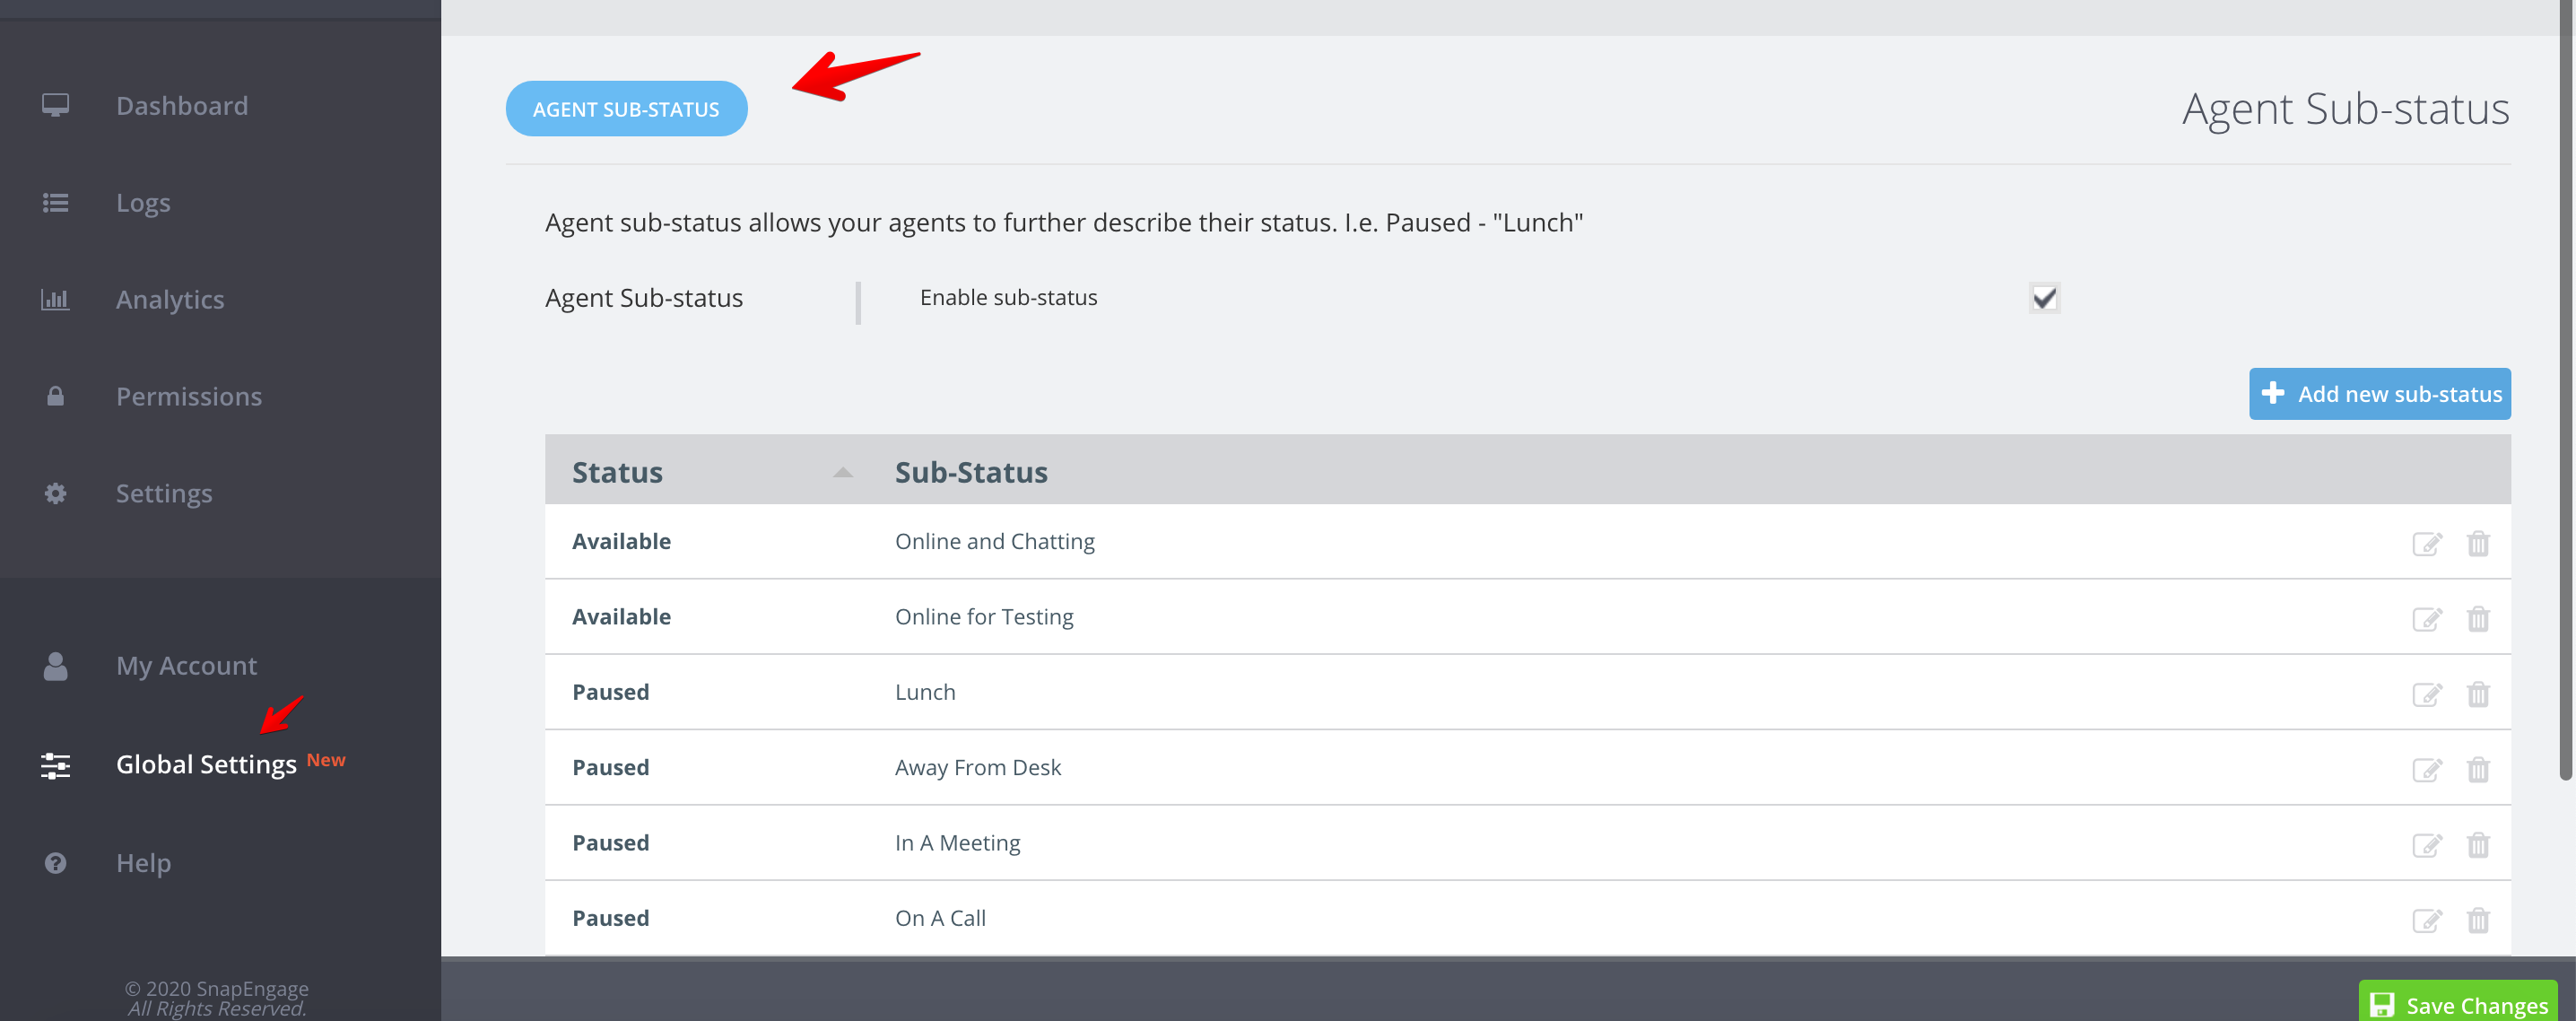
Available on Enterprise plans this menu will allow you to set sub statuses for agents to track in our Analytics. In order to set this follow this guide here.
My Account > My Info
Under this section you can set up details about the Account Owner like Name, Email, Phone, Company, Mailing Address, Mailing City, Mailing State, Mailing Zip/Postal Code, Mailing Country, Timezone, Language, CSV Field separator.
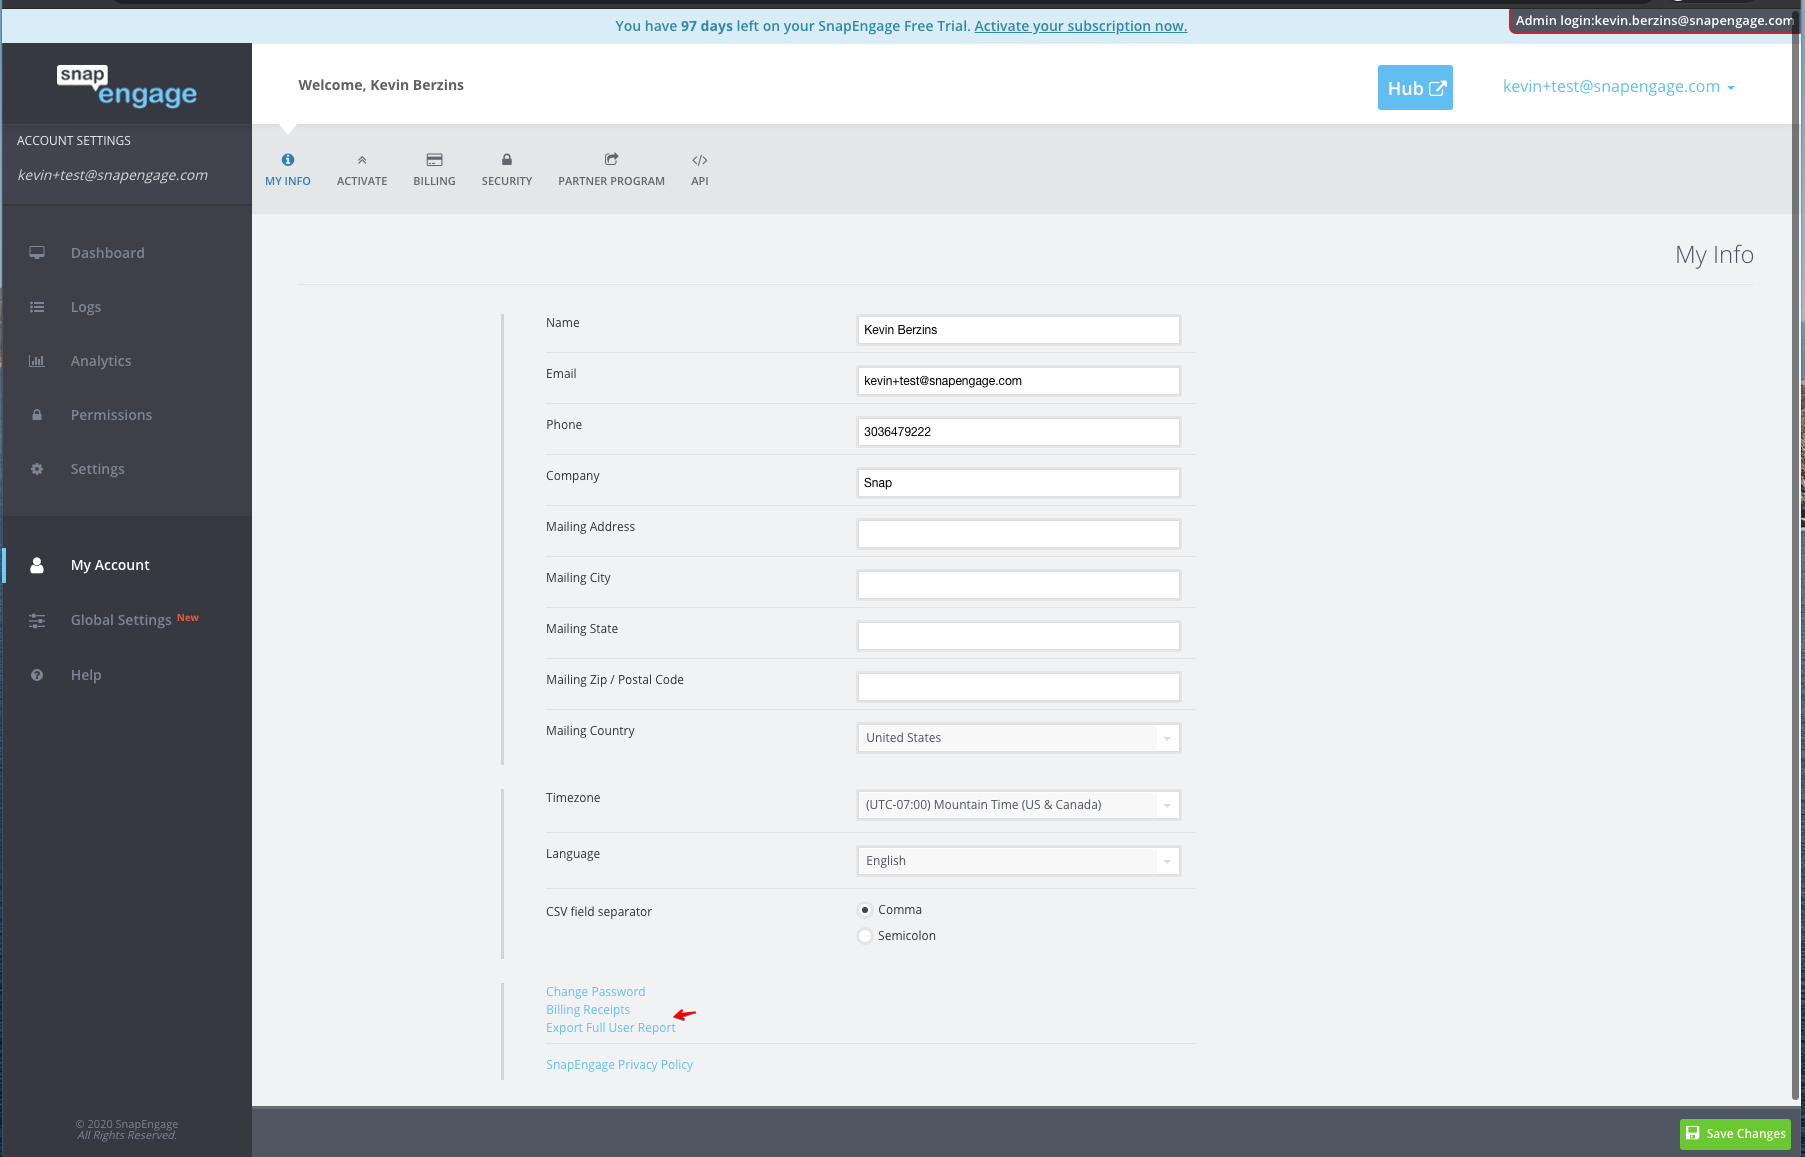
Now though, you can also find a CSV report of users (agents and sub admins) across all widgets by clicking on the “Export Full User Report” link under this tab. Additionally, you can change password , find billing receipts, and review the SnapEngage privacy policy under this tab if needed as an account owner.
Have questions or feedback about our new design? Please let us know!
Published February 17, 2015

 (10 votes, average: 4.90 out of 5)